I have been making this for at least the last 20 years. This was originally a Cooking Light recipe that I have modified over the years many times over. This recipe reflects the way I have been cooking it for the last several years. It is completely homemade with fresh vegetables, and I use an already cooked organic rotisserie chicken from the store to save time. One pot meal with an abundance of vegetables!

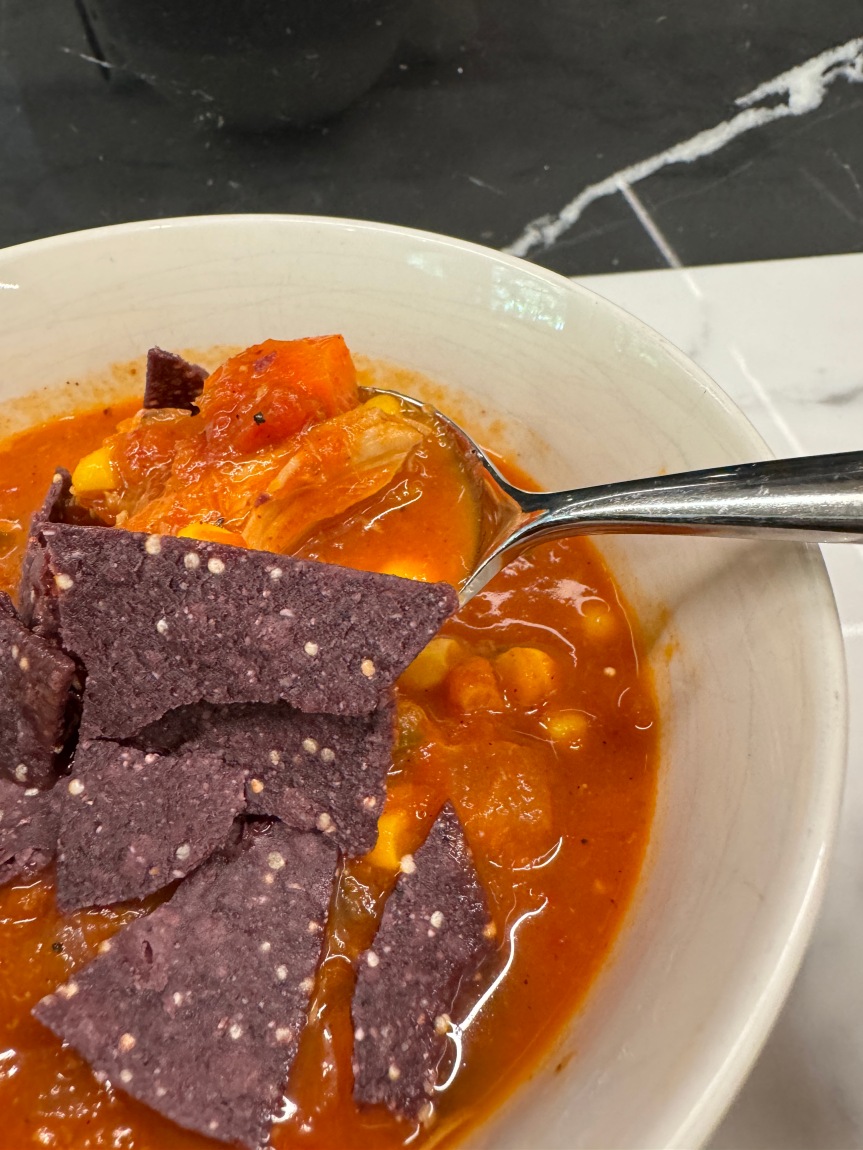
Chicken and Vegetable Tortilla Soup
Pretty easy one pot meal with an abundance of vegetables.
Credit: This recipe is based on this Cooking Light recipe
Ingredients
- olive oil
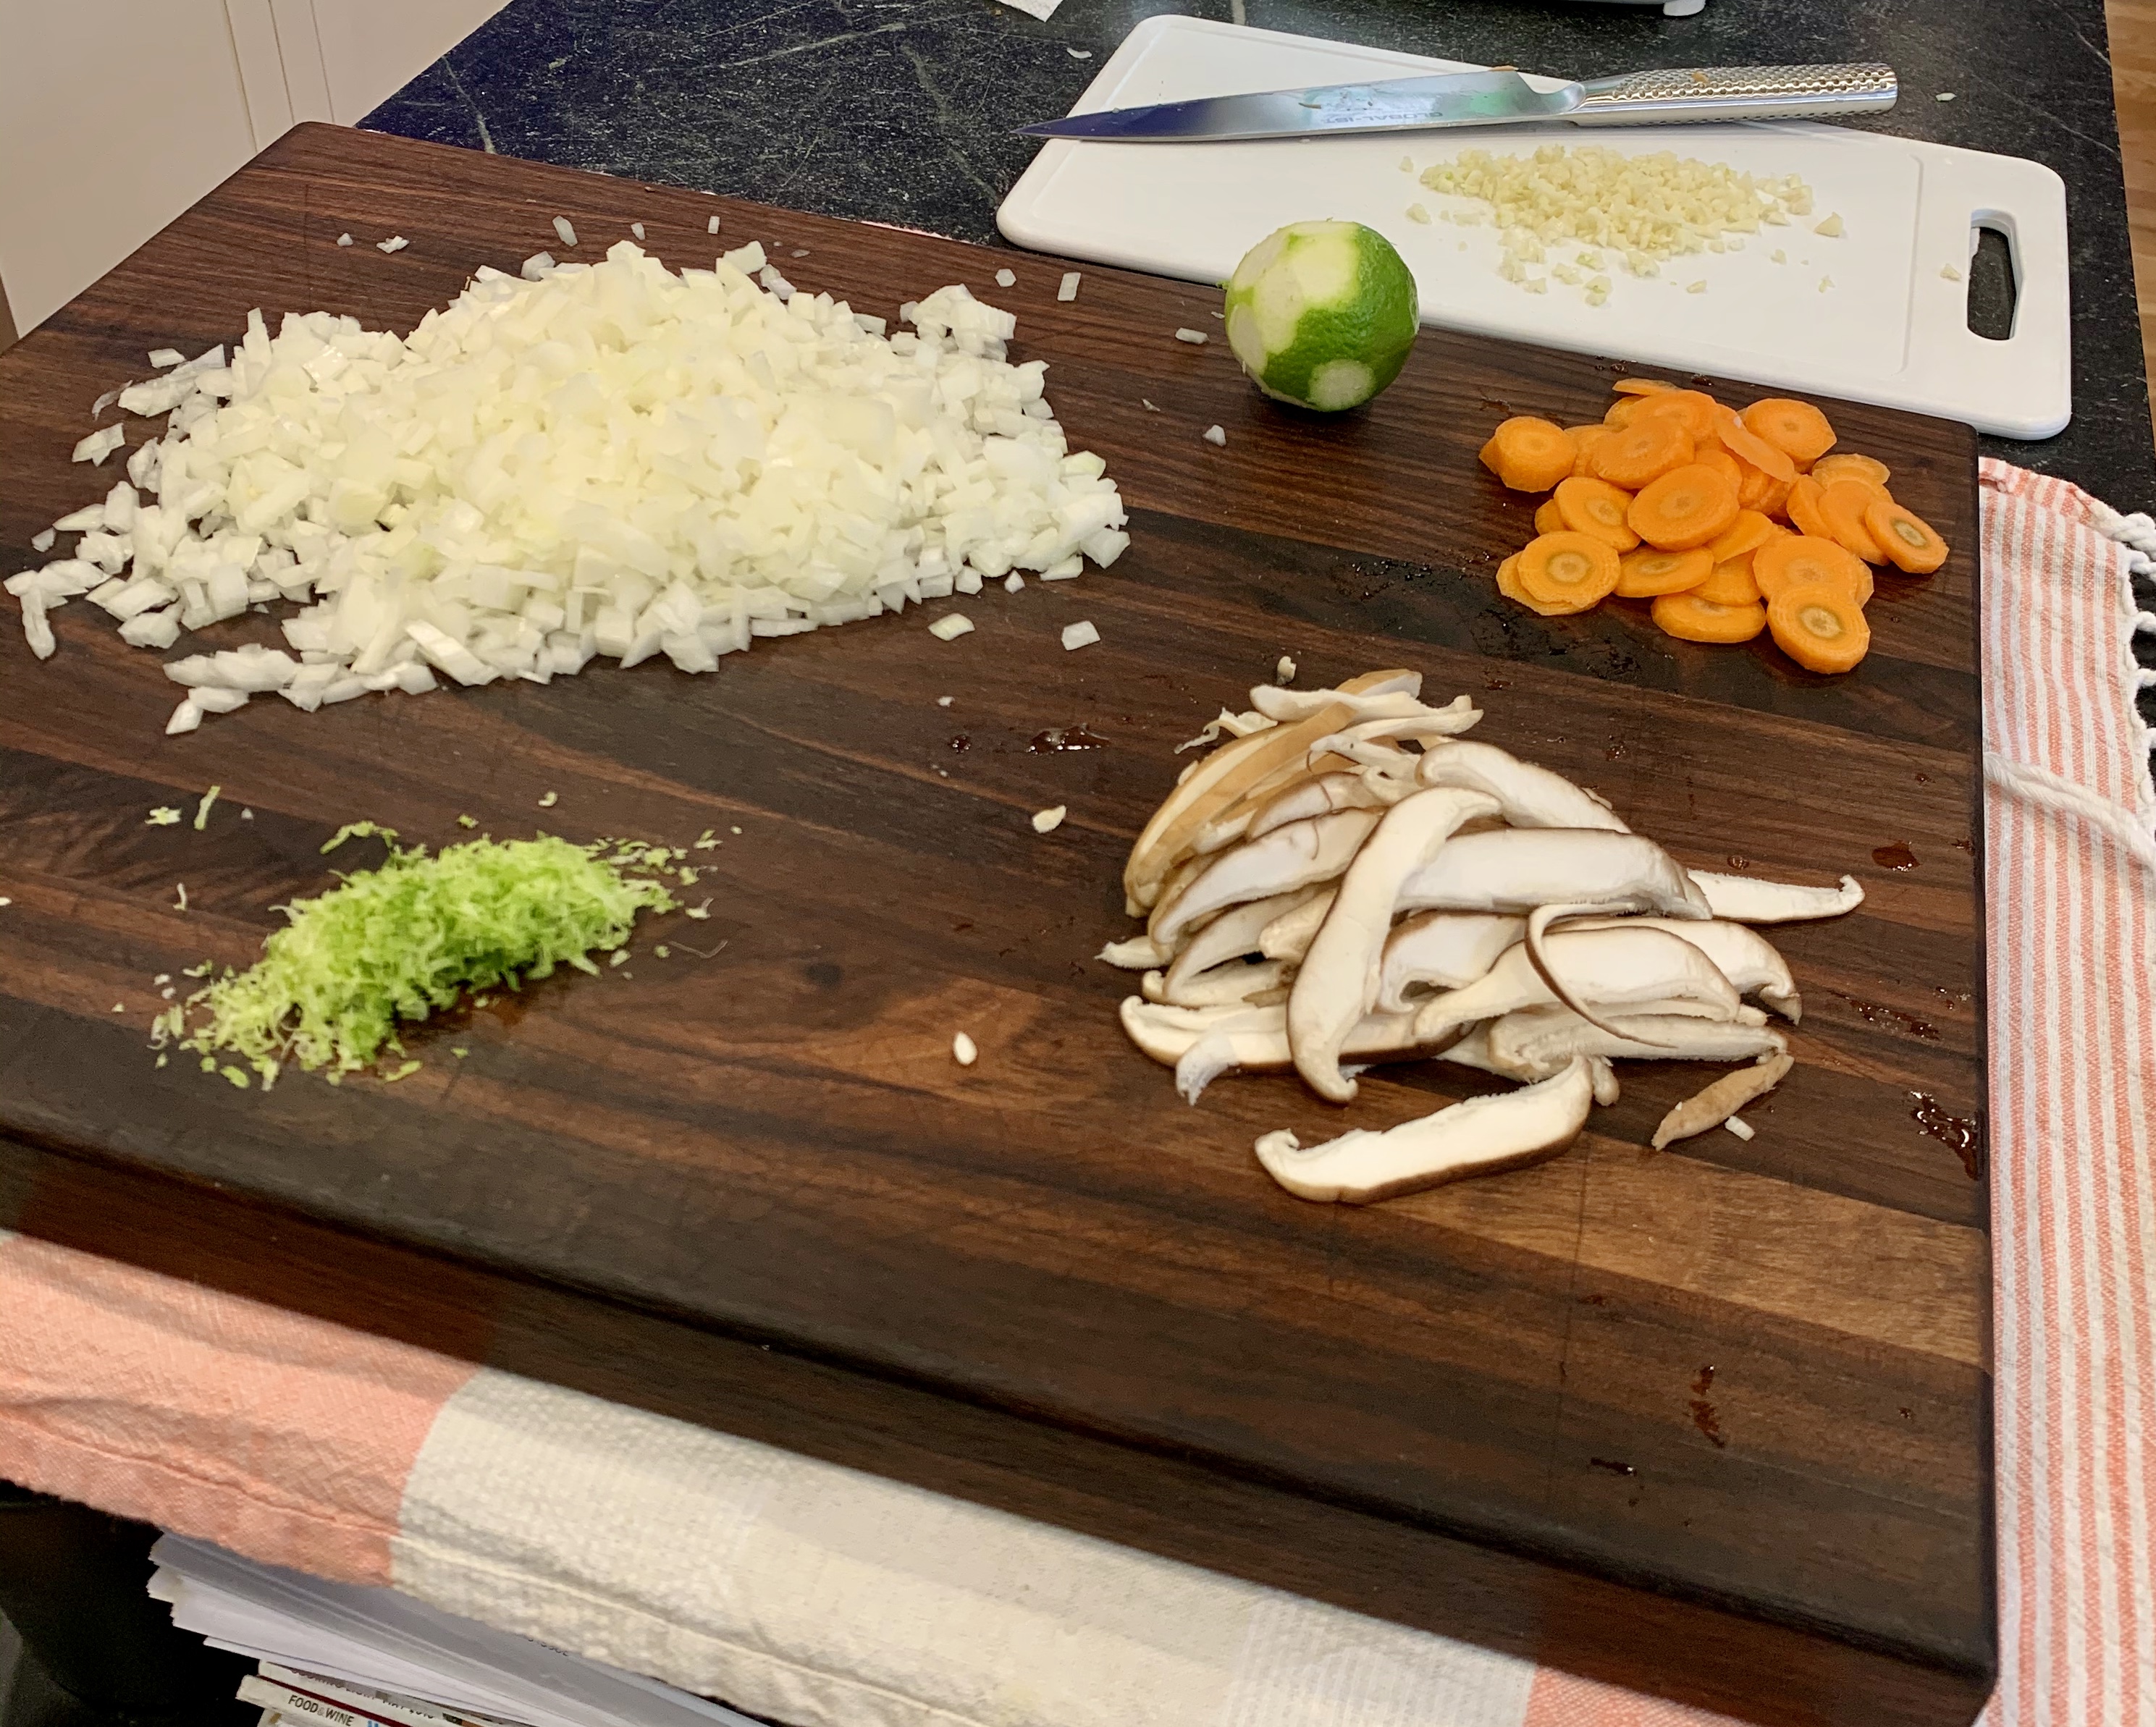
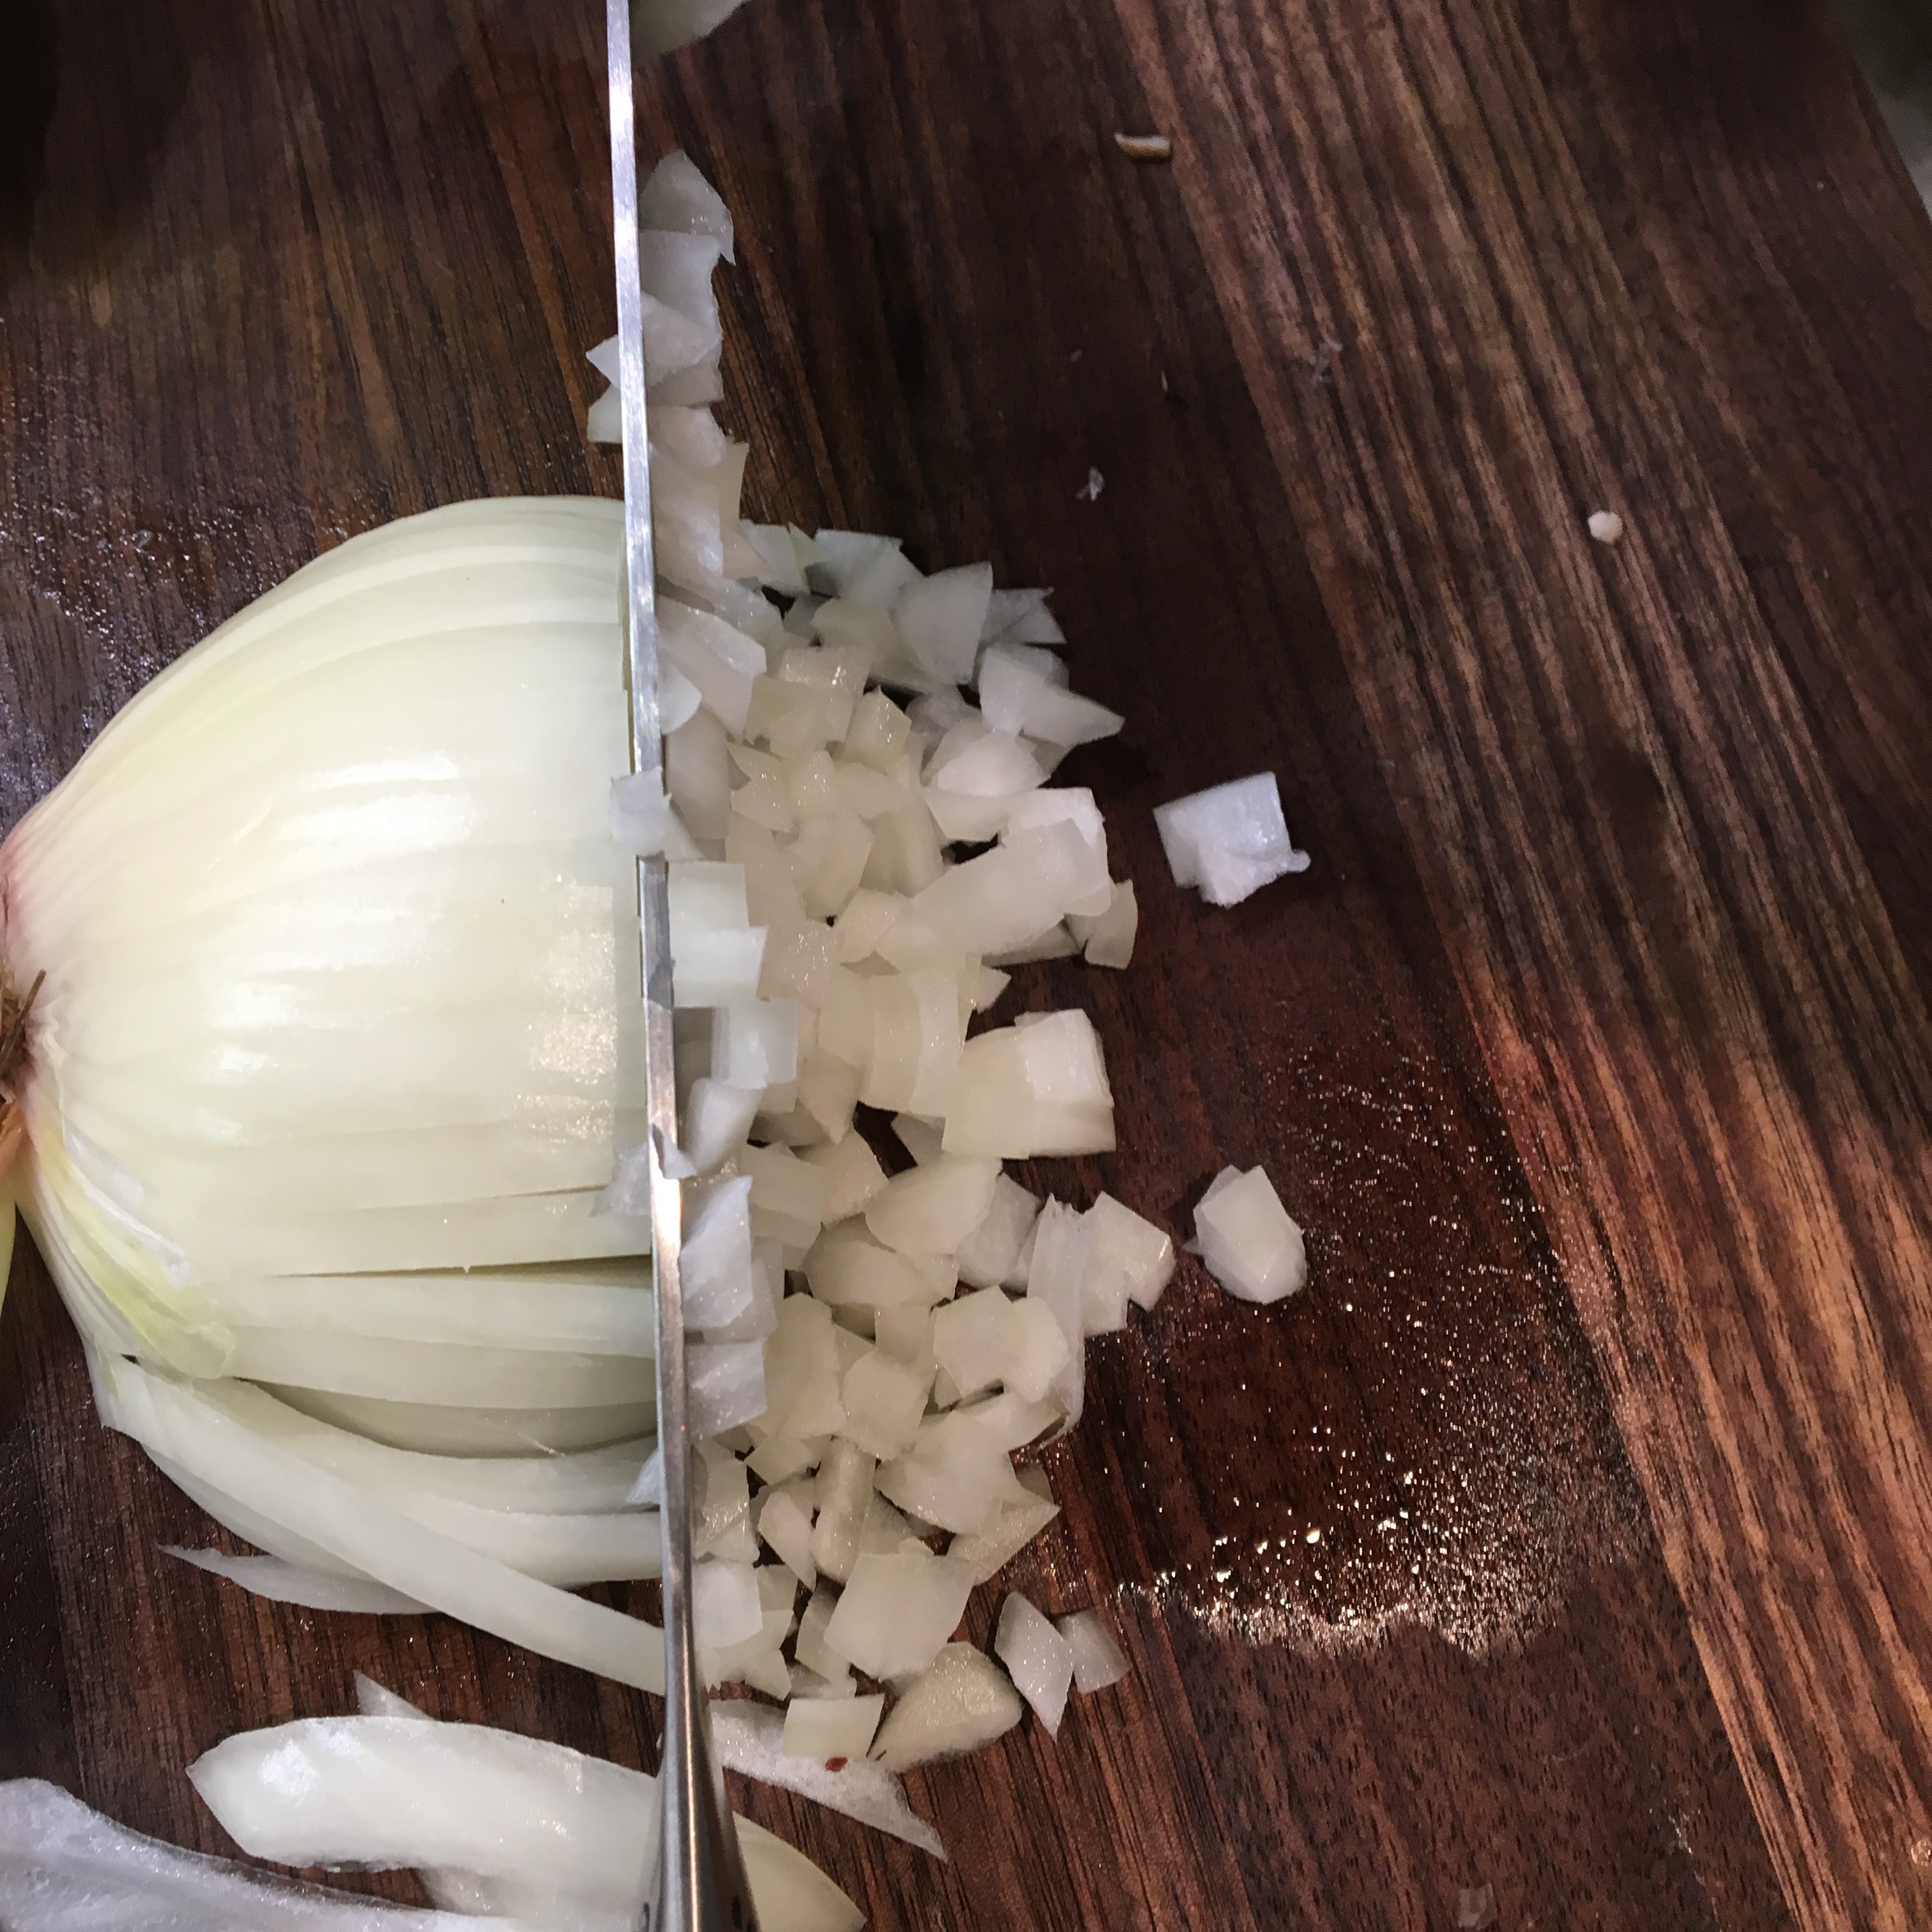
- 1 large sweet onion, small dice
- 1 jalapeño, finely chopped
- 1 red or yellow bell pepper, small dice
- 2 carrots, peeled and small dice
- 4 garlic cloves, minced
- 1 to 2 tablespoons chili powder (chili powders vary a lot in flavor and spiciness)
- 1-1/2 teaspoons ground cumin
- 1 teaspoon dry oregano
- kosher salt and pepper (start with a teaspoon of salt if you are using all salt free products and 10 grinds of the pepper mill add more at the end if needed)
- 1/3 cup dry white wine
- 28 oz can no salt added chopped tomatoes
- 2 fresh ears of corn, cut off the cobb
- 1 quart of no or low sodium chicken stock
- 2 cups of shredded cooked chicken breast (I just buy some cooked “perfectly plain rotisserie chicken” from Whole Foods to save a little time)
- sliced lime wedges (optional)
- 1/4 cup chopped cilantro (optional)
- tortilla chips
Procedure
- In a large dutch oven, sauté onions in a bit of olive oil for about 5 minutes.
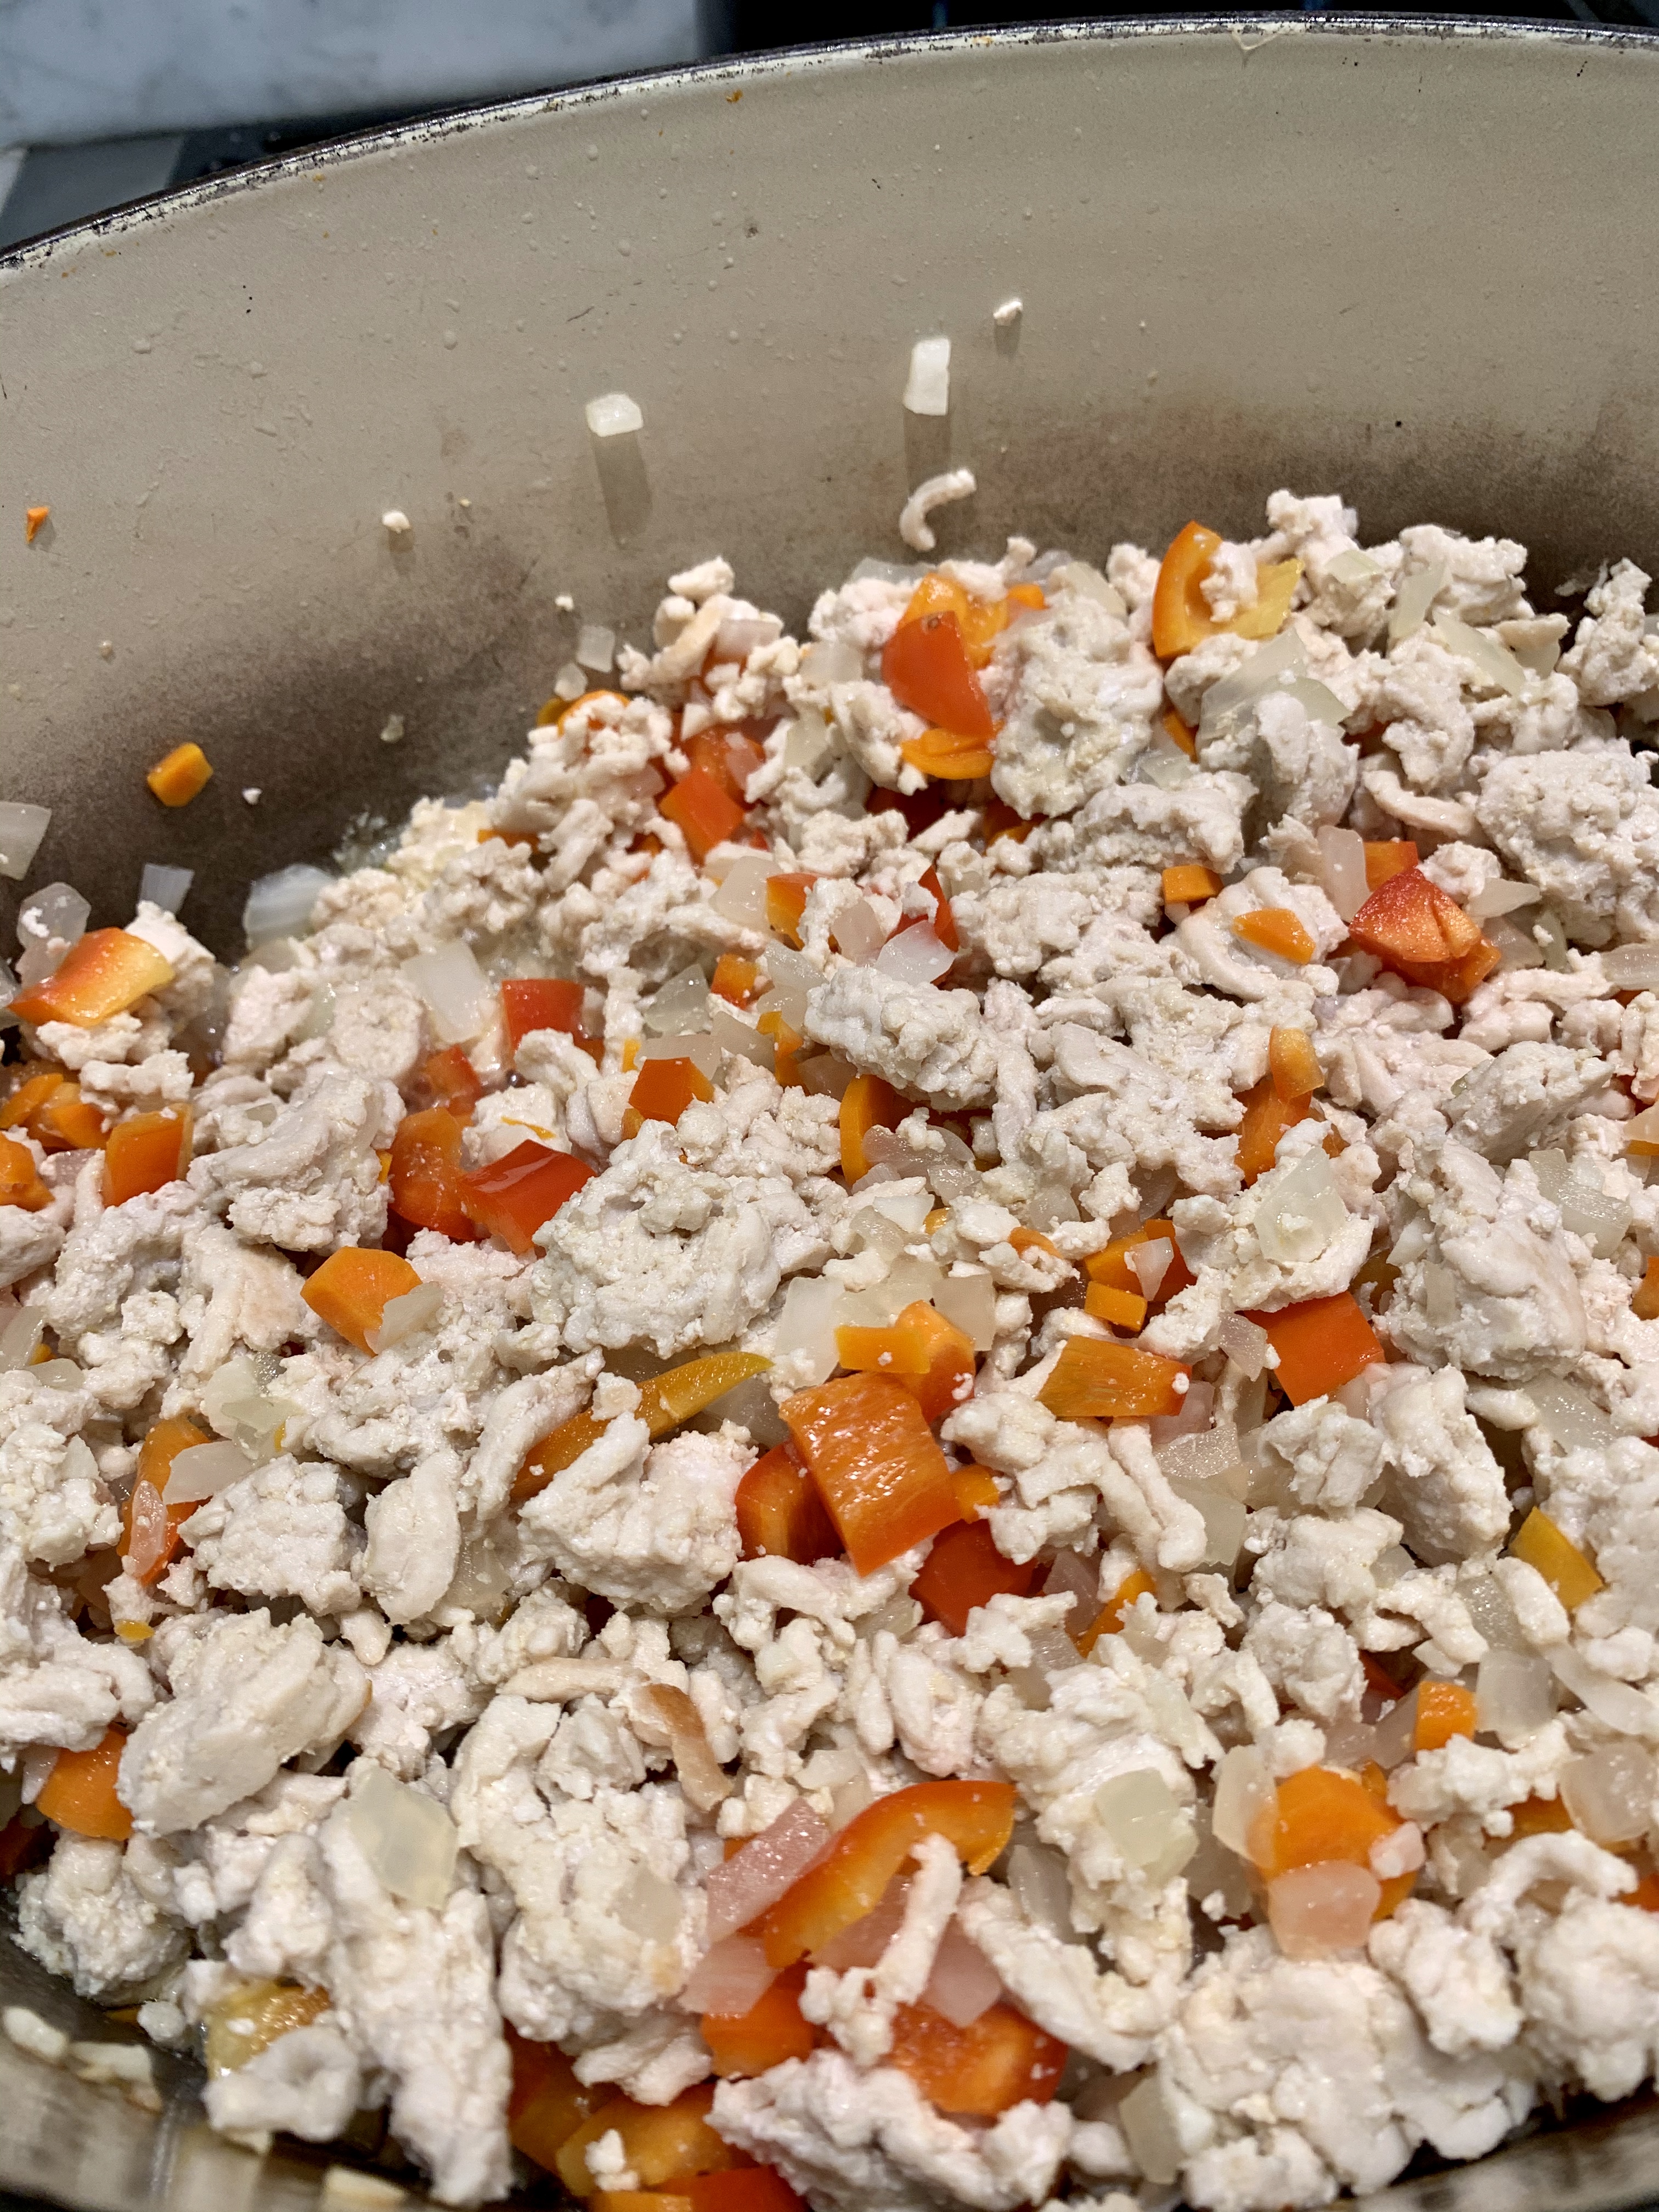
- Add jalapeno, bell pepper and carrots, and cook for about 5 more minutes, until soft.
- Add garlic, chili powder, cumin, oregano, salt and pepper and stir for a couple of minutes until fragrant.
- Add wine and stir until it has mostly burned off. Stir in tomatoes and cook for a couple of minutes.
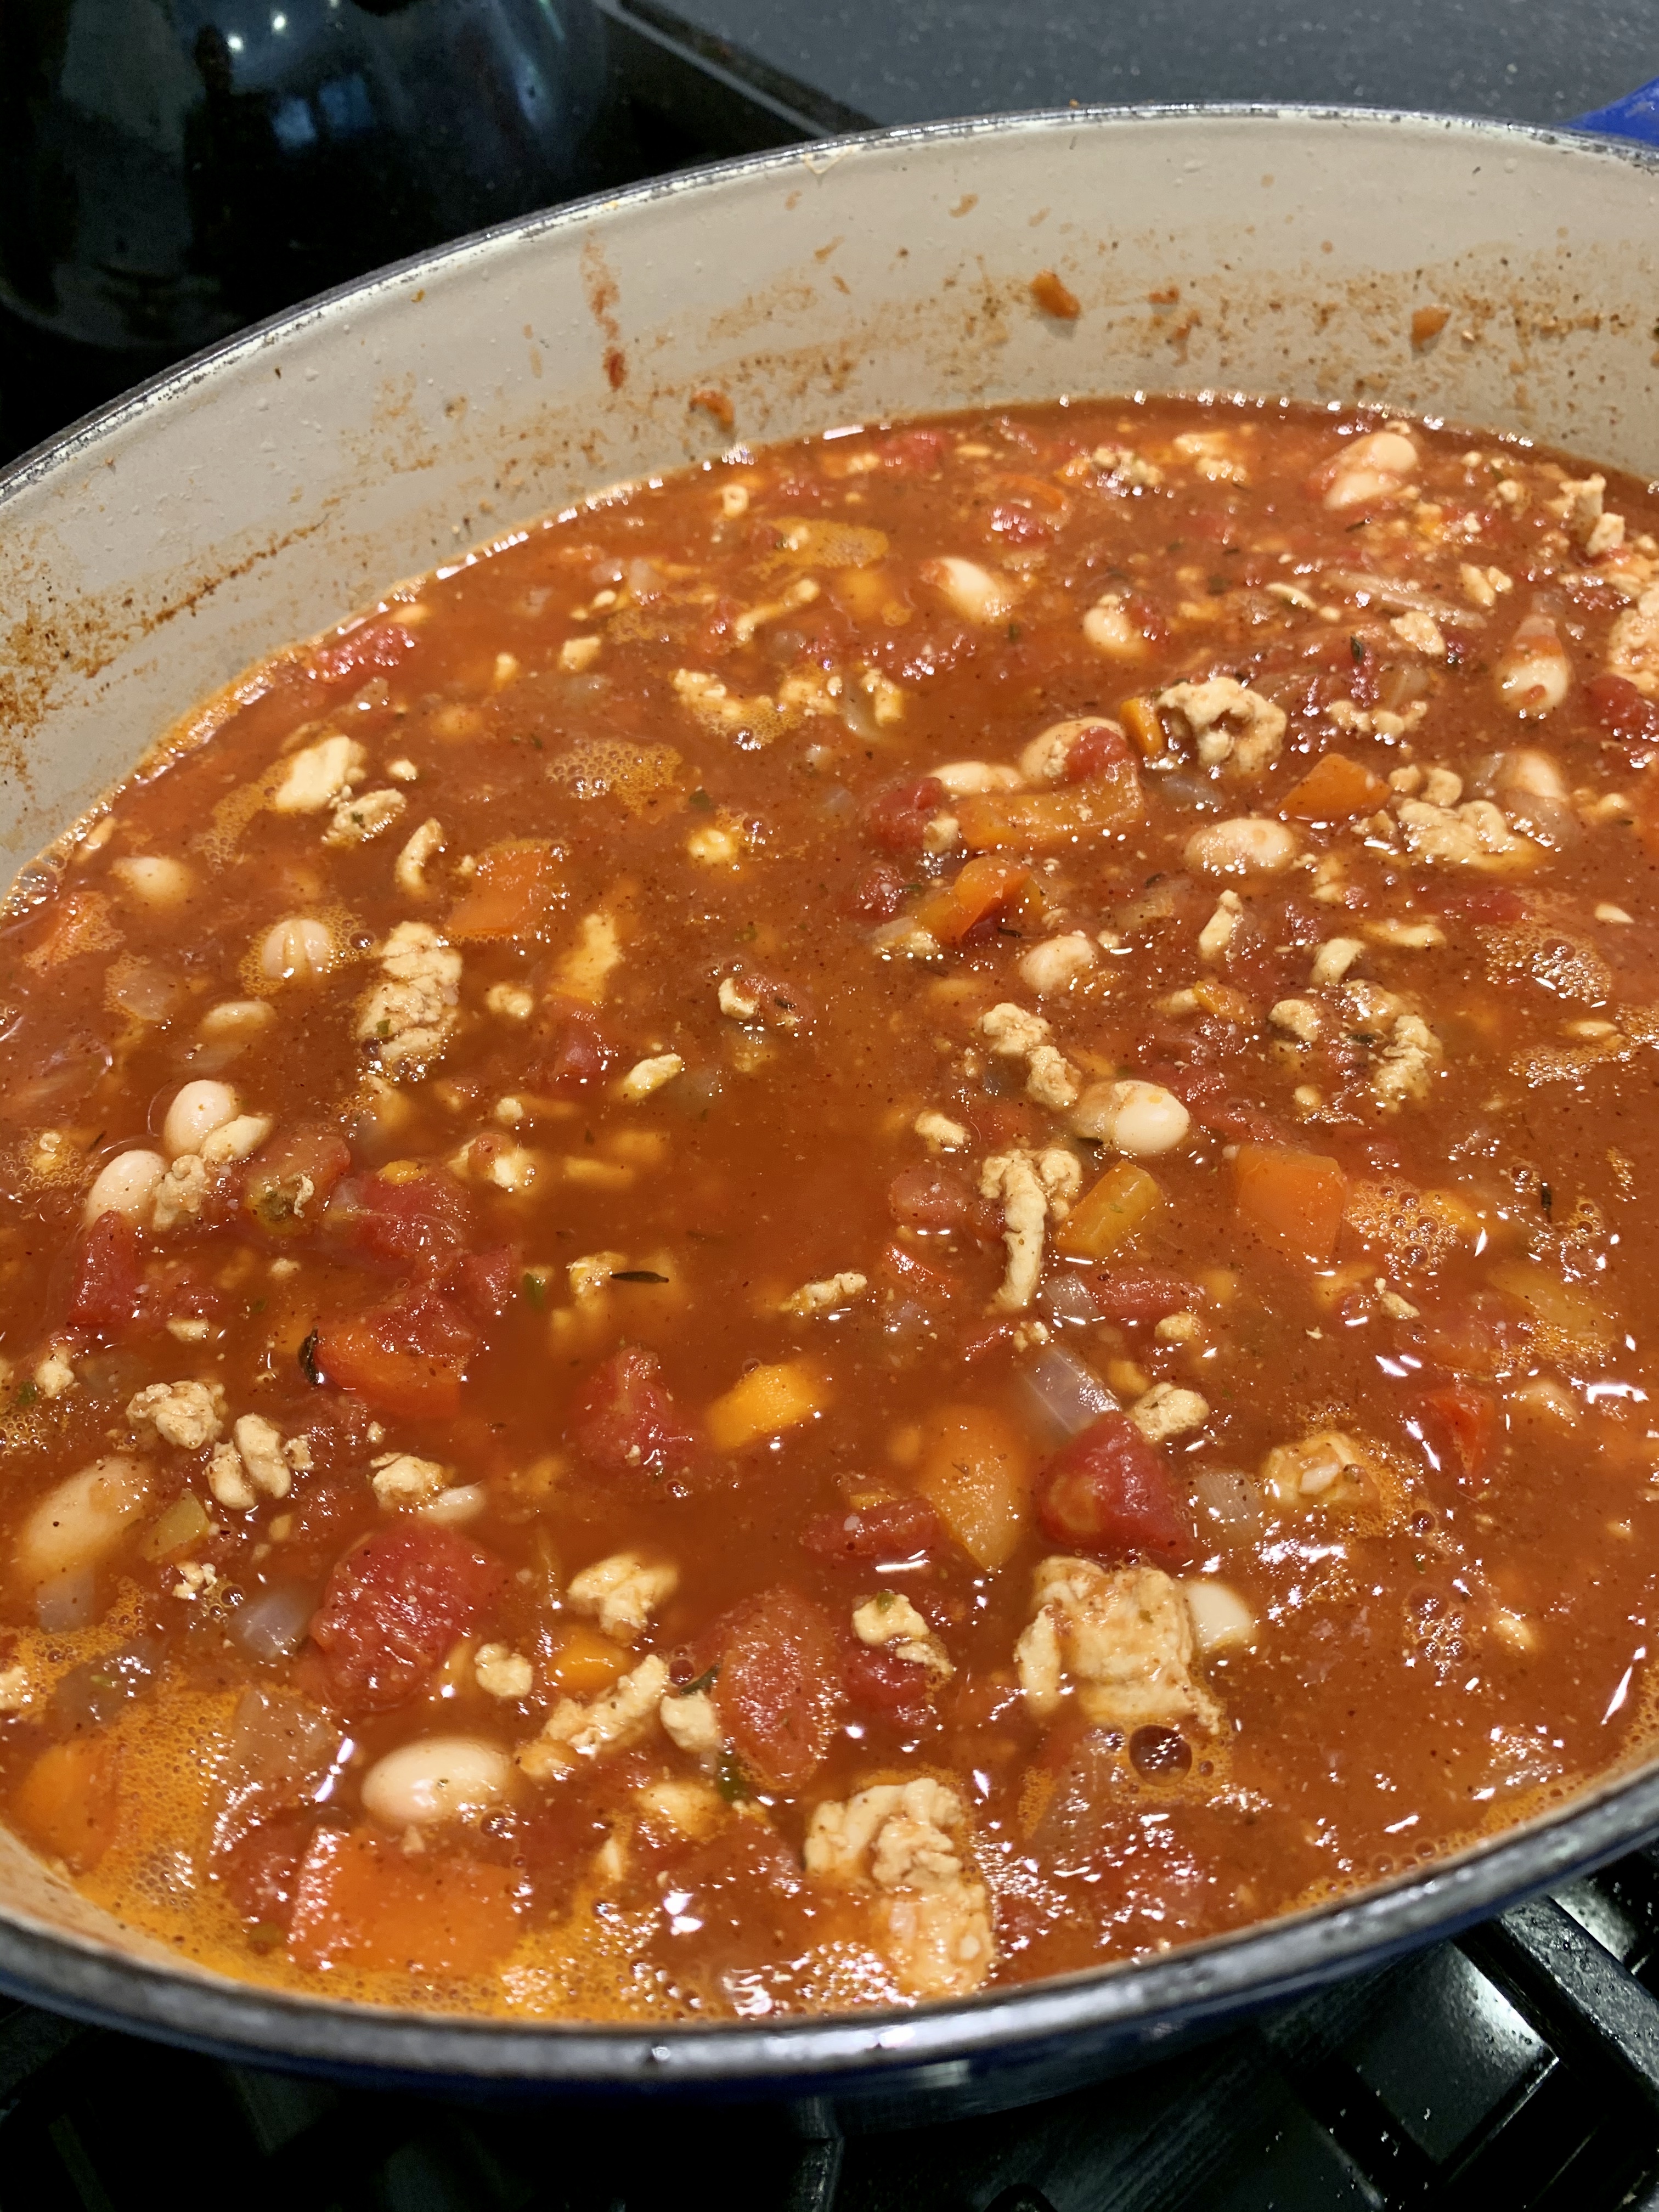
- Purée about 2/3 of the vegetable mixture and then return the puree to the dutch oven. Add the corn, broth and chicken. Bring to a boil, then turn the heat down to simmer. Let it simmer for an hour, stirring occasionally.
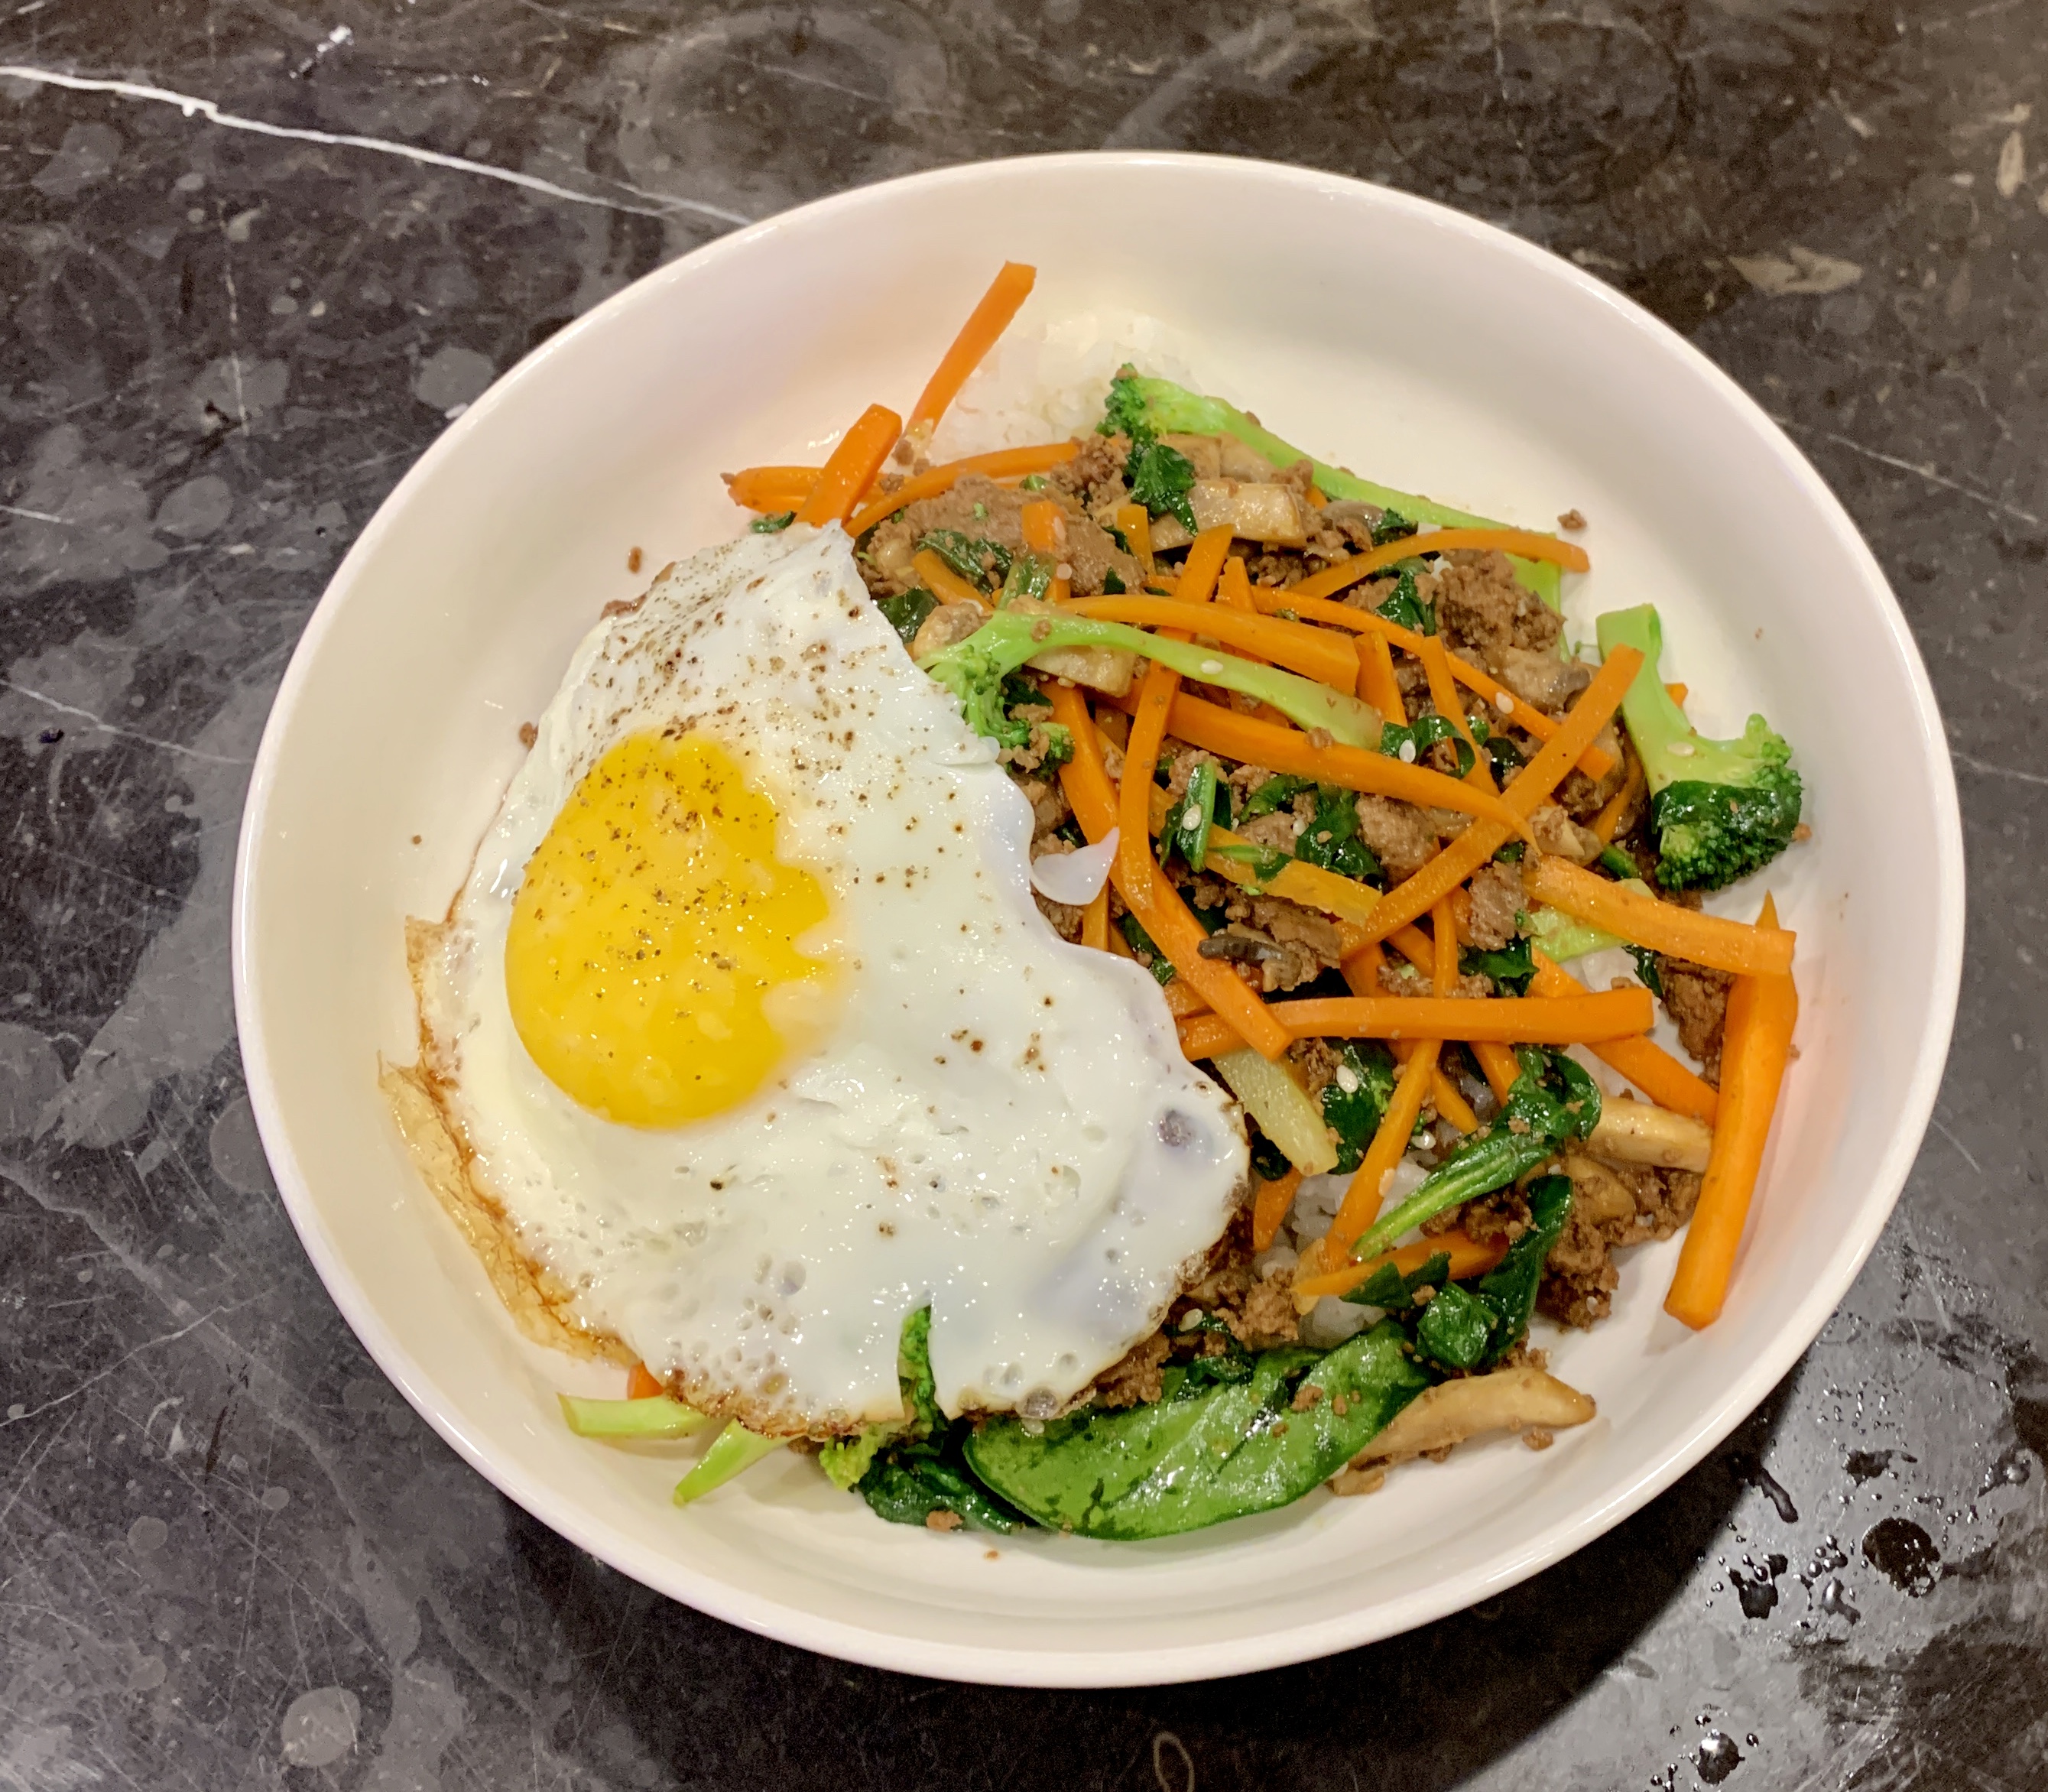
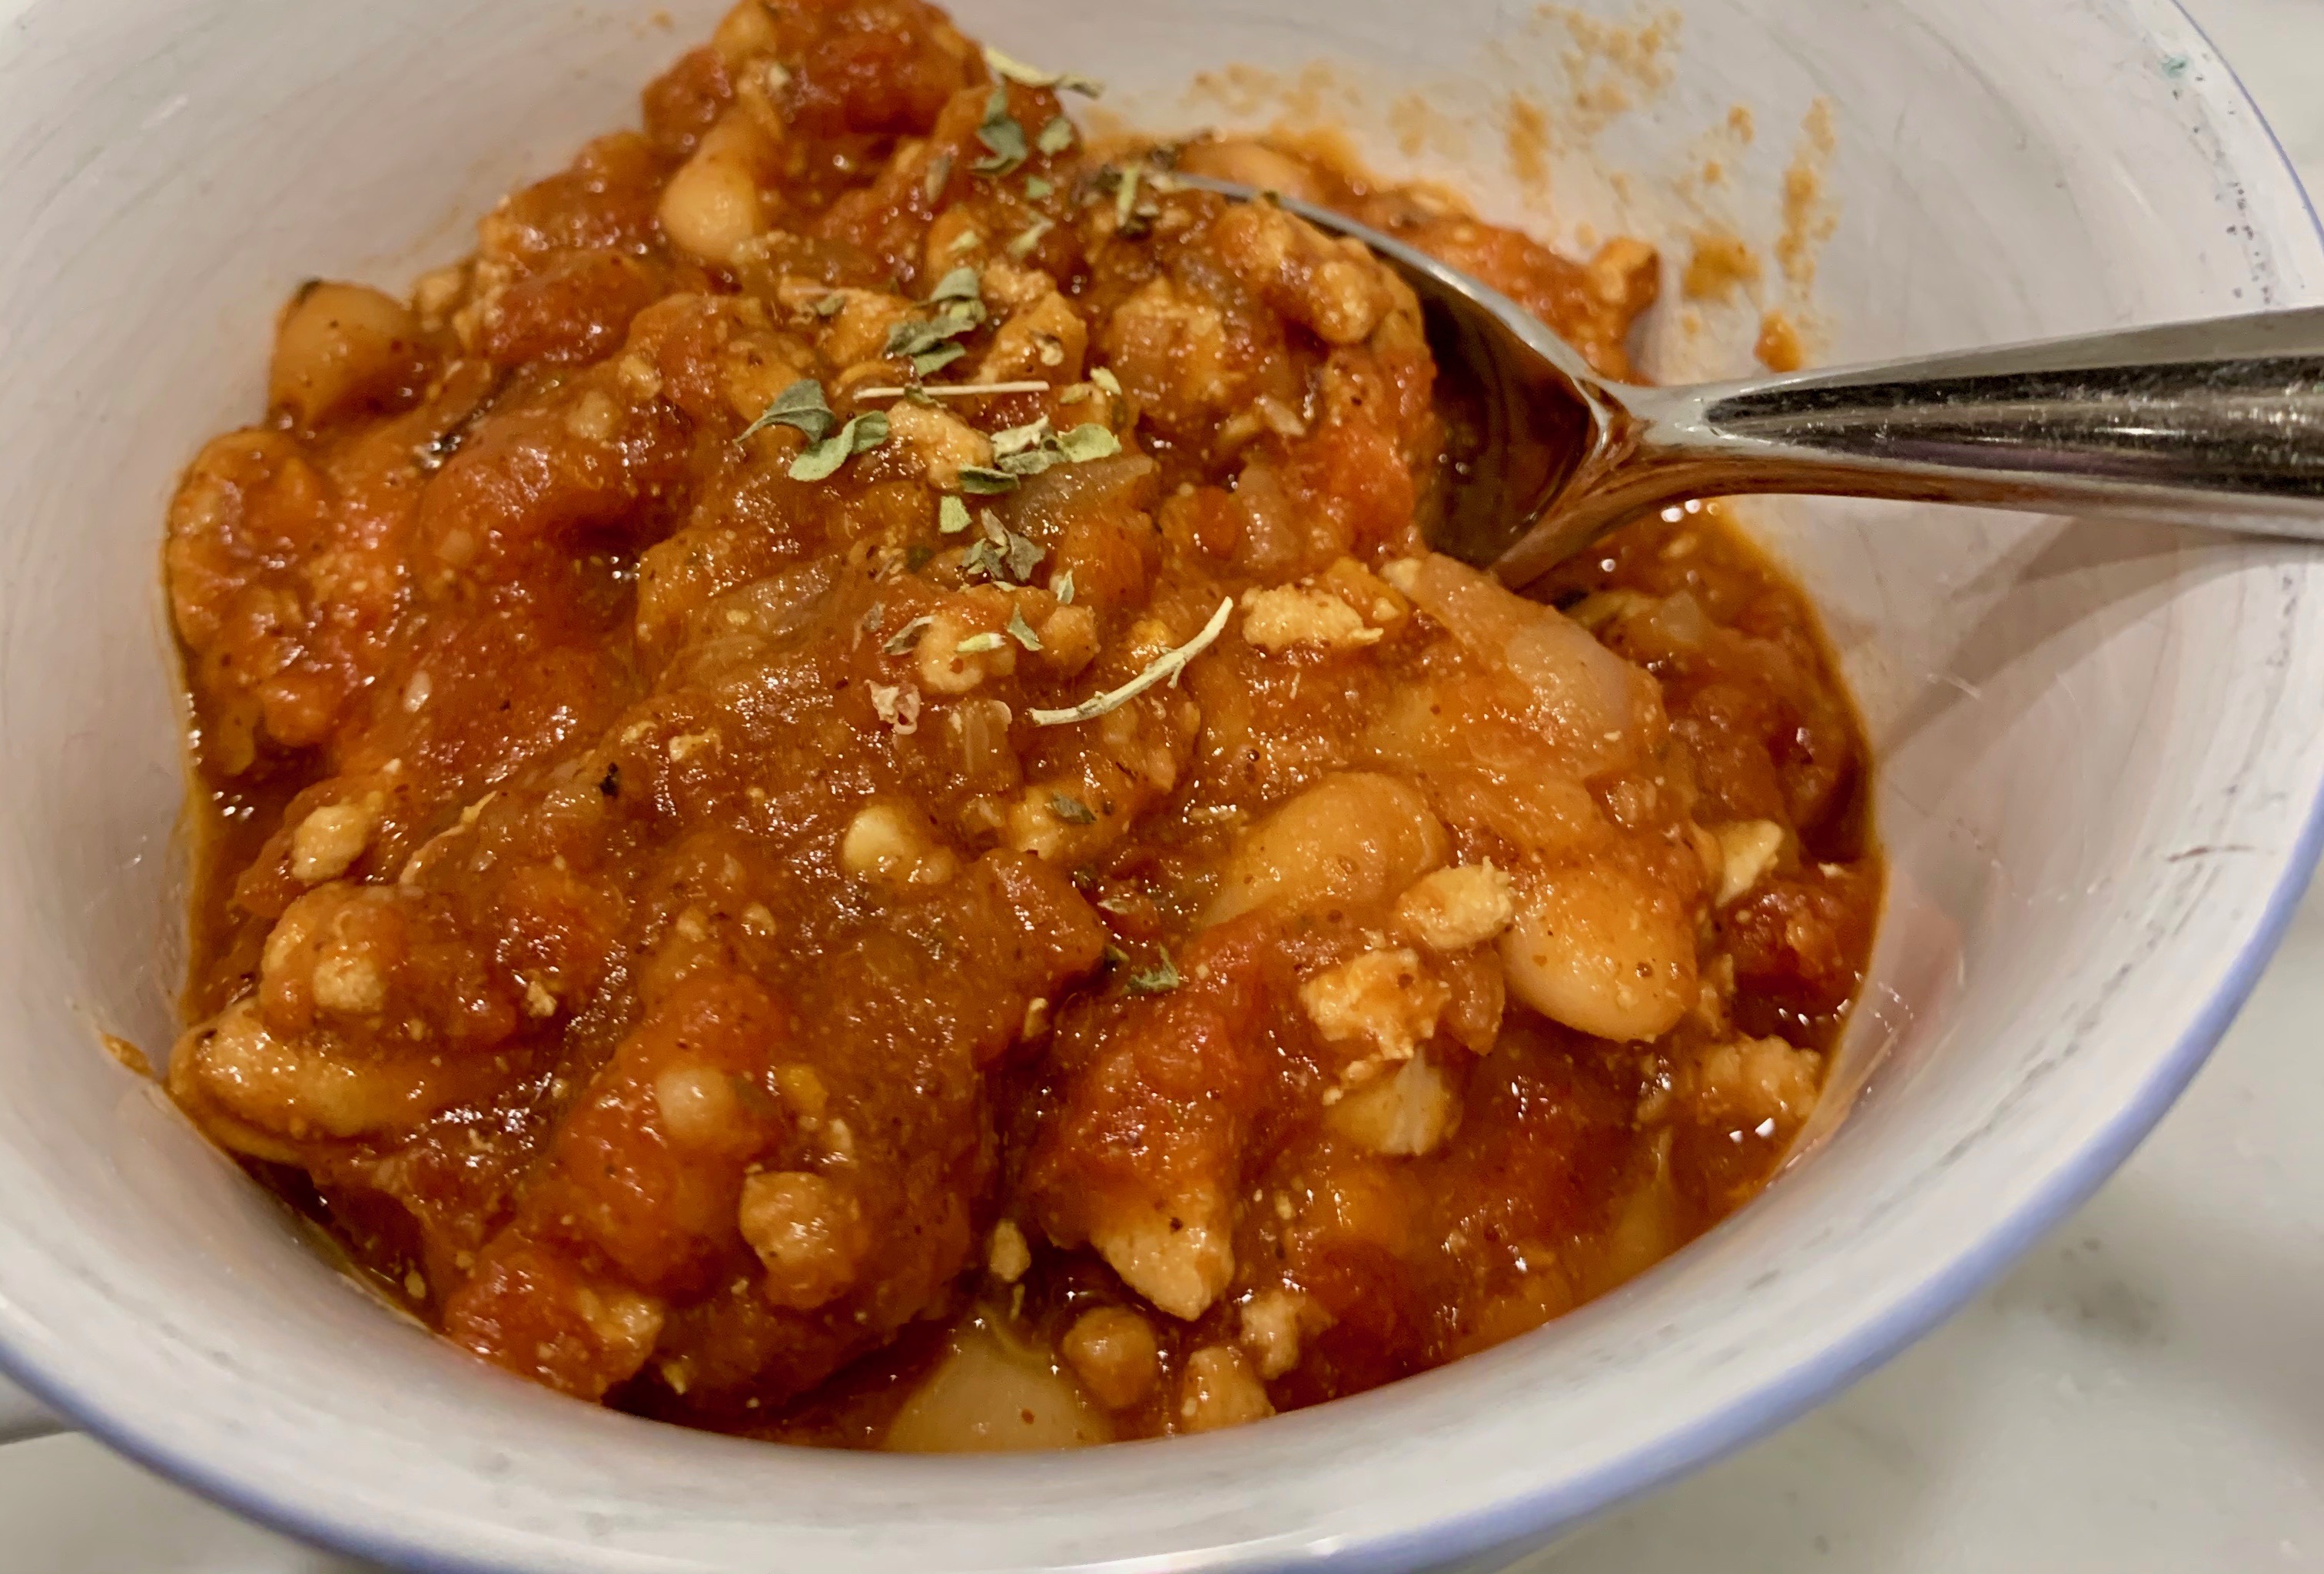
- Taste for seasoning, add more salt and pepper if needed. Serve in bowls with crushed tortilla chips, cilantro and a squirt of lime. Enjoy!
https://healthyseasonalcooking.wordpress.com
April, 3, 2024