Chicken and Vegetable Tortilla Soup

I have been making this for at least the last 20 years. This was originally a Cooking Light recipe that I have modified over the years many times over. This recipe reflects the way I have been cooking it for the last several years. It is completely homemade with fresh vegetables, and I use an already cooked organic rotisserie chicken from the store to save time. One pot meal with an abundance of vegetables!

Chicken and Vegetable Tortilla Soup

  • Servings: 6-8
  • Difficulty: easy
  • Print

Pretty easy one pot meal with an abundance of vegetables.

Credit: This recipe is based on this Cooking Light  recipe

Ingredients

  • olive oil
  • 1 large sweet onion, small dice
  • 1 jalapeño, finely chopped
  • 1 red or yellow bell pepper, small dice
  • 2 carrots, peeled and small dice
  • 4 garlic cloves, minced
  • 1 to 2 tablespoons chili powder (chili powders vary a lot in flavor and spiciness)
  • 1-1/2 teaspoons ground cumin
  • 1 teaspoon dry oregano
  • kosher salt and pepper (start with a teaspoon of salt if you are using all salt free products and 10 grinds of the pepper mill add more at the end if needed)
  • 1/3 cup dry white wine
  • 28 oz can no salt added chopped tomatoes
  • 2 fresh ears of corn, cut off the cobb
  • 1 quart of no or low sodium chicken stock
  • 2 cups of shredded cooked chicken breast (I just buy some cooked “perfectly plain rotisserie chicken” from Whole Foods to save a little time)
  • sliced lime wedges (optional)
  • 1/4 cup chopped cilantro (optional)
  • tortilla chips

Procedure

  1. In a large dutch oven, sauté onions in a bit of olive oil for about 5 minutes.
  2. Add jalapeno, bell pepper and carrots, and cook for about 5 more minutes, until soft.
  3. Add garlic, chili powder, cumin, oregano, salt and pepper and stir for a couple of minutes until fragrant.
  4. Add wine and stir until it has mostly burned off. Stir in tomatoes and cook for a couple of minutes.
  5. Purée about 2/3 of the vegetable mixture and then return the puree to the dutch oven. Add the corn, broth and chicken. Bring to a boil, then turn the heat down to simmer. Let it simmer for an hour, stirring occasionally.
  6. Taste for seasoning, add more salt and pepper if needed. Serve in bowls with crushed tortilla chips, cilantro and a squirt of lime. Enjoy!

https://healthyseasonalcooking.wordpress.com

April, 3, 2024

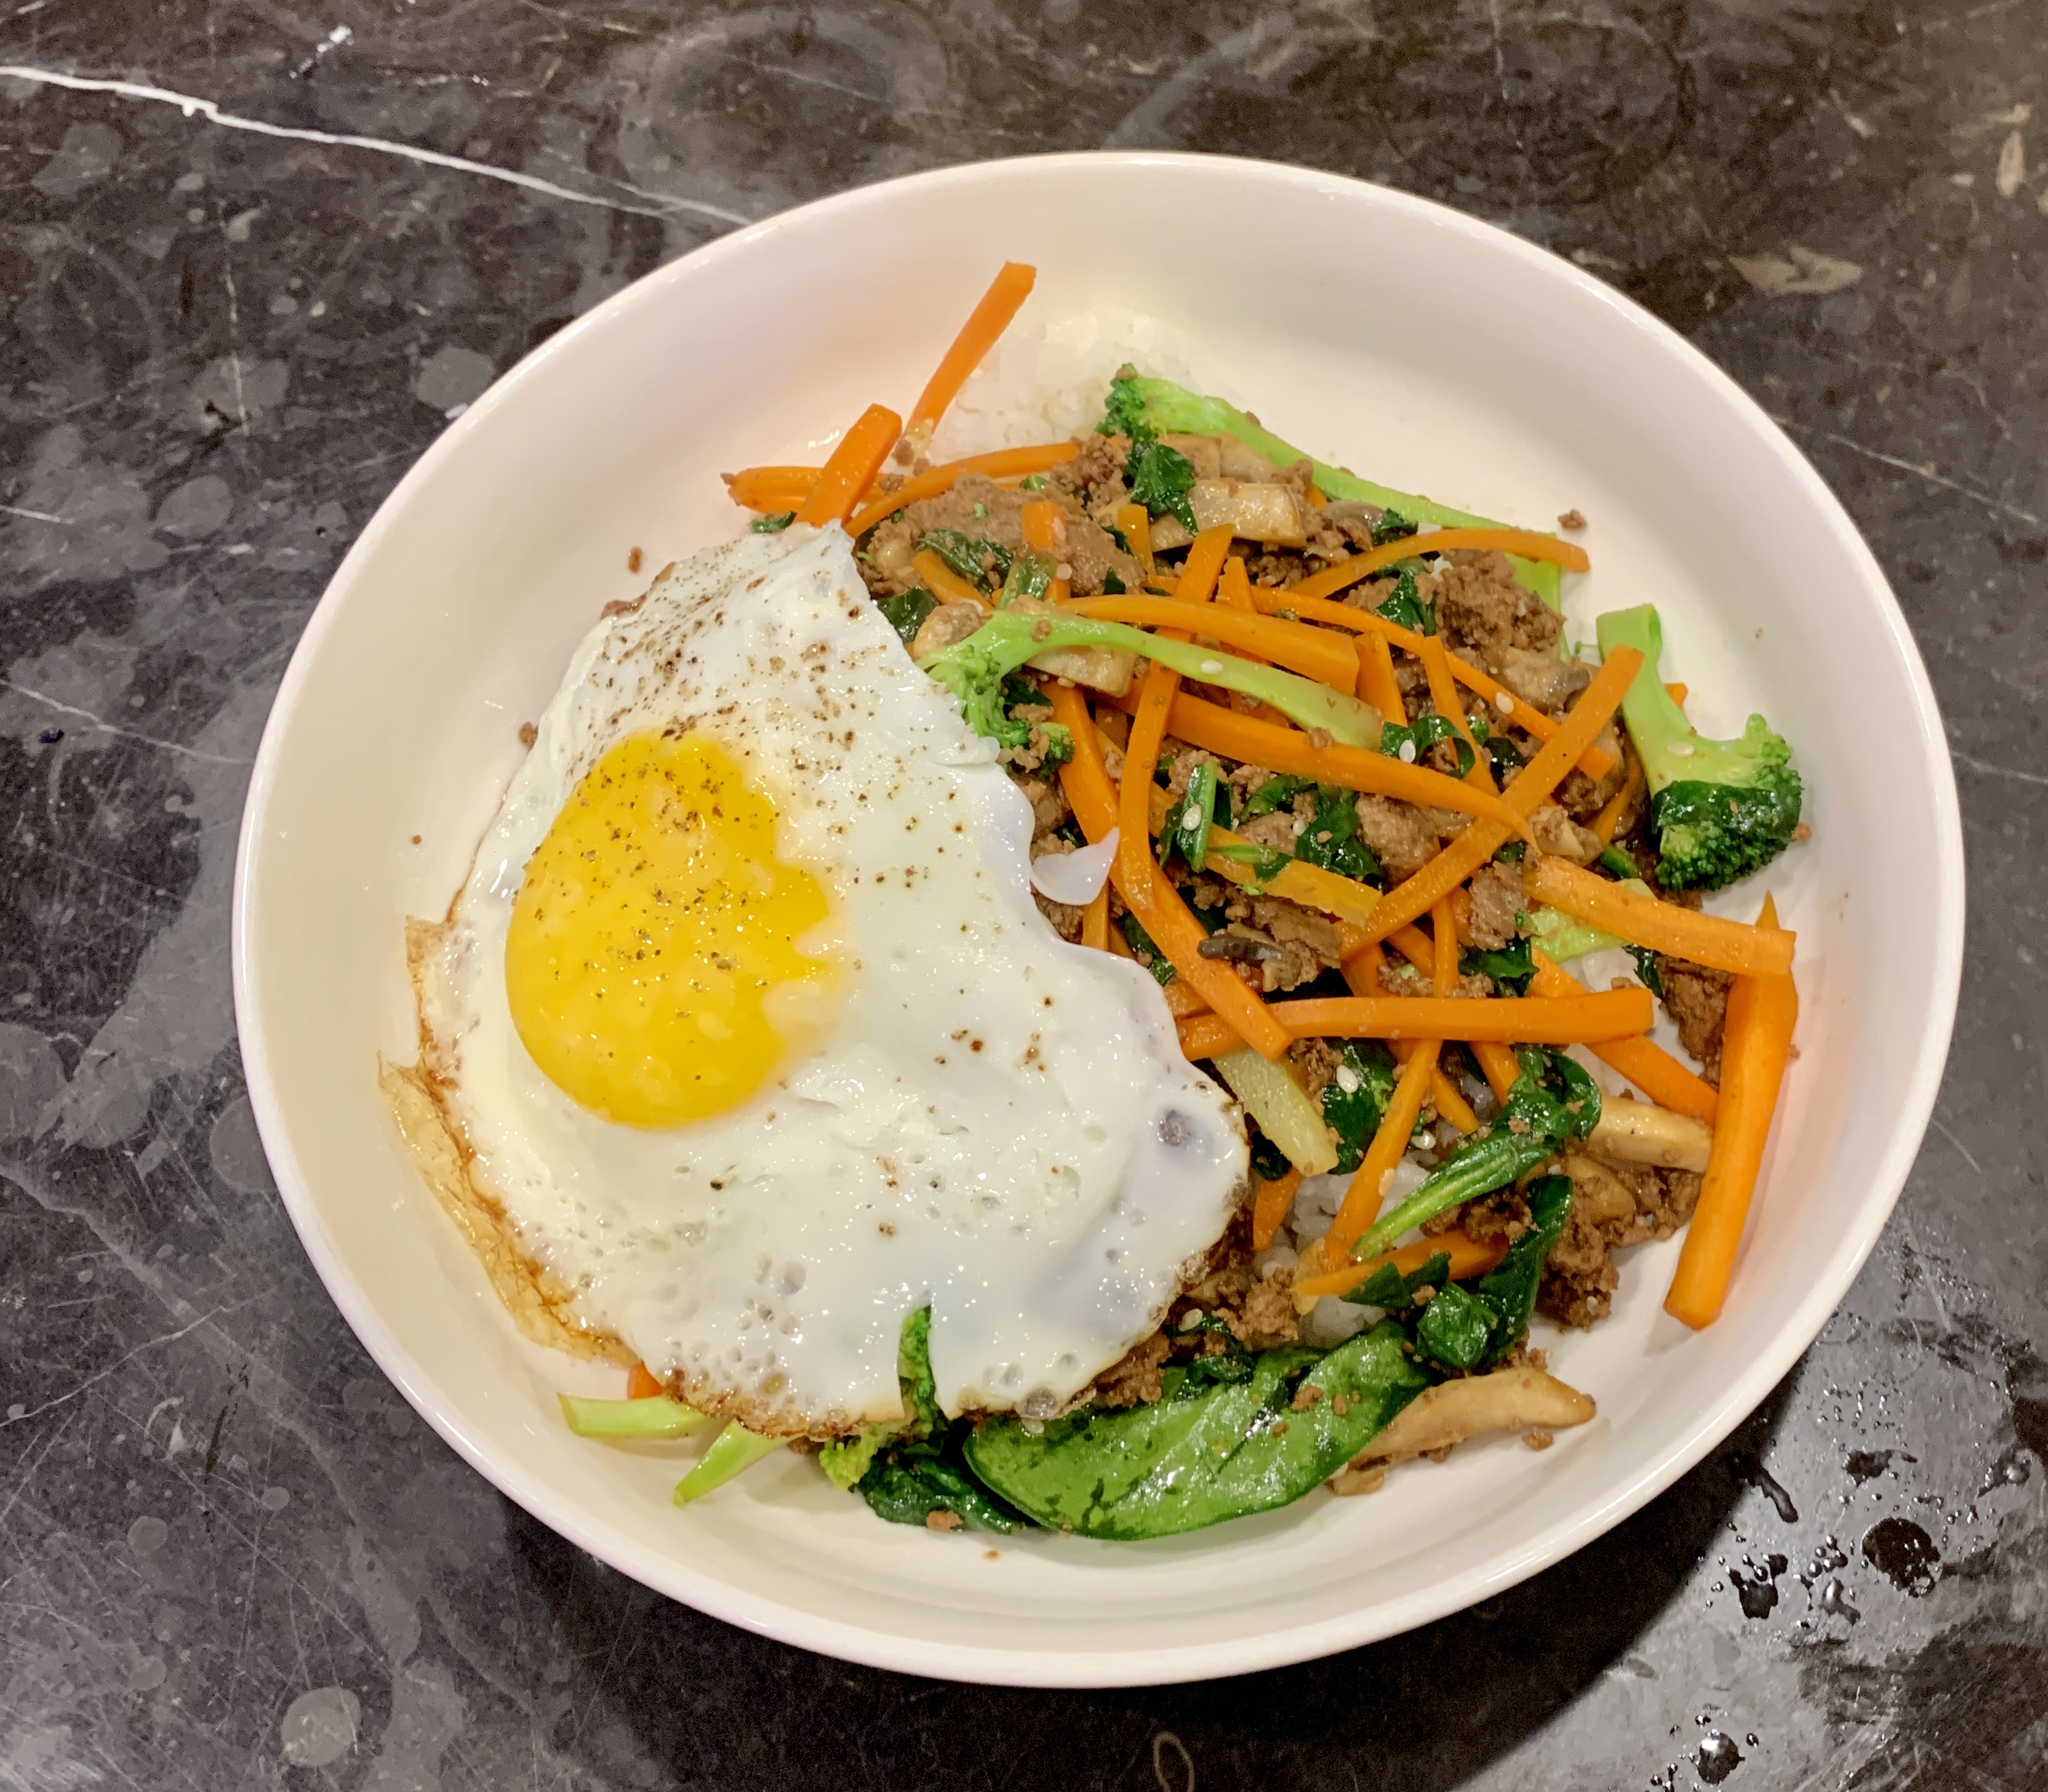
Vegetable and Beef Bibimbap

I have made this several times now and the three of us have been enjoying it each time. I will have to say this is Korean-inspired Bibimbap based on a recipe from The Woks of Life.  I made too many changes to call it authentic, but I am including it on this site because it is fast, easy, healthy and my family and I like it. I added additional vegetables, and have varied those vegetables based on what is in season and/or in my vegetable drawer at home. Today I left out the mung bean sprouts because I couldn’t find any at Whole Foods. I used carrots, shiitake mushrooms, broccoli and spinach along with grass-fed lean ground beef. My son won’t eat kimchi, so I omitted that as well, but it would certainly be more authentic with it. One really nice thing about this is that I can cut-up the vegetables ahead of time (when it is convenient during the day or meal-prep them on the weekend) and then refrigerate them. When I am ready to make the dish all I have to do is throw some rice in the rice cooker and stir fry the prepped ingredients, pretty quick and easy. Enjoy!

Vegetable and Beef Bibimbap

  • Servings: 4
  • Difficulty: pretty easy
  • Print

Quick, easy and healthy Korean vegetable and beef dish.

Credit: Easy Beef Bibimbap from The Woks of Life

Ingredients

  • cooked rice (lately I have been using white sushi rice, but use whatever kind you prefer, brown rice works well).
  • 2 medium carrots, peeled and julienned
  • 1/4 medium sweet onion, cut into wide strips
  • 1/2 pound broccoli florets, cut into bite-size pieces
  • 12 oz fresh spinach leaves
  • 2 garlic cloves, minced
  • 1 pound shiitake mushrooms, diced
  • 3/4 pound lean ground beef (organic grass-fed if you are inclined)
  • 4 eggs
  • Salt and pepper to taste
  • 2 Tablespoons low sodium soy sauce, divided
  • 1 teaspoon sesame oil
  • oil of choice for cooking (a neutral oil is best, like safflower oil)
  • 1/2 cup napa cabbage kimchi (I skip this)
  • 2 Tablespoons gochujang (Korean red pepper paste) – I skip this for the spice-phobe
  • 2 teaspoons toasted sesame seeds

Procedure

  1. Prepare your rice (in a rice cooker if you have one).
  2. Heat a wok or large skillet over medium-high heat. Add a bit of oil to pan and spread. When oil is hot add the carrot sticks and stir fry the a couple of minutes, until tender but still a bit crunchy. Remove to a bowl. Repeat with the onion, and then with the broccoli. Note: You can keep each cooked vegetable separate, or mix them together in a large bowl. Cooking them separately seems to really help them stay crisp because they aren’t overcrowded in the pan and each different vegetable needs different cooking times. Whether you mix them after cooking is your style choice.
  3. Add a little sesame oil and 1 Tablespoon of soy sauce to the vegetables and stir.
  4. Add a little more cooking oil to the skillet and cook the garlic for about 30 seconds. Add the mushrooms and cook for a couple of minutes. Add the ground beef to the mushrooms and garlic and cook until browned. Add 1 Tablespoon soy sauce and stir. Add in the cooked vegetable mixture, mix and re-heat for a minute or so.
  5. While cooking the beef mixture, cook the 4 eggs sunny side up in a separate skillet. Add salt and pepper to taste.
  6. Divide the rice evenly into 4 bowls. Top with the vegetable and beef mixture. Top each bowl with an egg and a sprinkling of sesame seeds. Add a dollop of gochujang and kimchi to each bowl if using. Enjoy!

Note:

  • I mixed my vegetables and beef together and simply put it on top of my rice. If you want to serve it in a more authentic way, you would keep each vegetable separate and the meat separate and serve each in a separate section on top of the rice. I prefer to make it less fussy and have a quicker hot meal.

https://healthyseasonalcooking.wordpress.com

January 10, 2020


59729179857__00FF4D38-B122-4E85-B16B-DF53DC8F9B49

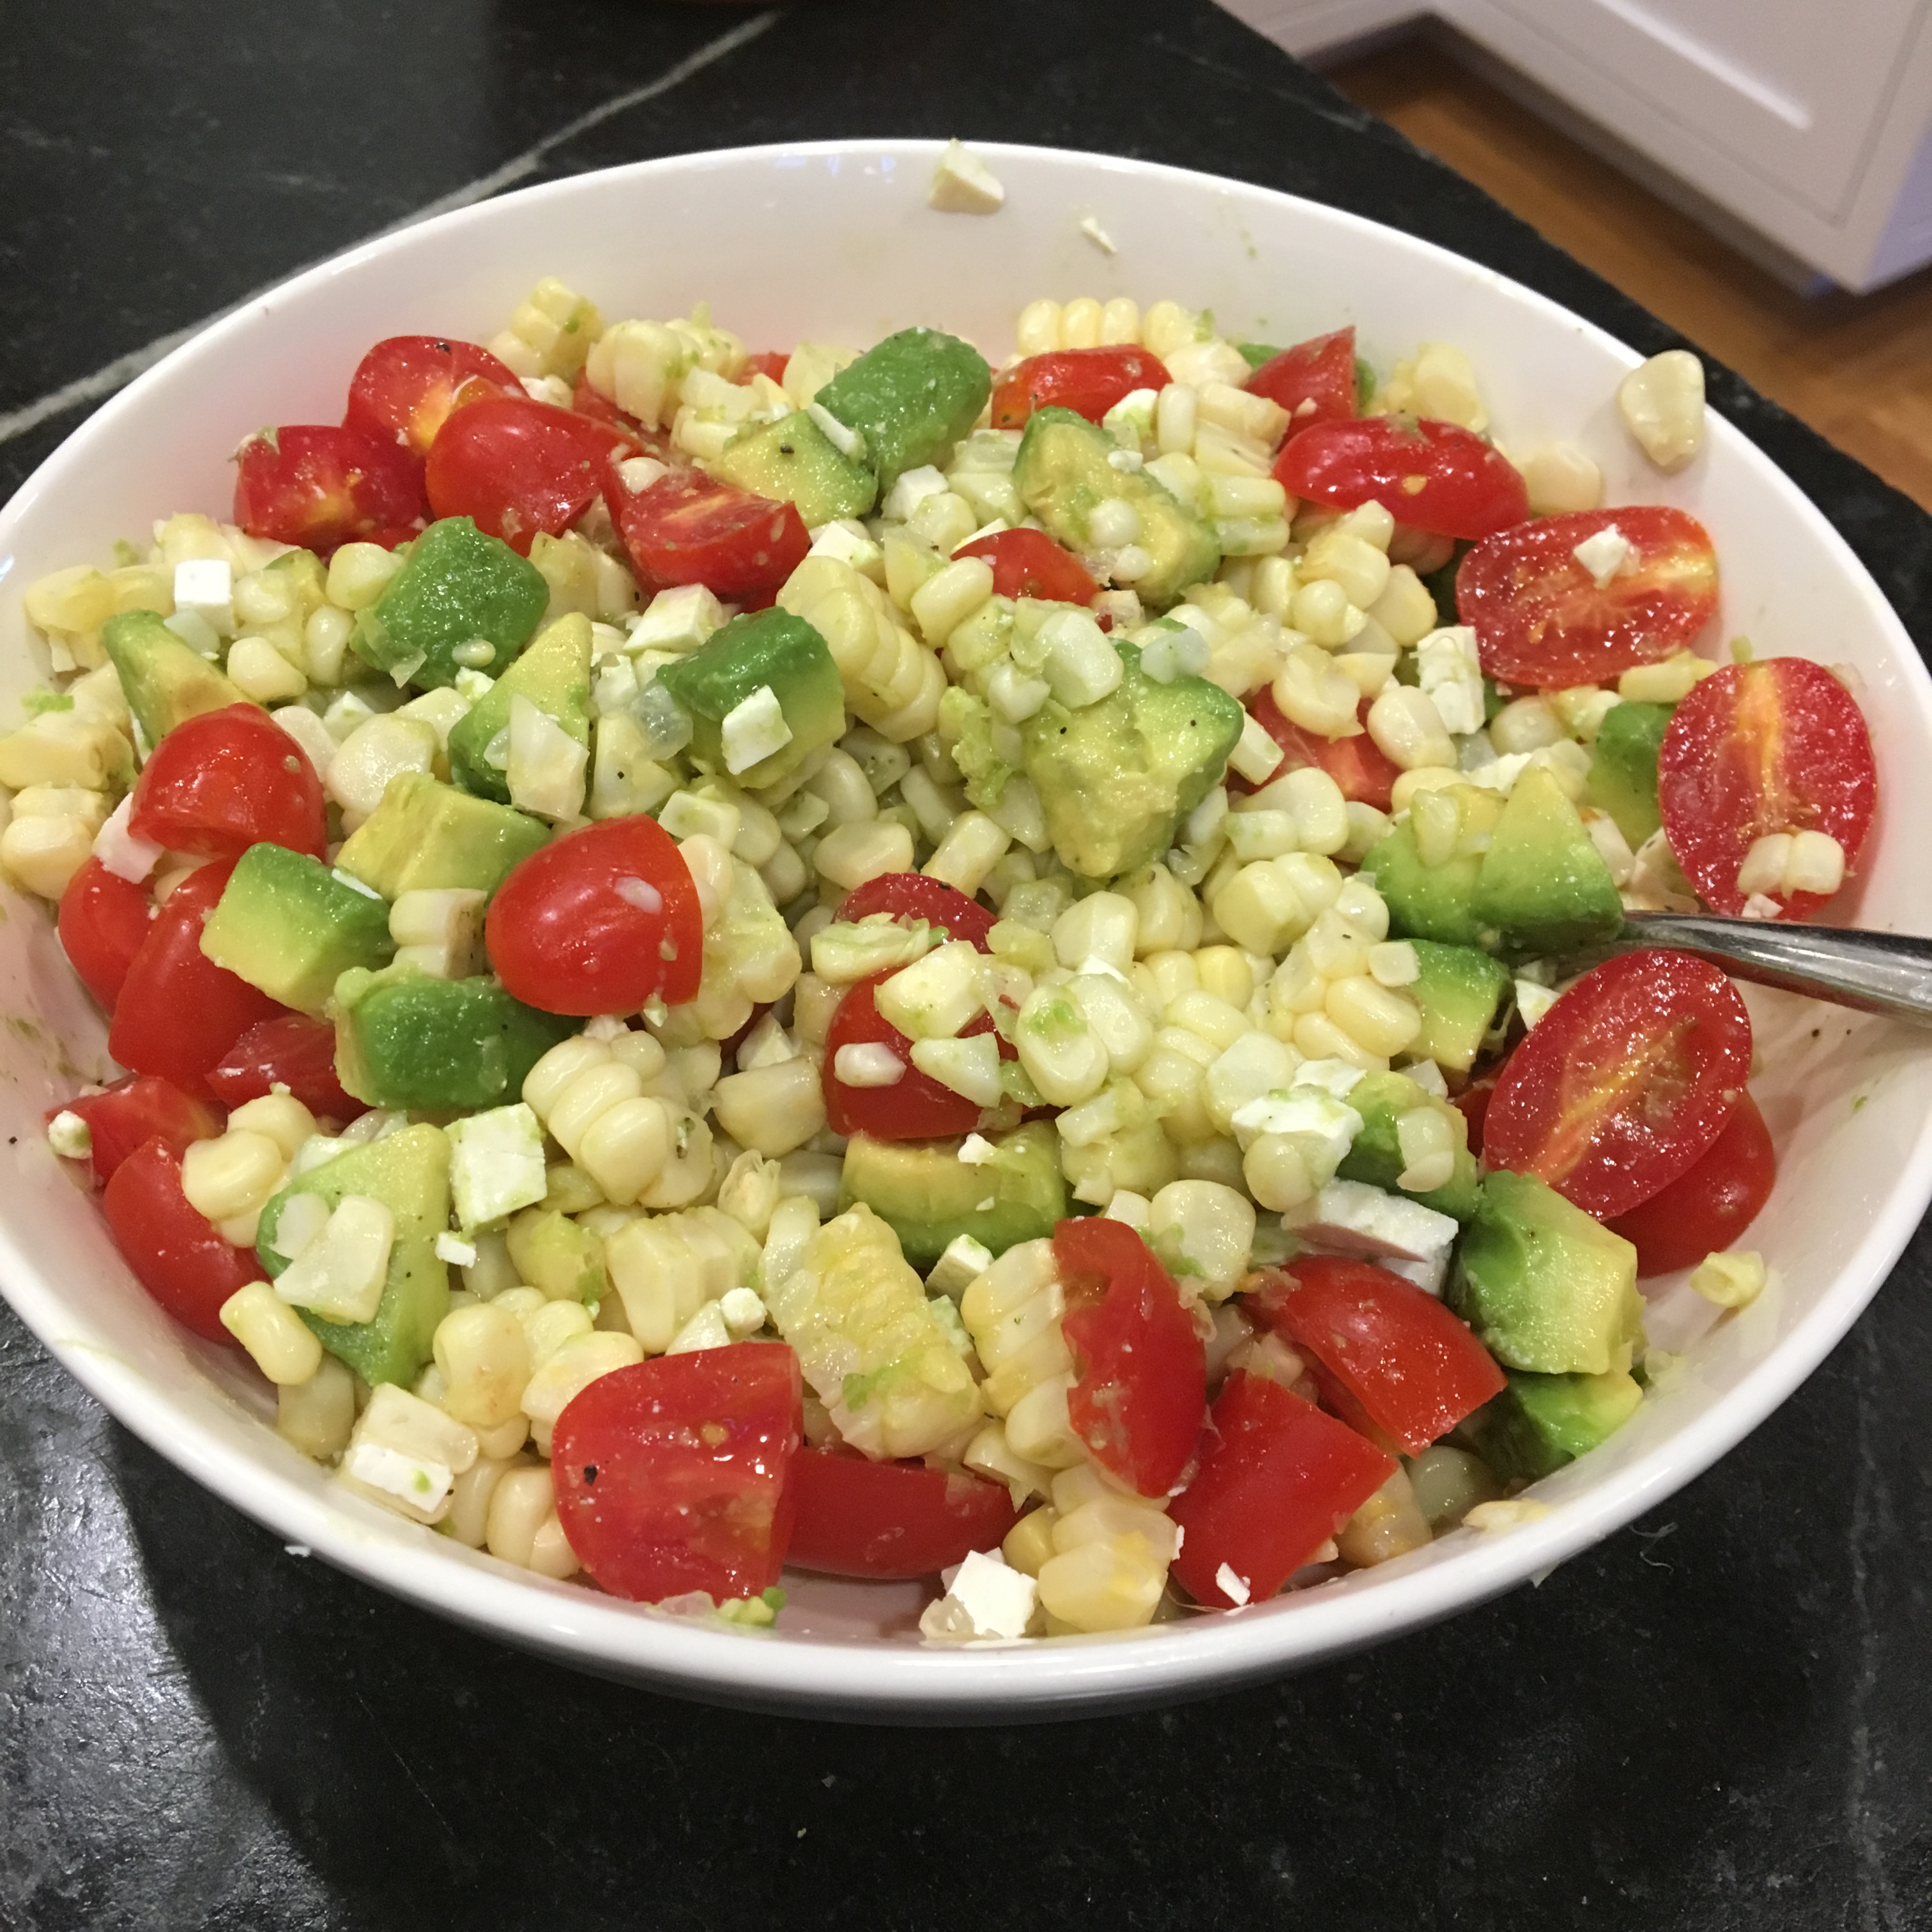
Tomato, Corn and Avocado Salad with Ricotta Salata

IMG_4237

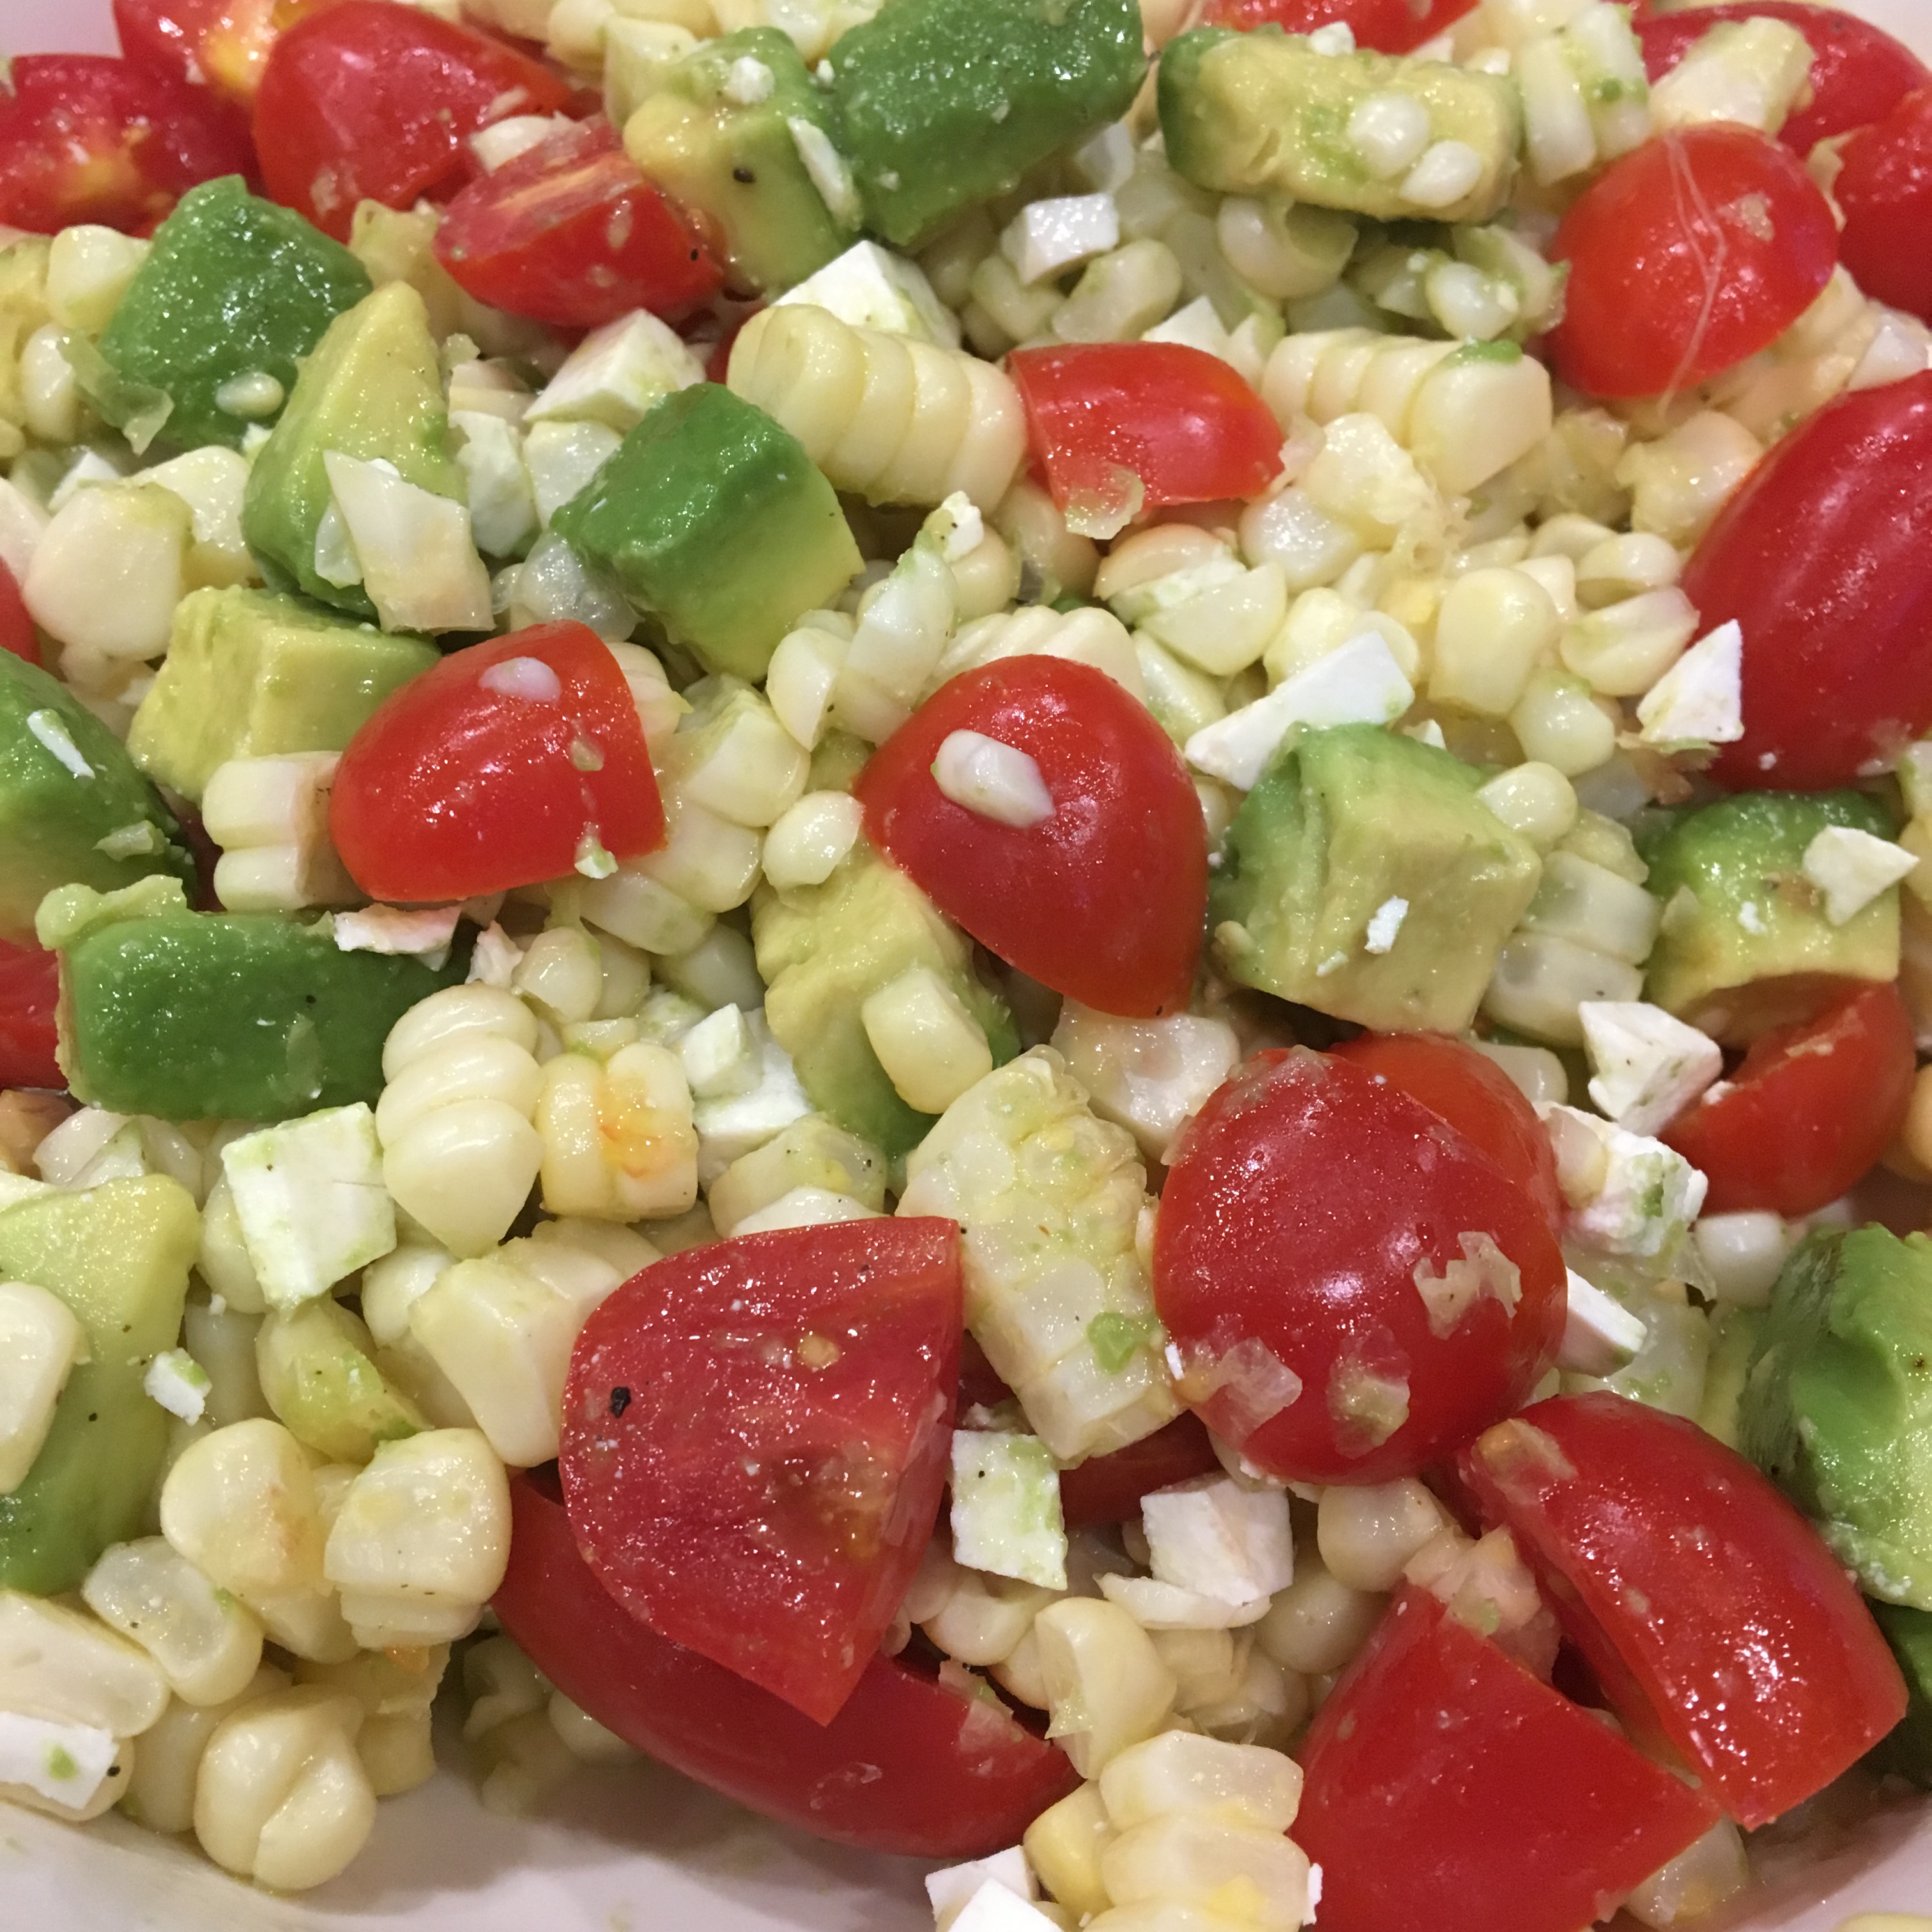
Pretty warm day here in the Bay Area. I decided I would make crab cakes Crab Cakes and a tomato, corn and avocado salad. This was based on what looked fresh at the grocery store today. Just a quick salad that I threw together, no actual recipe, but I tried to capture it the best I could in the recipe below. Enjoy!

IMG_4232

Tomato, Corn and Avocado Salad with Ricotta Salata

  • Servings: 4
  • Difficulty: very easy
  • Print

Healthy and quick spring/summer salad.

Ingredients

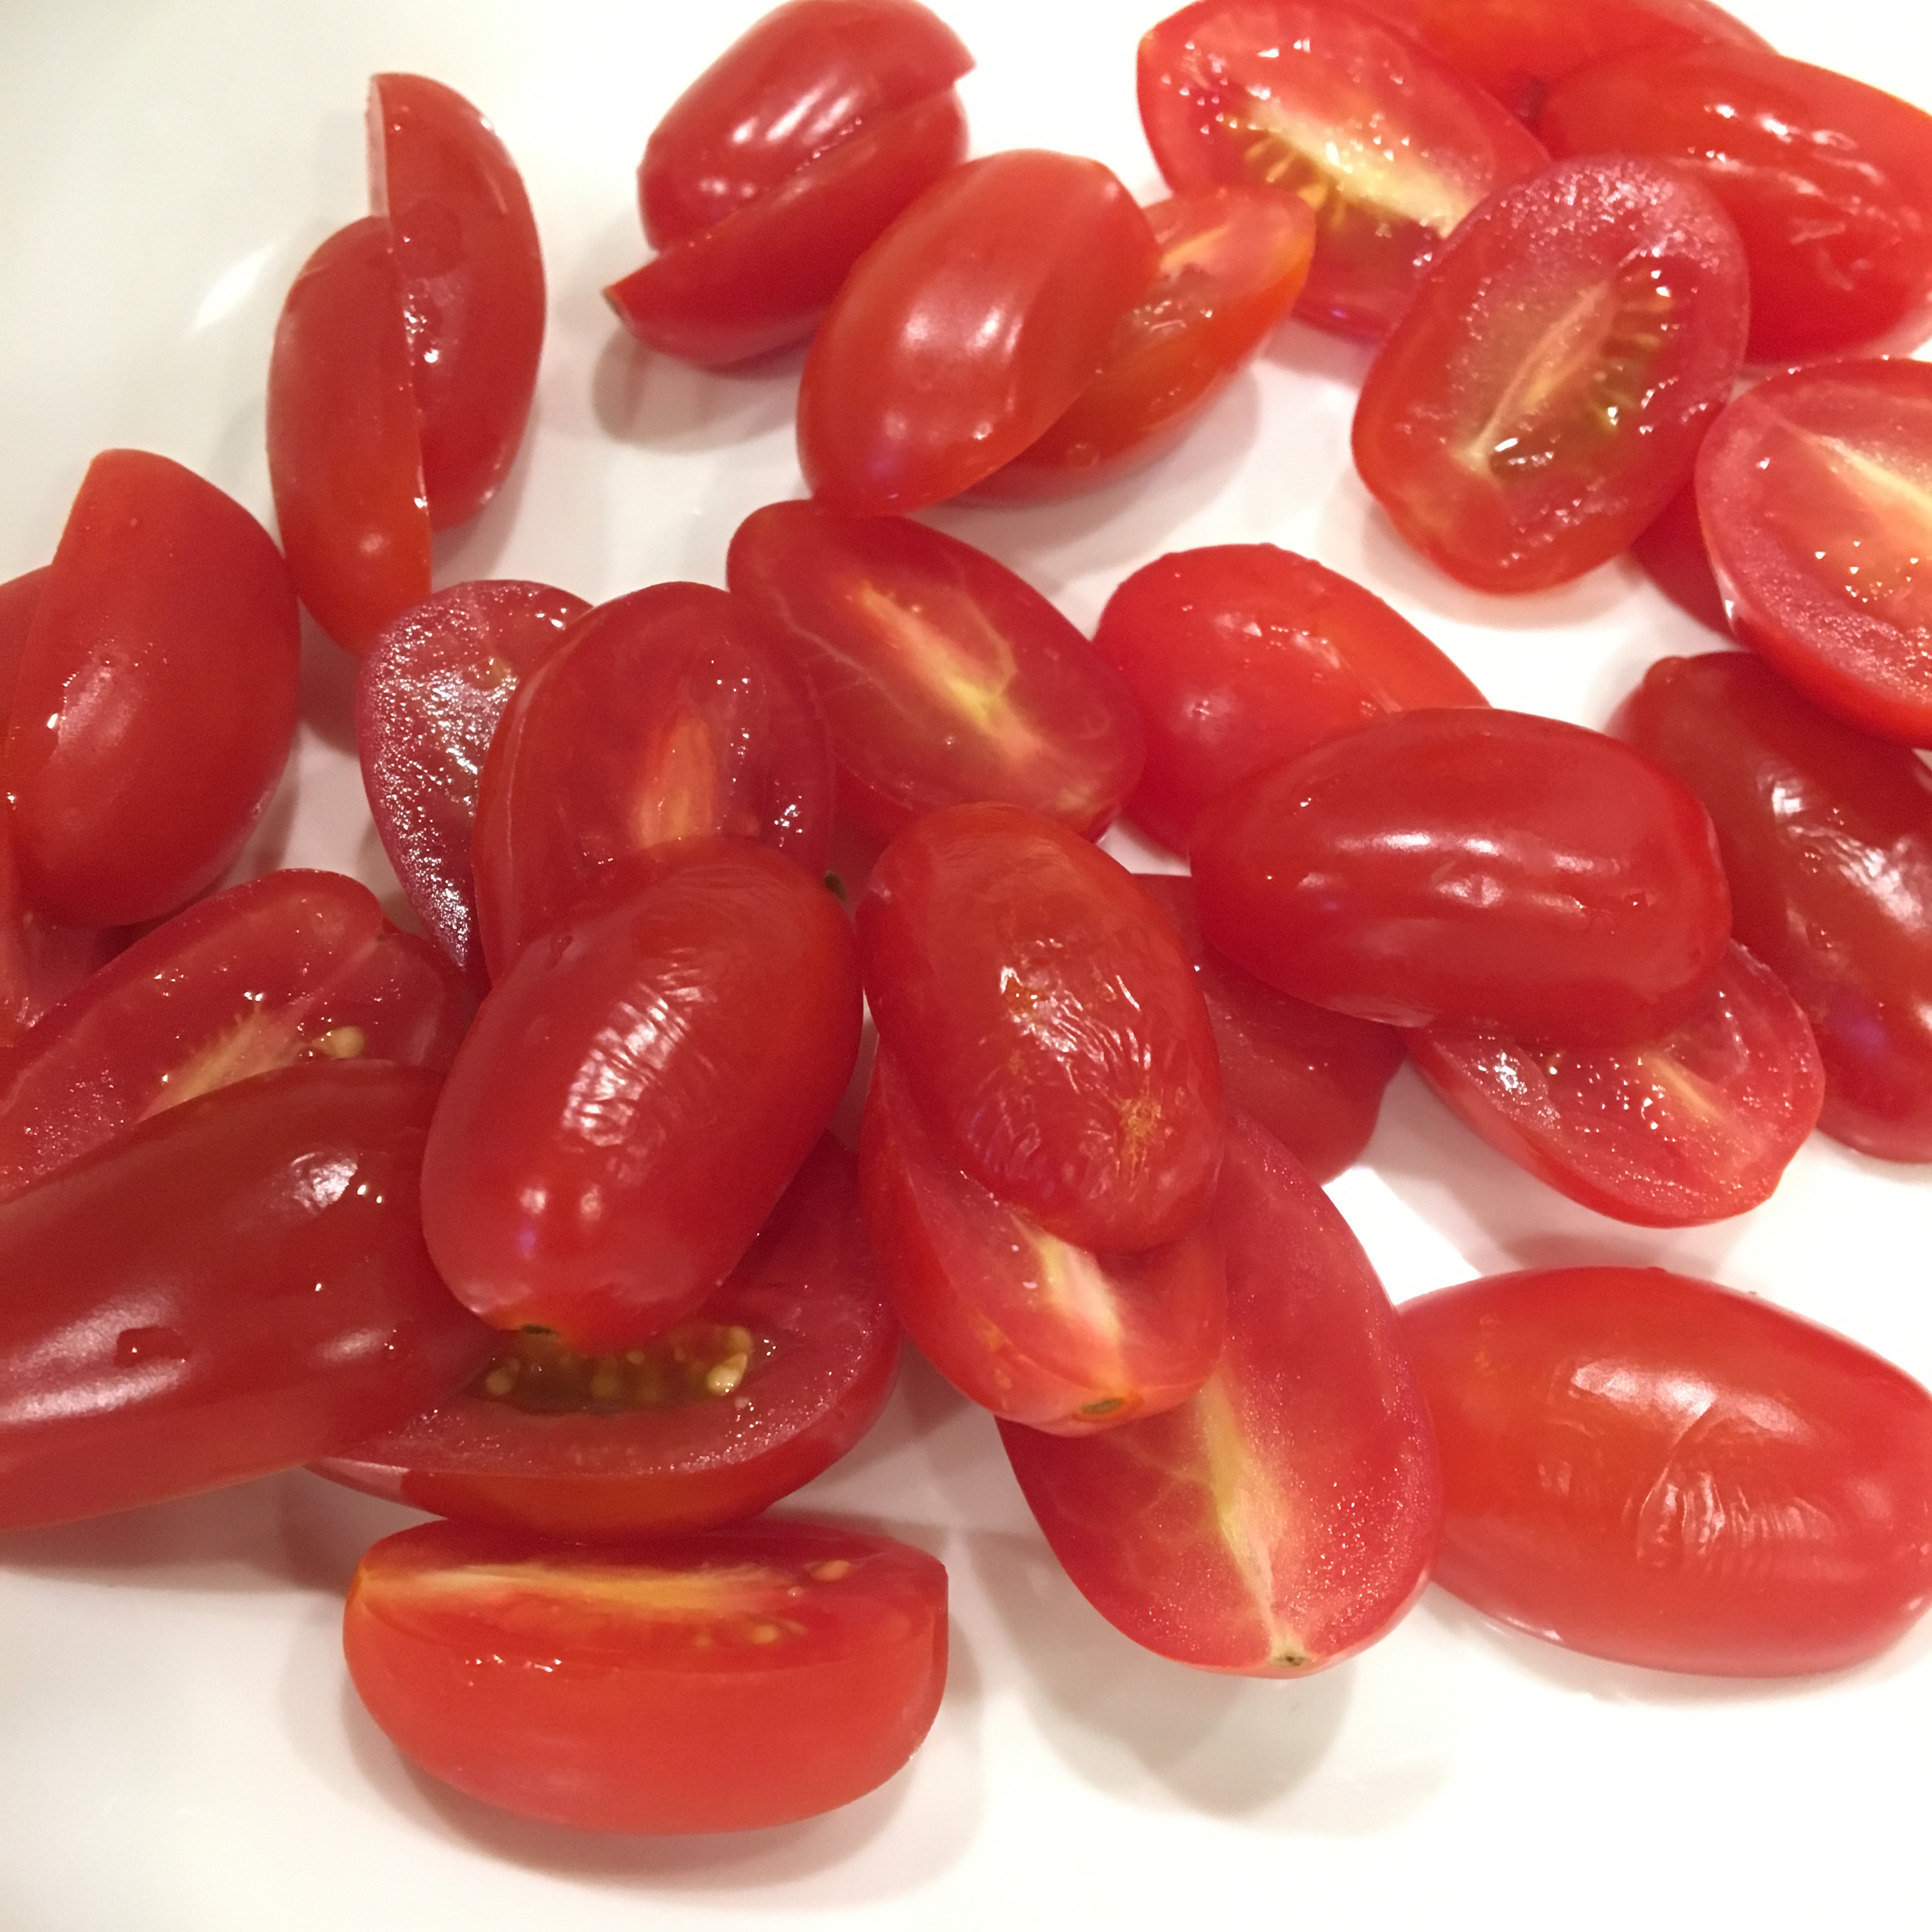
  • 1 1/2 cup cherry or grape tomatoes, sliced in half or quarters depending on size
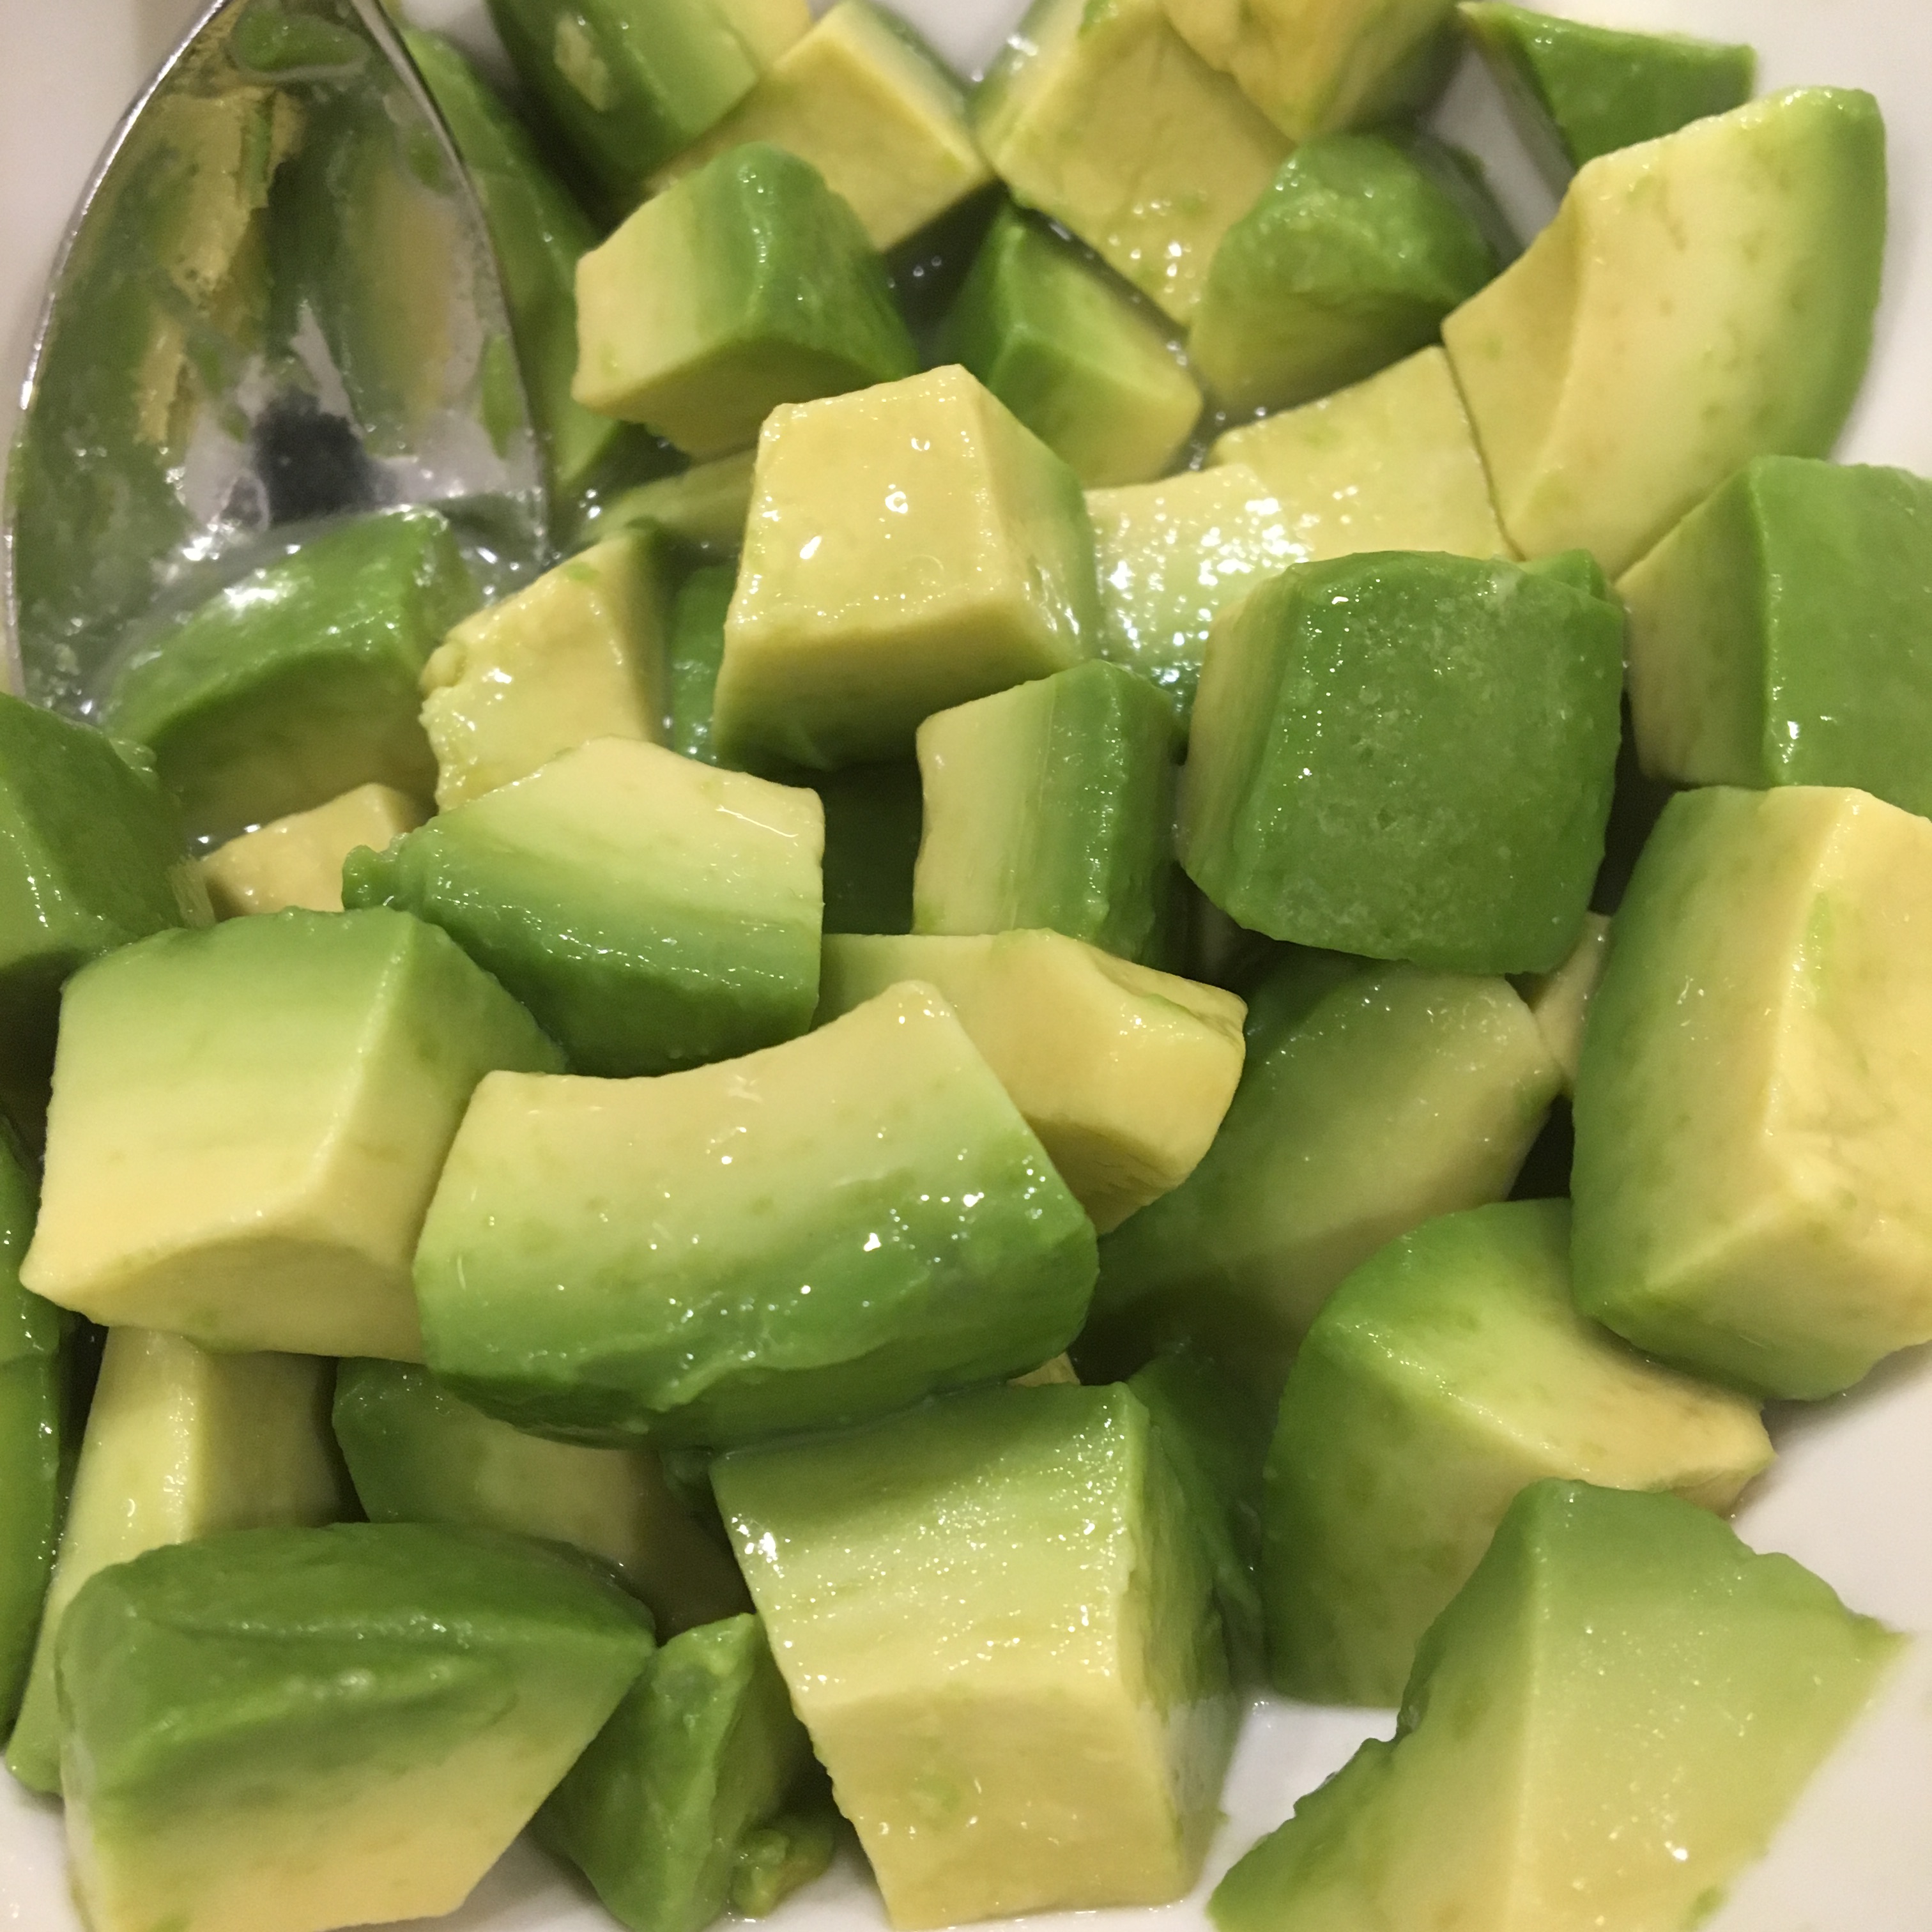
  • 1 avocado, diced and soaked in lime juice
  • 1 tablespoon lime juice (approx)
  • 2 ears of fresh corn, cooked and sliced off the cobb
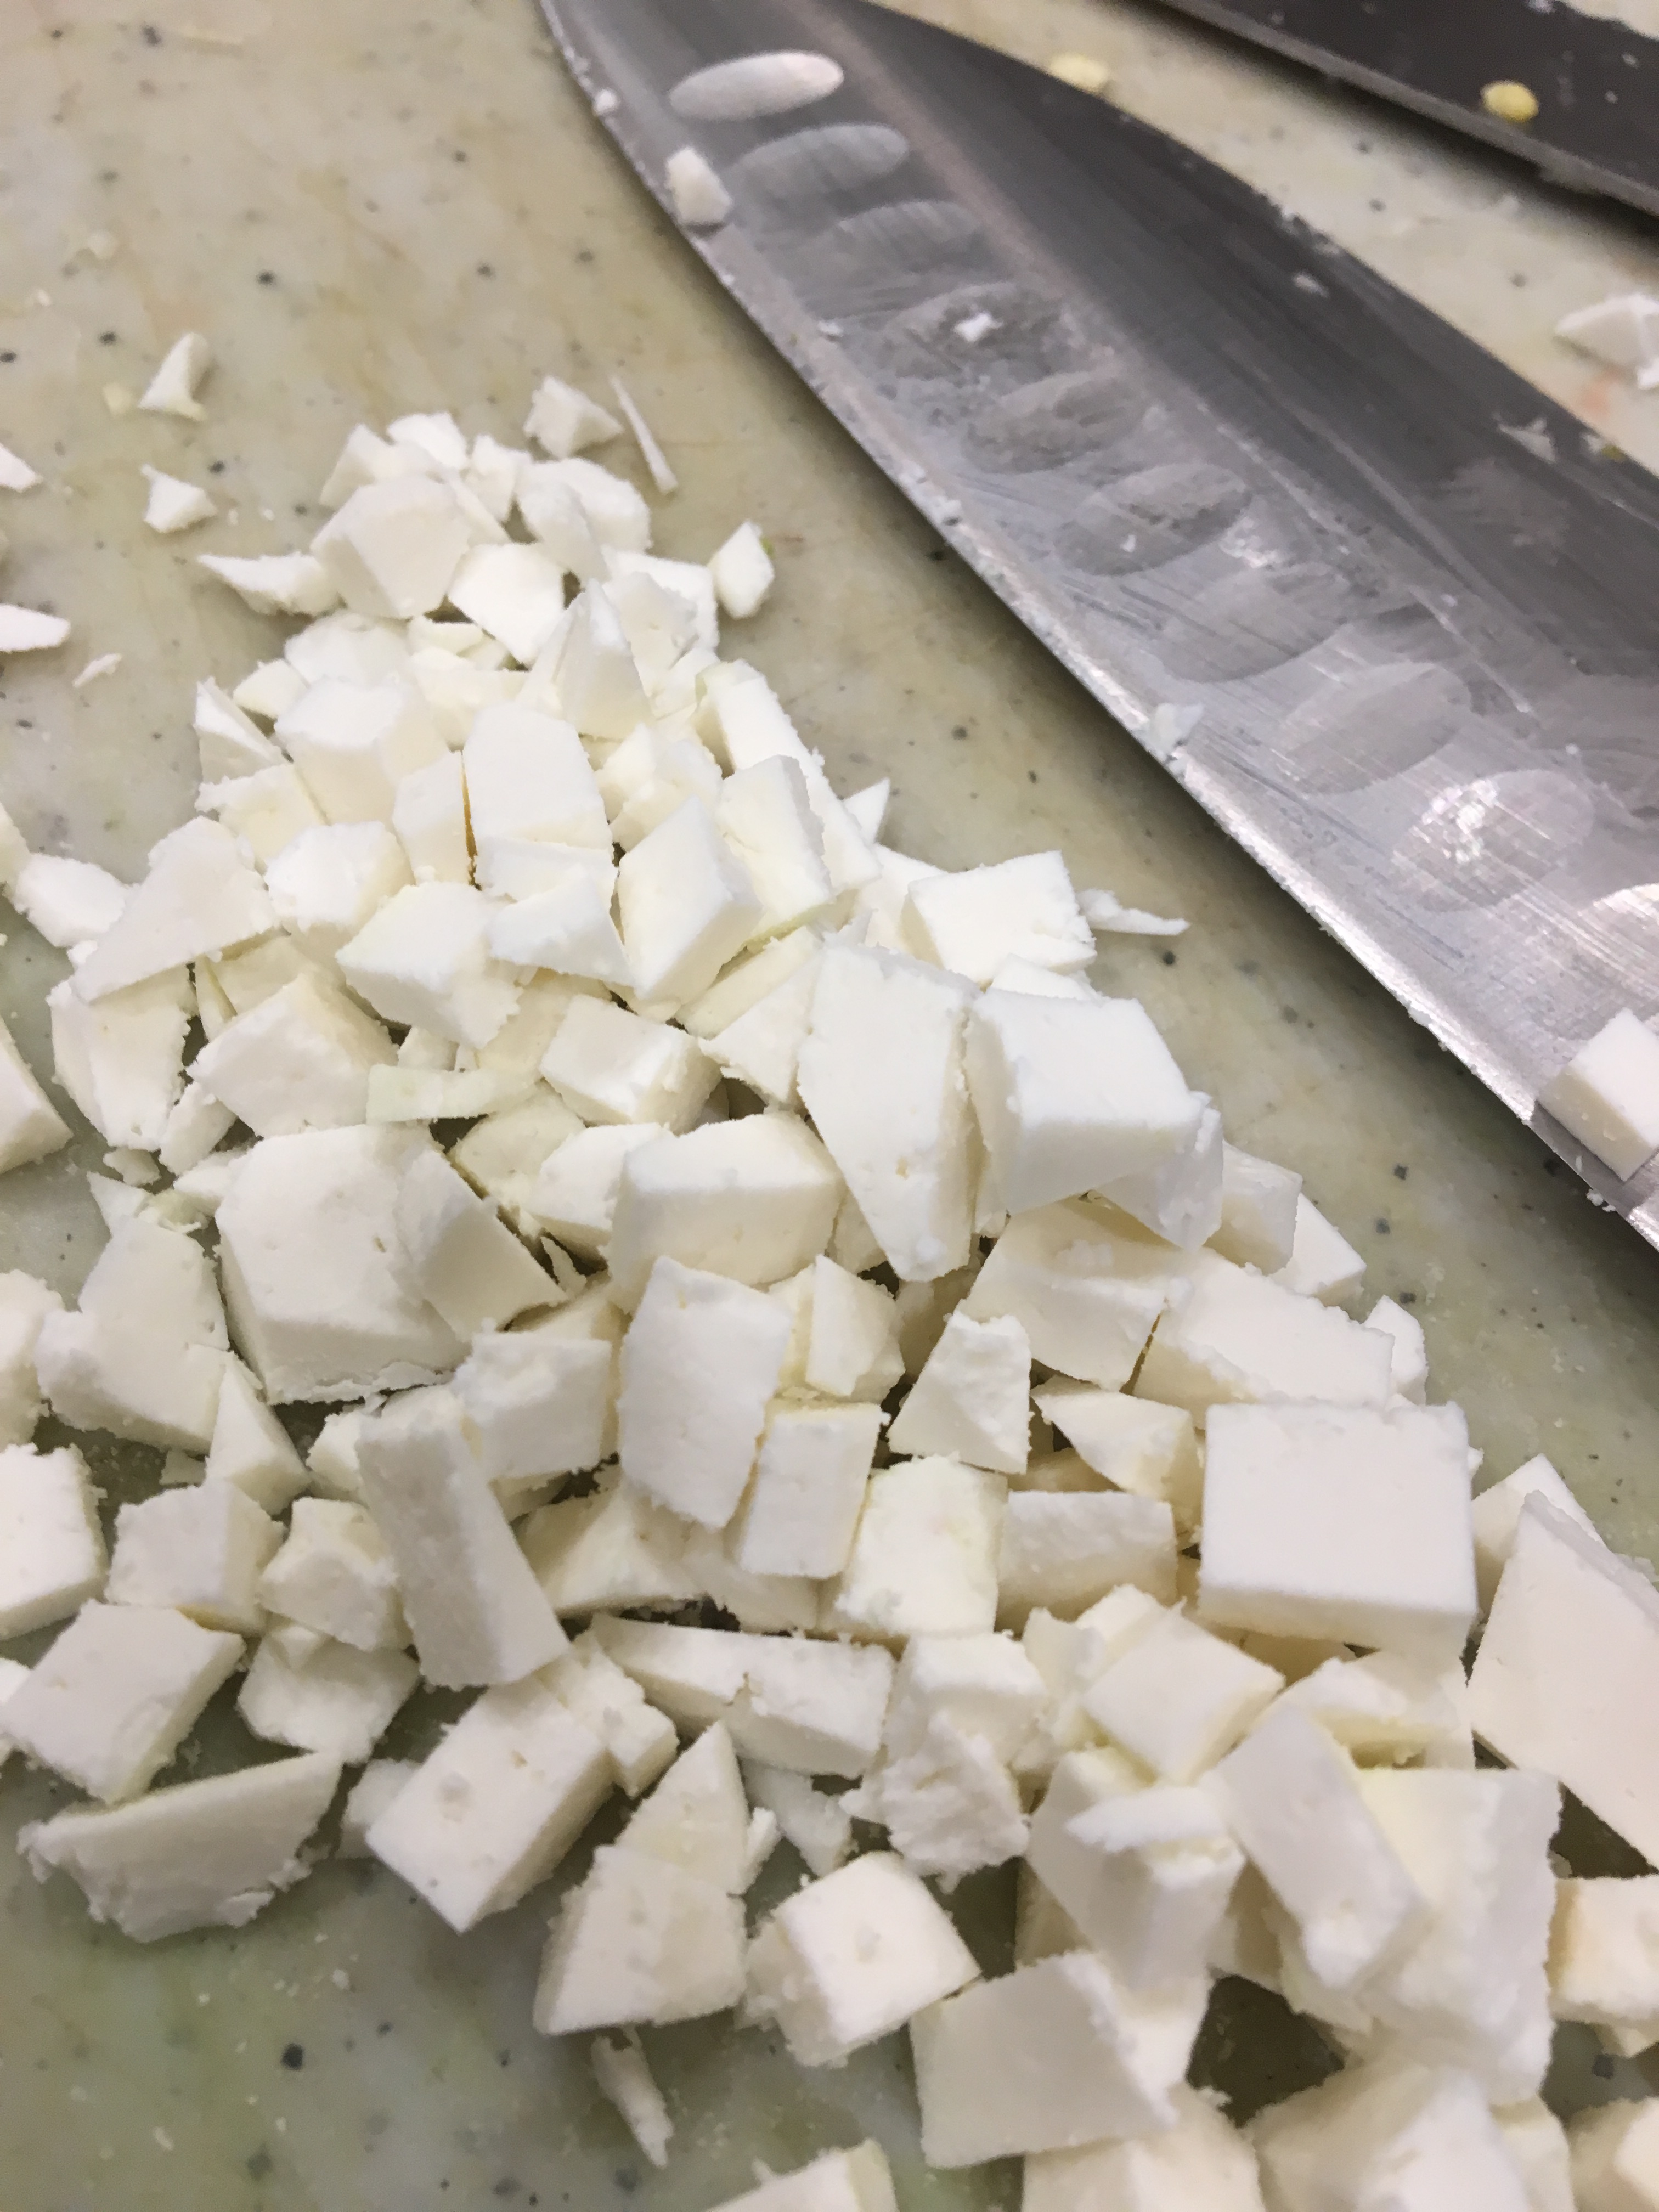
  • 2 tablespoons ricotta salata cheese, very small dice
  • kosher salt
  • freshly ground pepper
  • extra virgin olive oil

Procedure

  1. Combine the tomatoes, avocado with lime juice, corn and ricotta in a medium bowl. Try to add the corn while it is still hot or warm, it warms up the rest of the salad and makes the flavor more intense. Mix well.
  2. Sprinkle with the salt, pepper and olive oil and mix well.

https://healthyseasonalcooking.wordpress.com

May 10, 2017

IMG_4231IMG_4233IMG_4234

Artichoke Hummus

IMG_4225

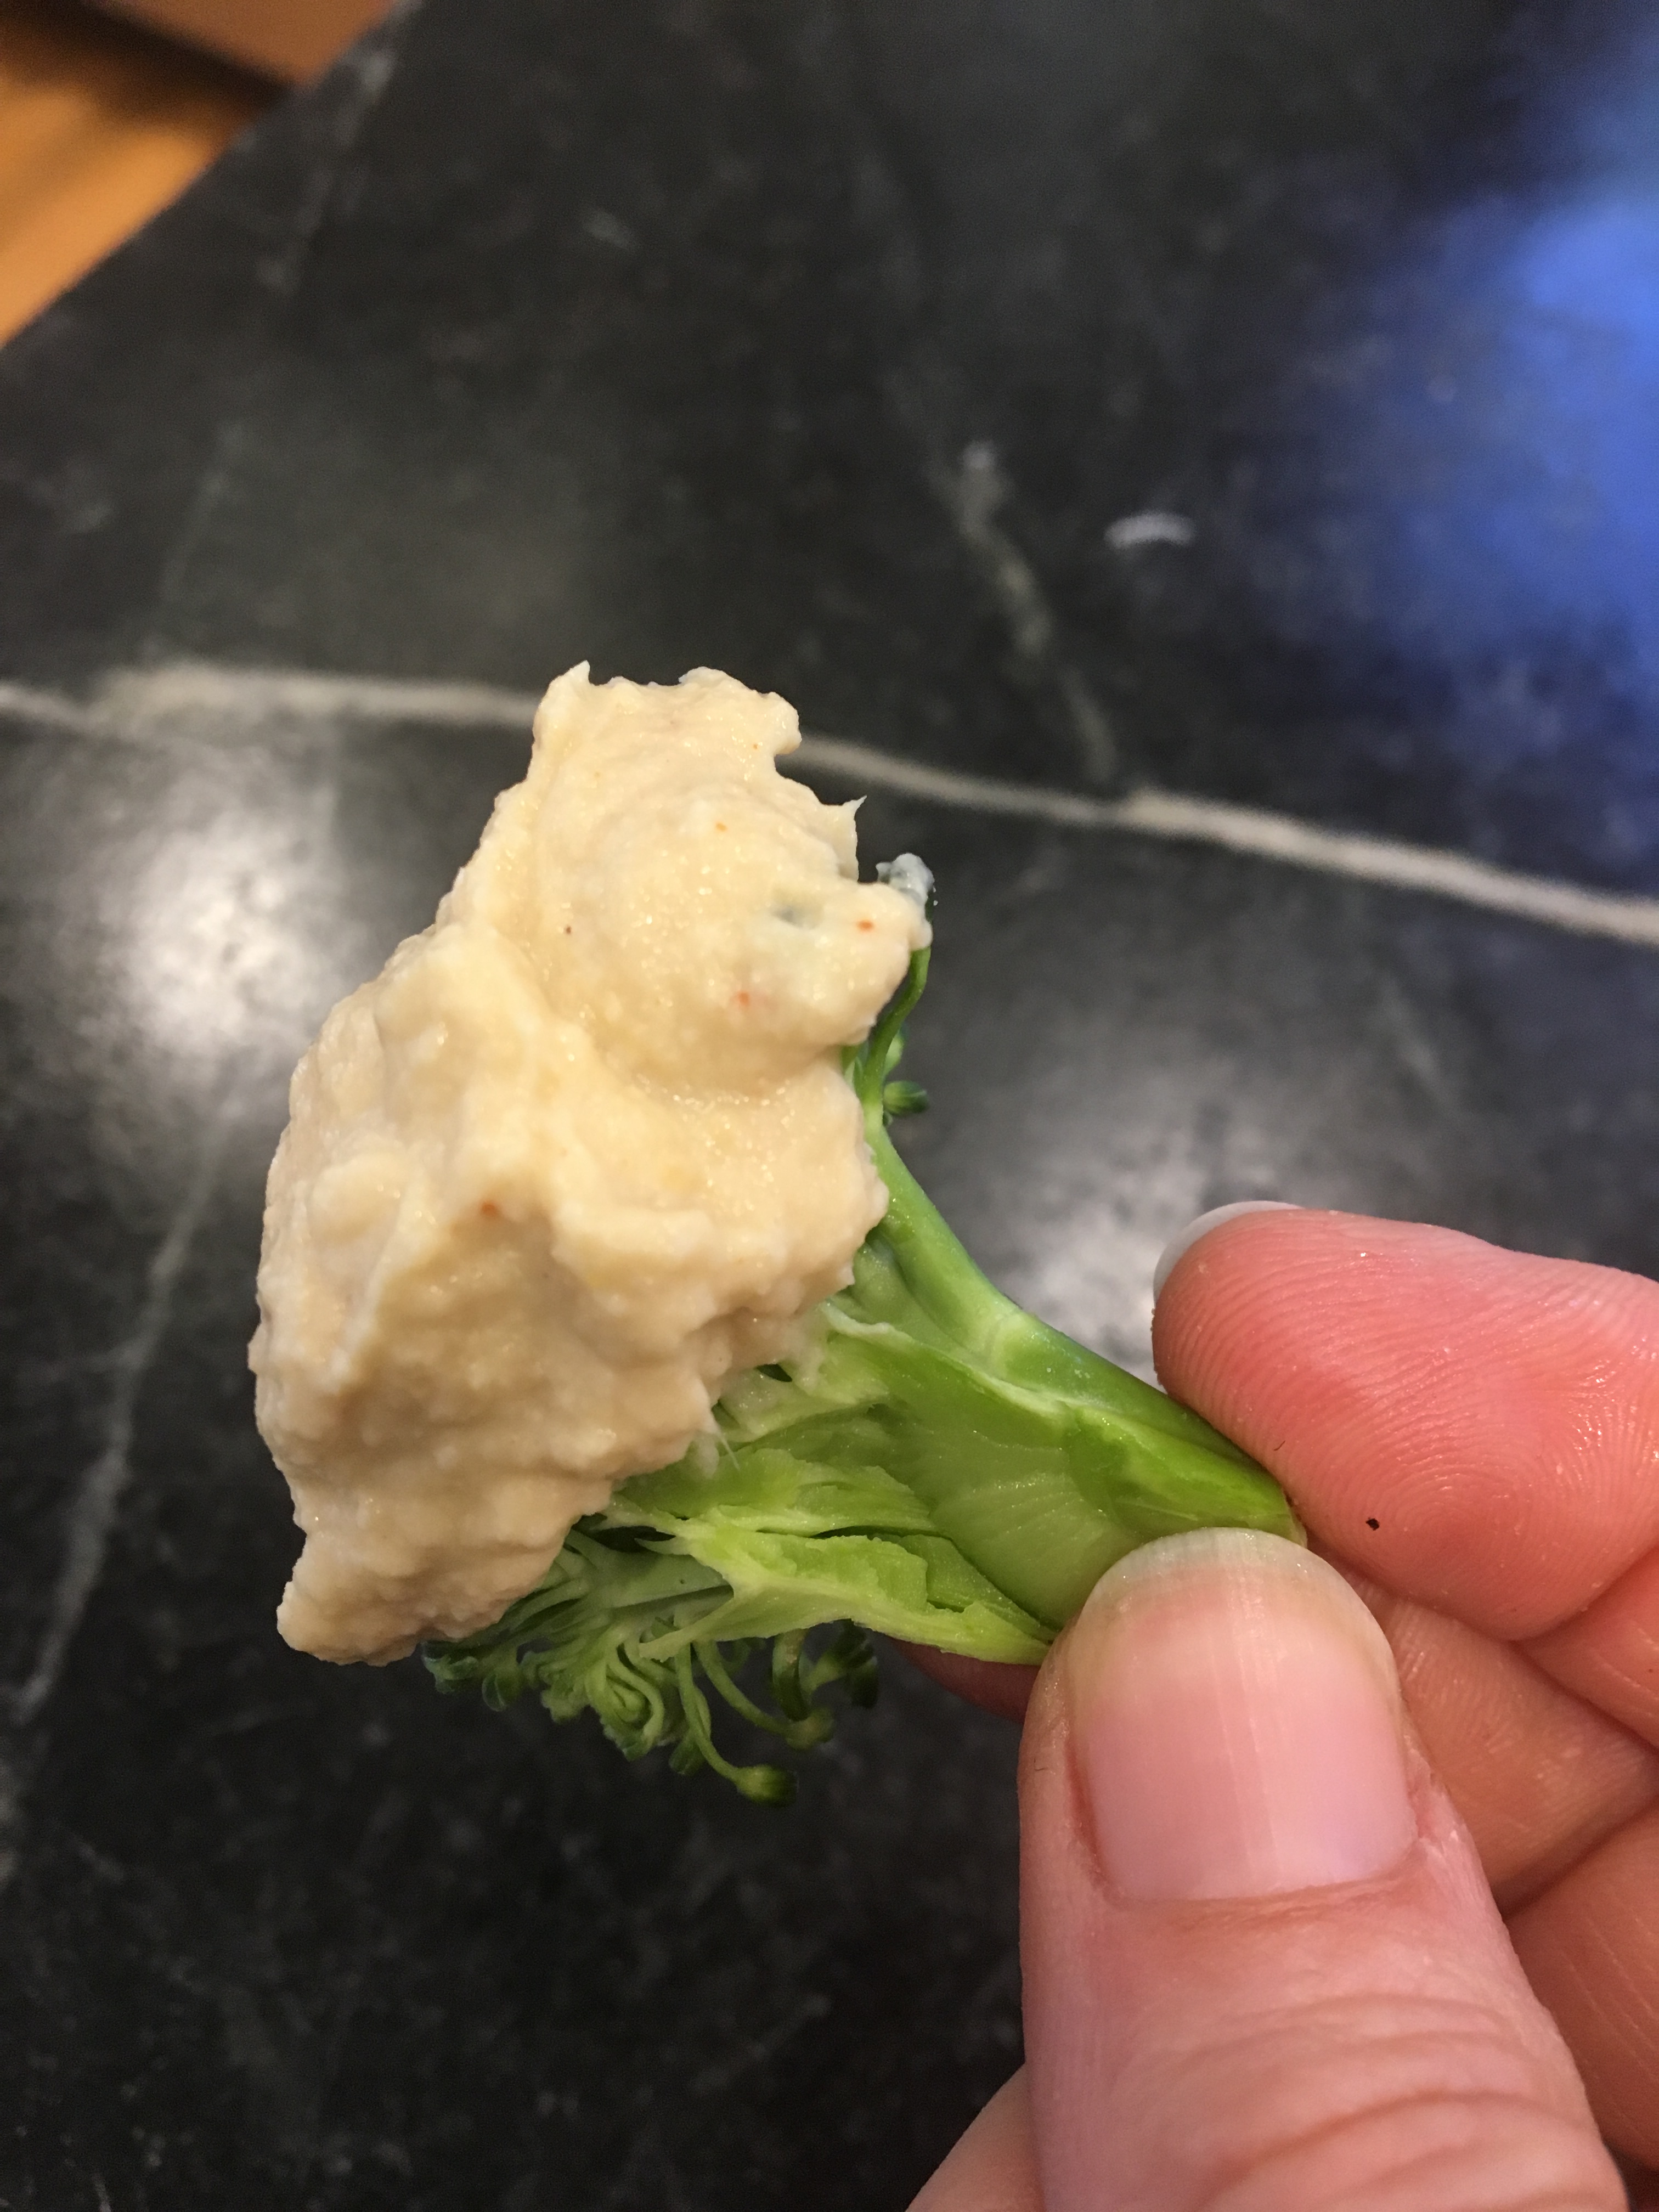
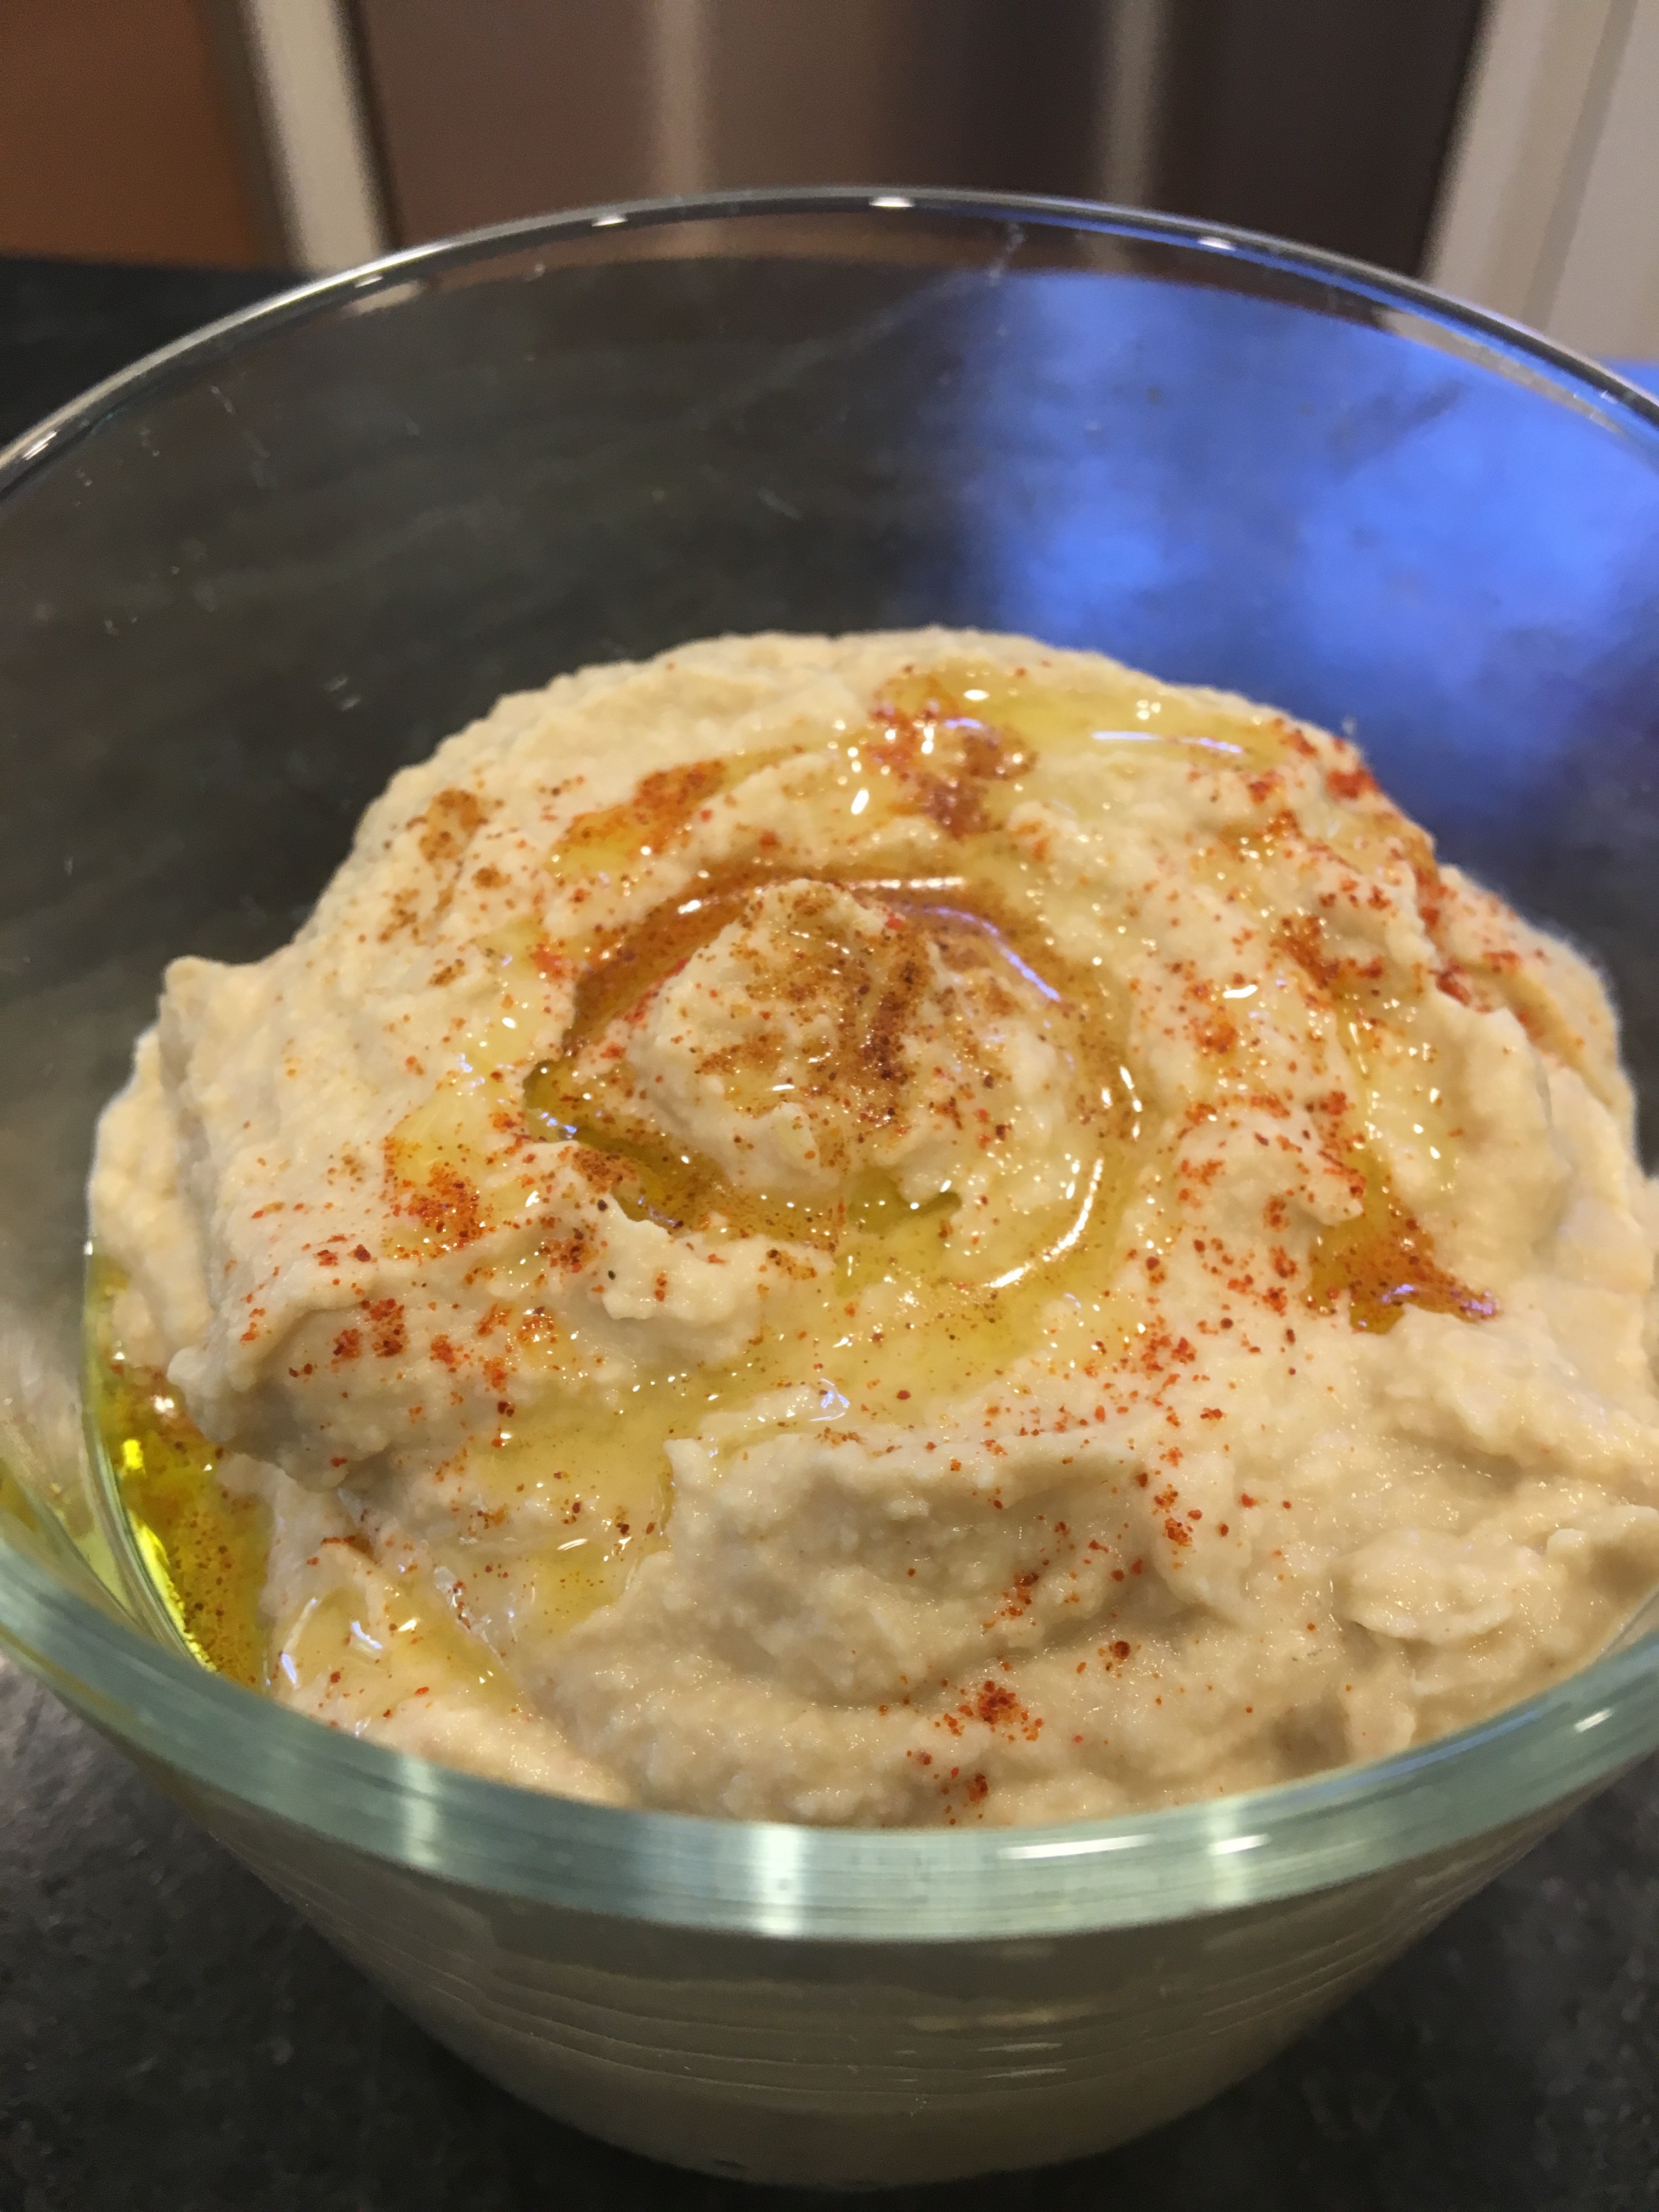
So easy and so delicious! I got the recipe from Feed Me Phoebe and I have made it several times. The first couple of times I used Great Northern beans instead of Garbanzo beans and I have also used marinated artichokes instead of water-packed artichokes, but I think it is healthier with the water-packed artichokes. I have also added a couple of handfuls of fresh spinach in the past, which I would have done today, but I am out of spinach! The hummus is great any of these ways. Below is the basic recipe, pretty much unchanged from Phoebe Lapine’s recipe.

IMG_4224
Sublime with a Himalayan Pink Salt Lentil Chip

Artichoke Hummus

  • Servings: 6-10
  • Difficulty: very easy
  • Print

Super quick and healthy hummus with items easily found in a pantry.

Credit:  Feed Me Phoebe 

Ingredients

  • One 15 ounce can garbanzo beans (chickpeas)
  • One 15-ounce can artichoke hearts in water
  • 2 tablespoons tahini
  • 2 large garlic cloves, peeled
  • 2 tablespoons lemon juice (one lemon)
  • kosher salt
  • pinch or two of paprika
  • one or two tablespoons of water
  • splash of extra virgin olive oil

Procedure

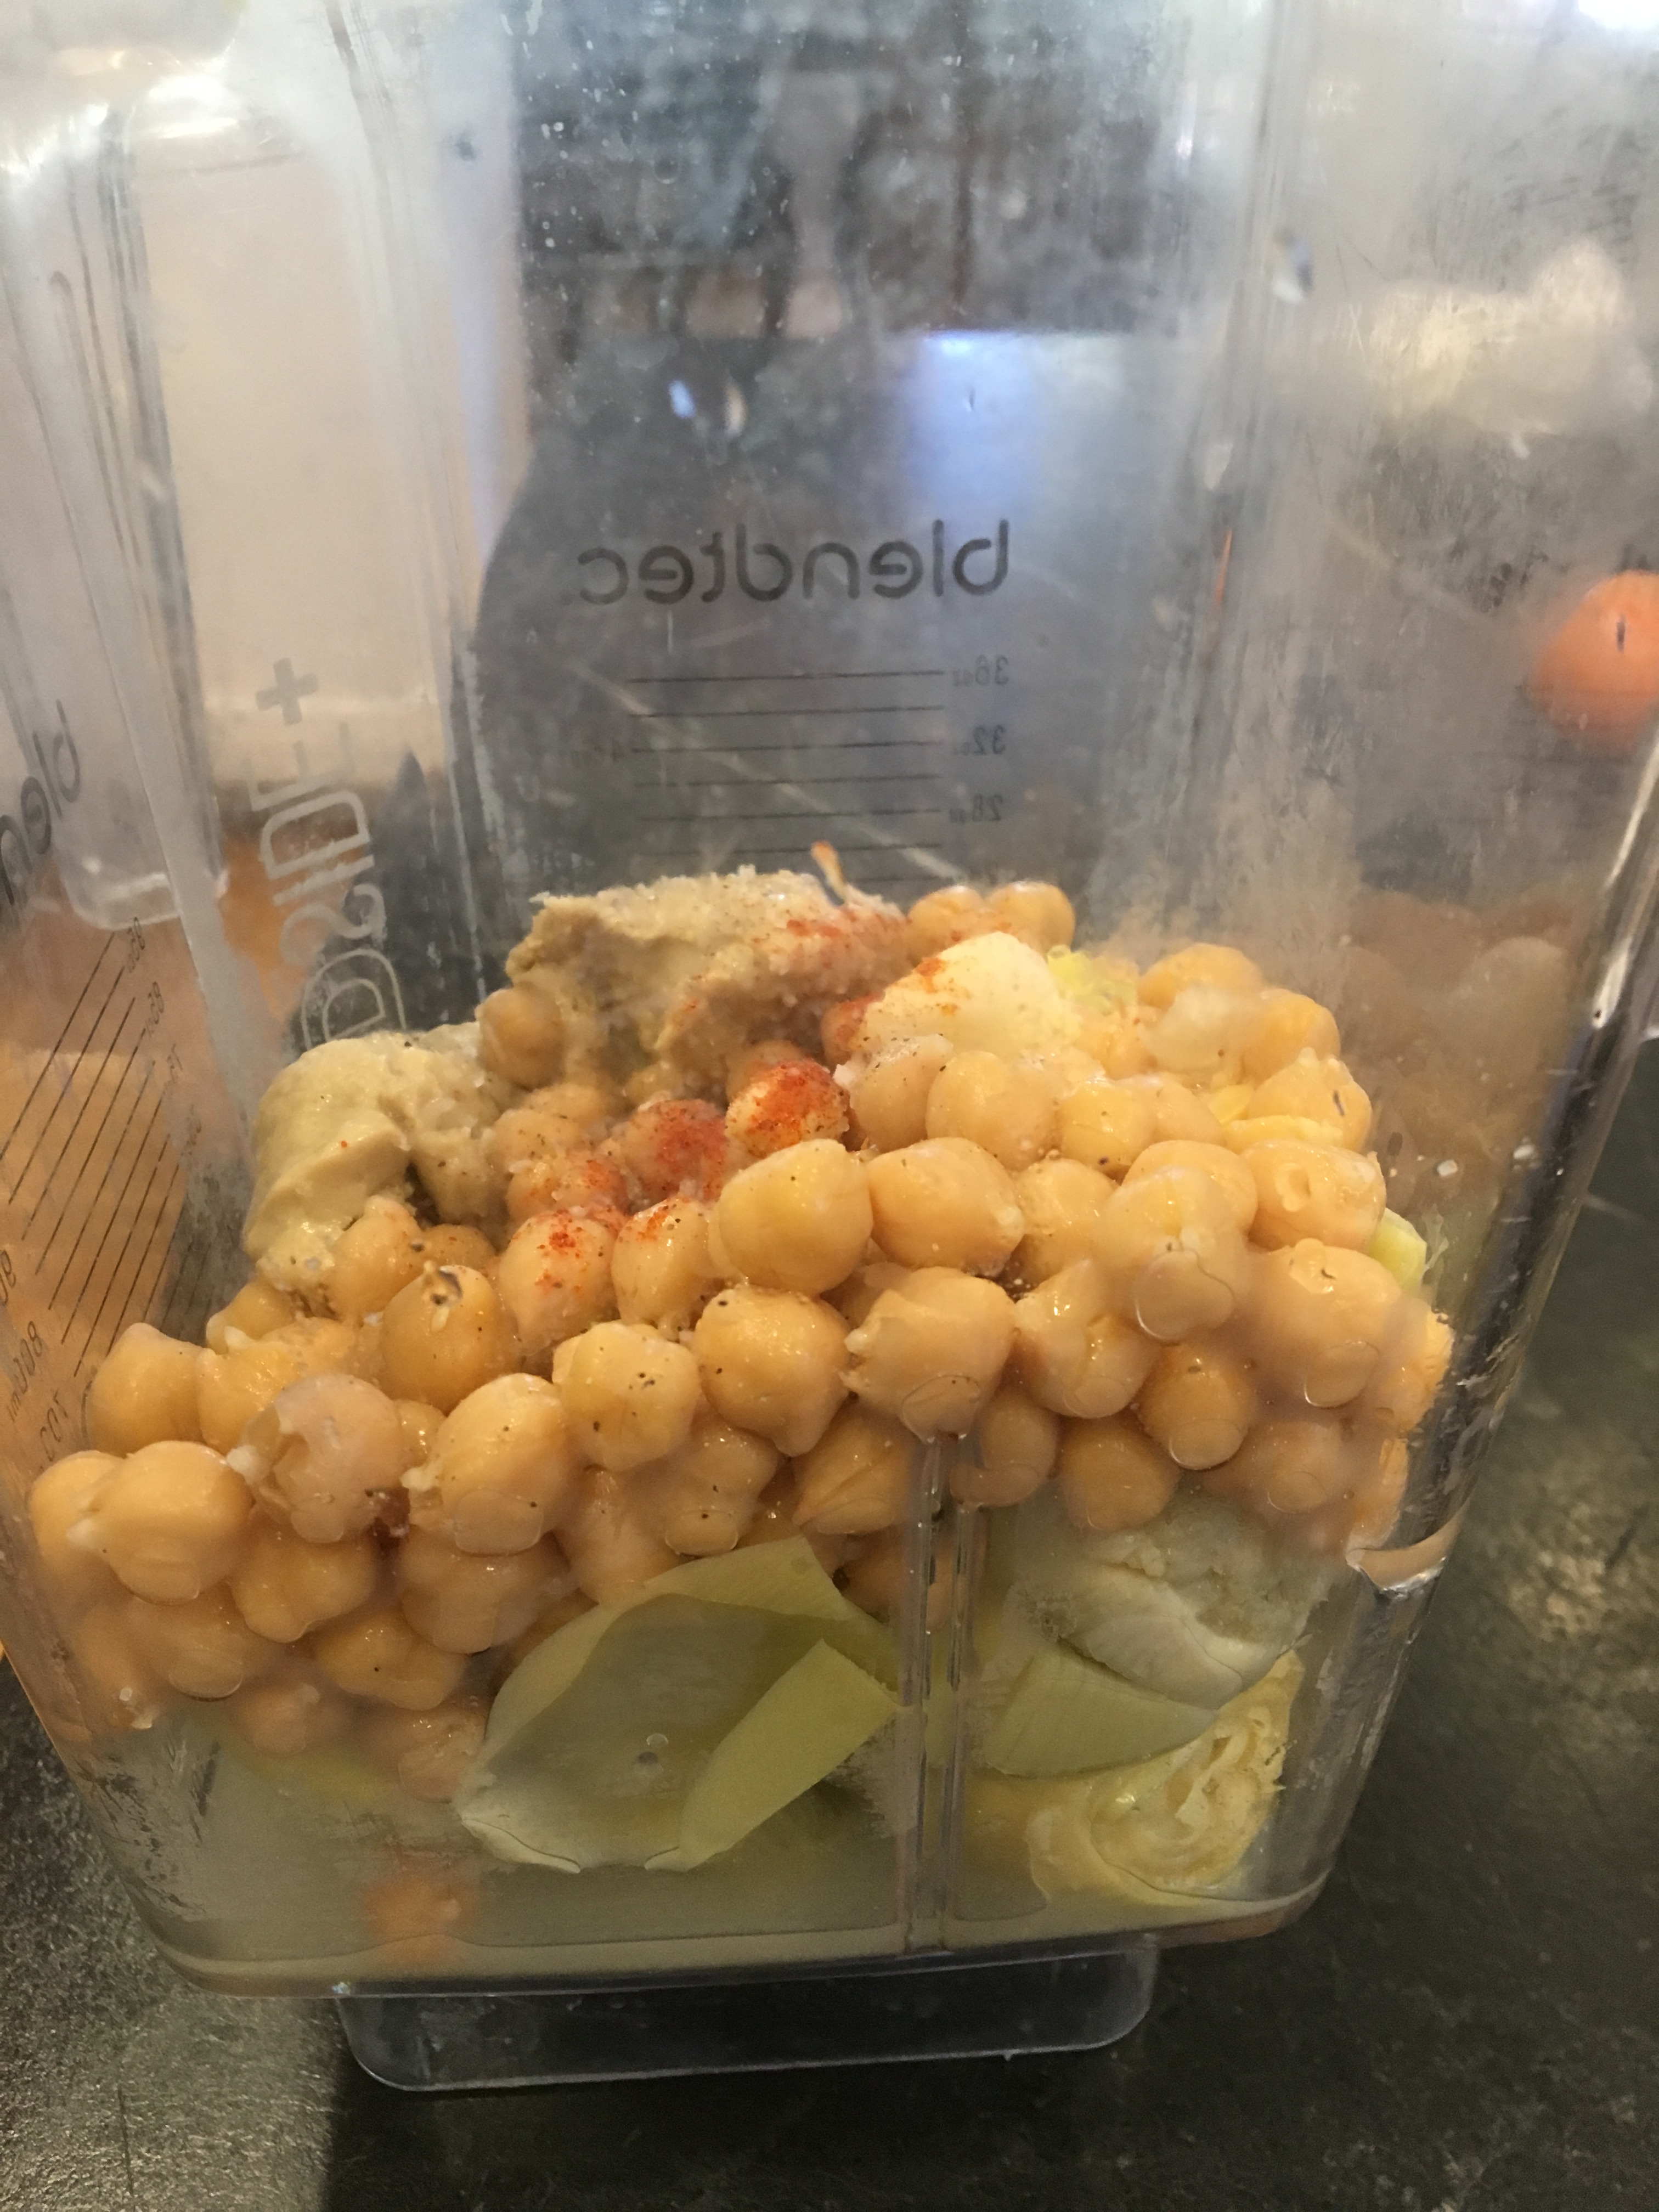
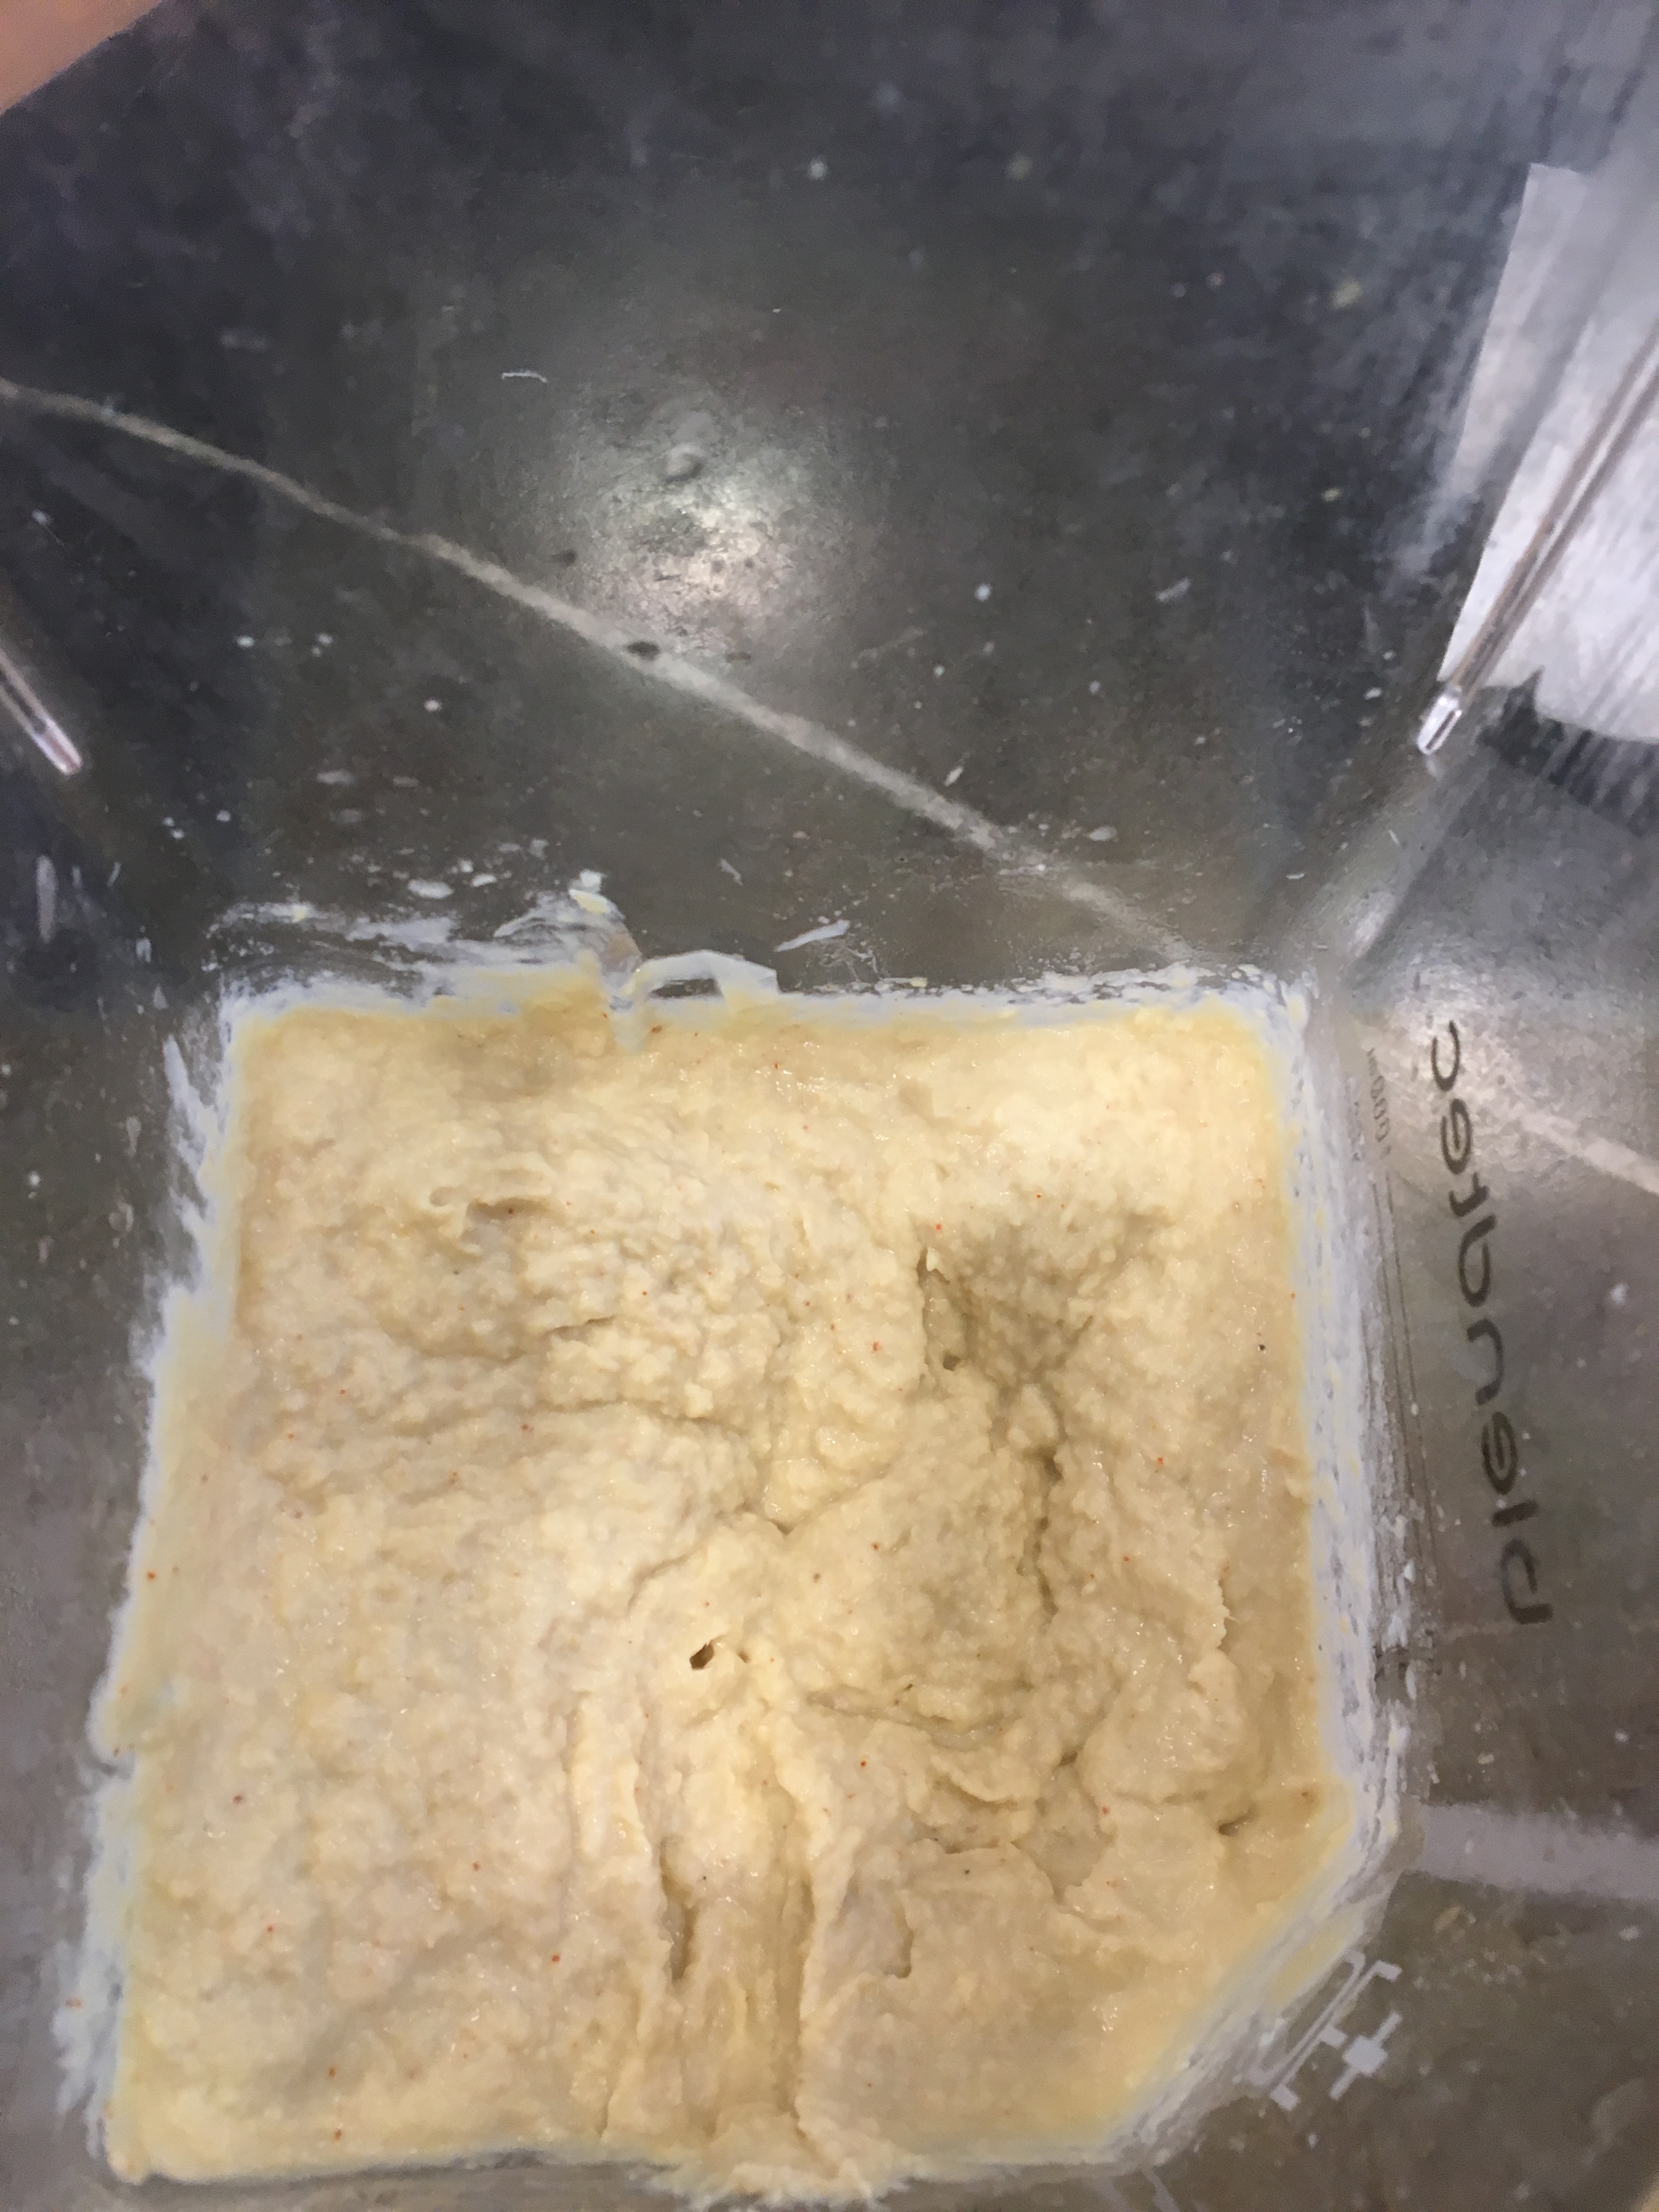
  1. Combine all ingredients except for the olive oil in a blender or food processor and puree until fairly smooth (I like it a little bumpy still). Taste for seasoning.
  2. Transfer to a serving bowl and garnish with a splash of olive oil and a sprinkle of paprika. Serve with crudités and lentil chips (or the more traditional pita chips). Enjoy!

https://healthyseasonalcooking.wordpress.com

May 9, 2017

IMG_4221IMG_4222IMG_4223IMG_4226

MUSHROOM (AND BEEF) BOLOGNESE

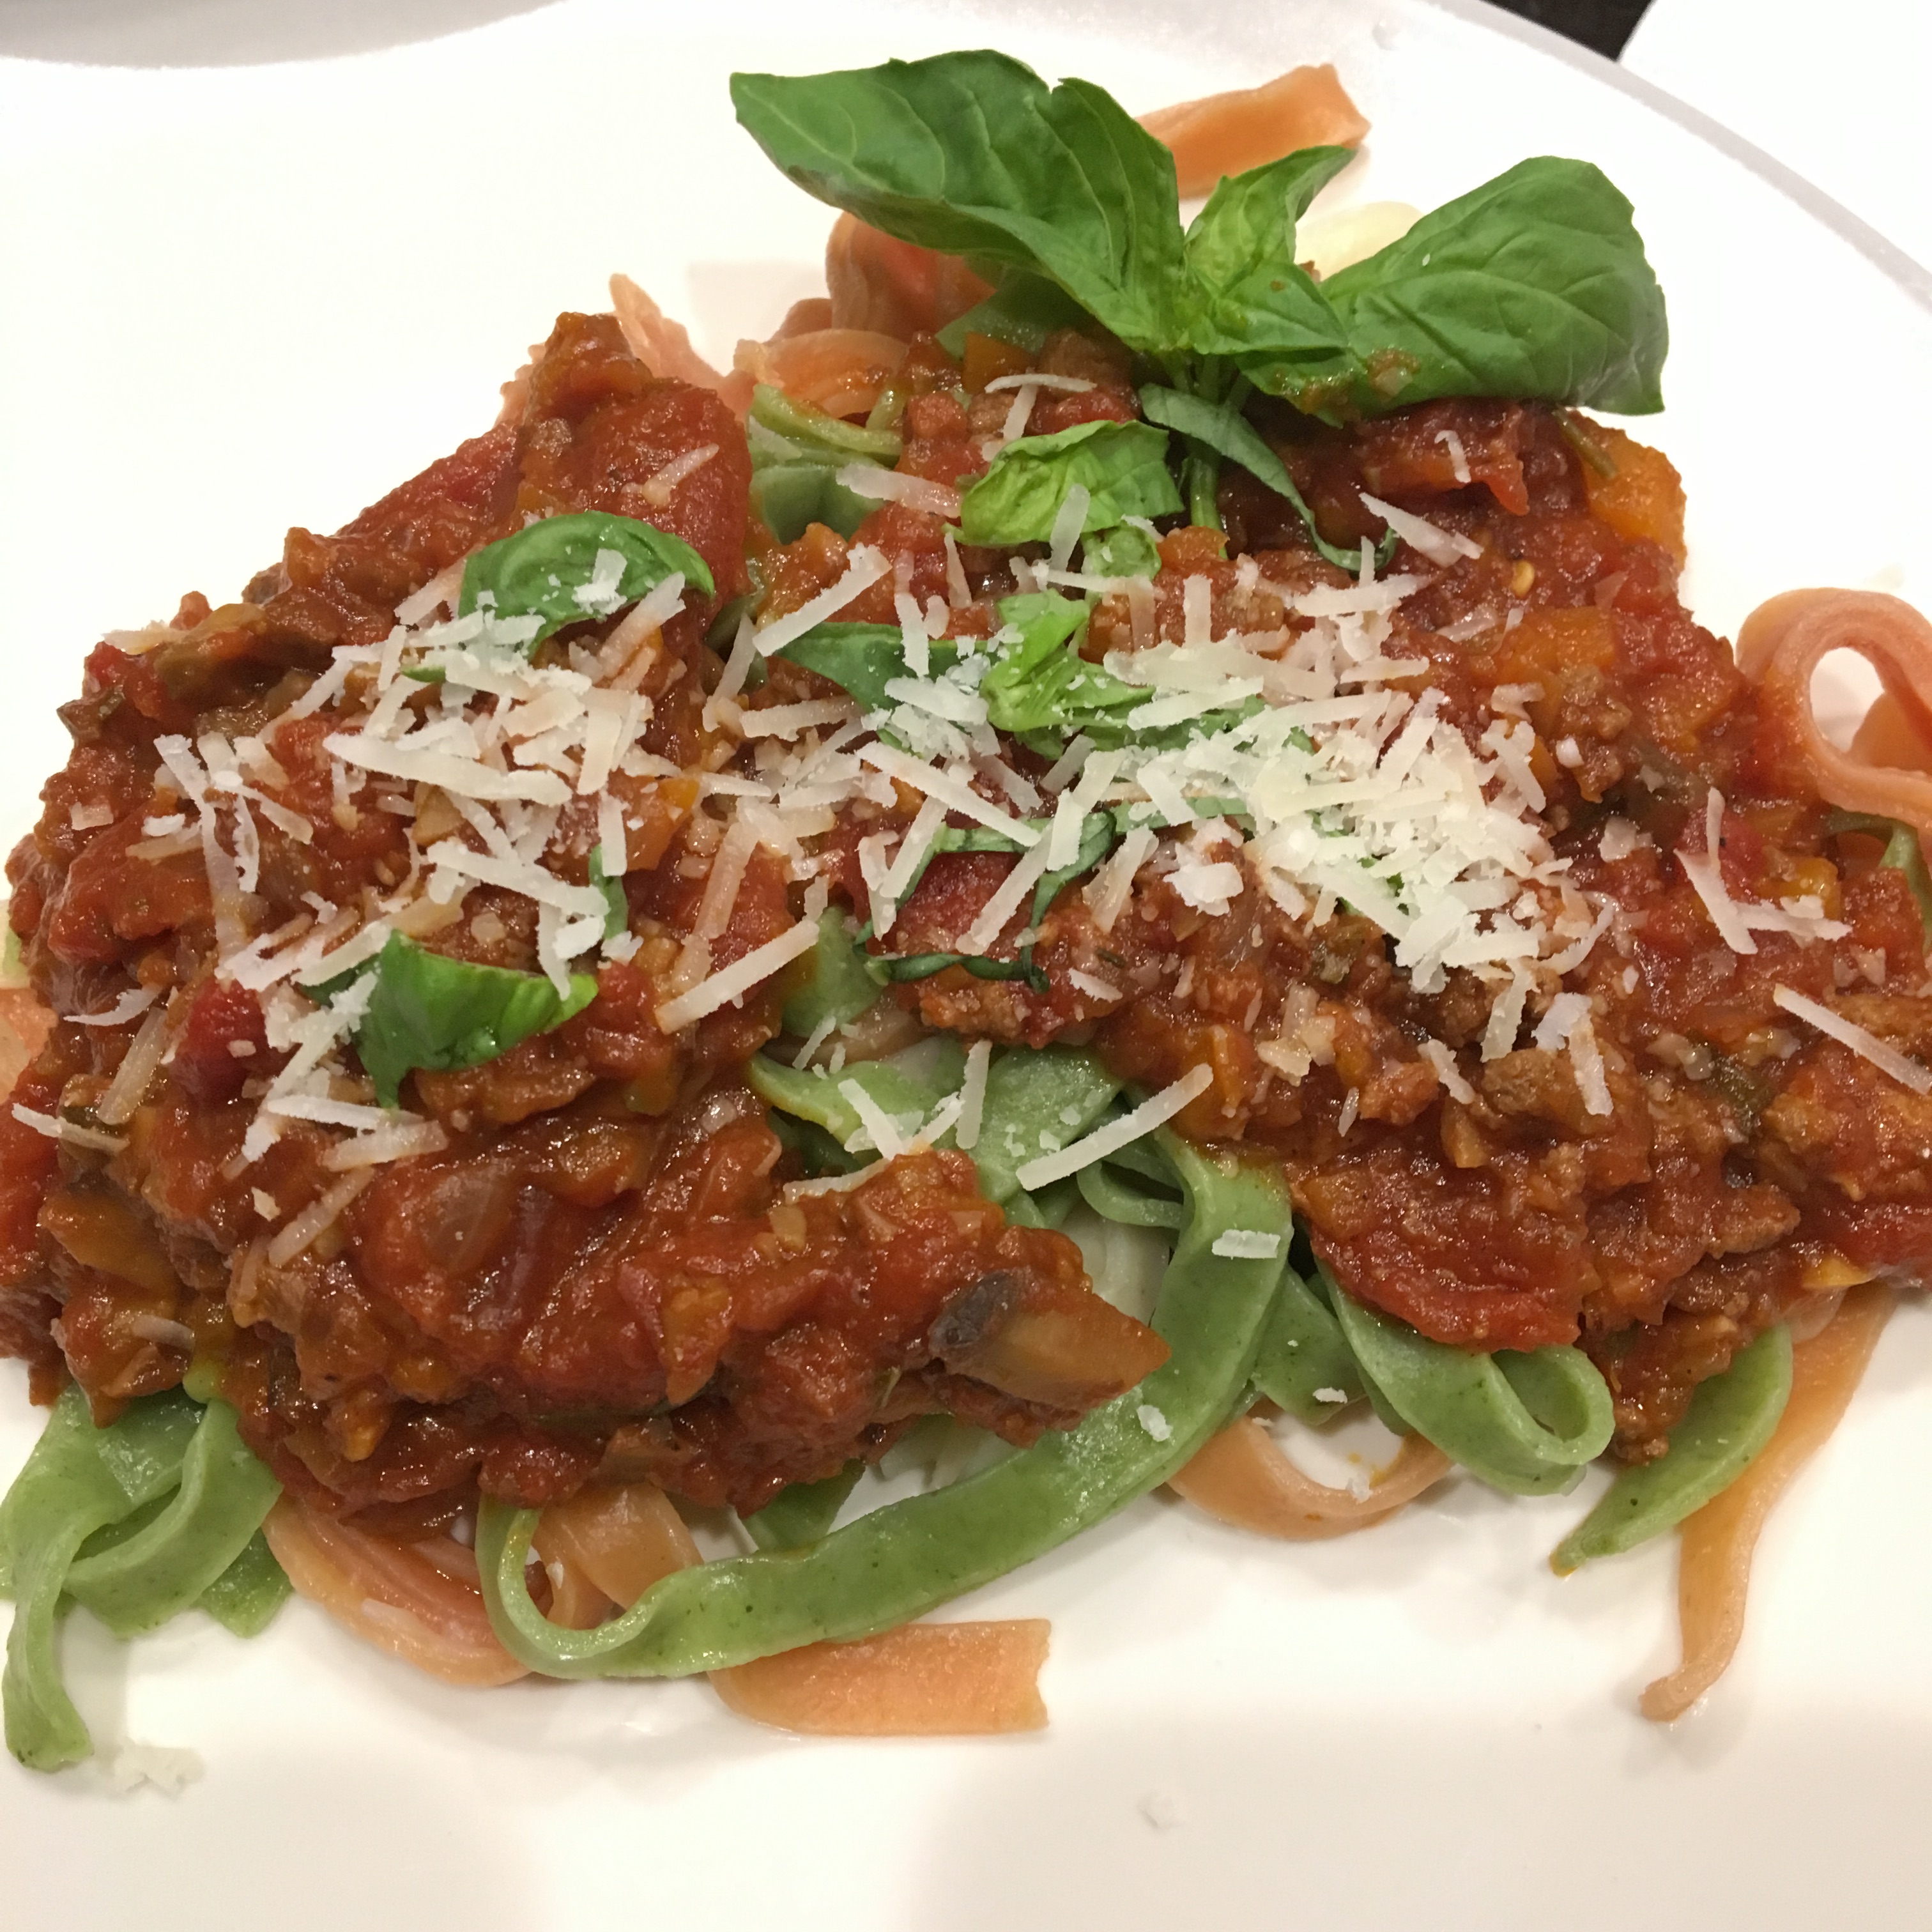
The only one who usually eats pasta in this house is my son, and frankly he can eat enough of it for all of us if I let him! We call him a “pastaterian.”  I came across a Food and Wine recipe entitled Spaghetti with Mushroom Bolognese that I based this recipe on.  I changed several things, most importantly I added ground beef and a little chicken breast sausage to 3/4 of the the recipe to satisfy my son who was craving a meaty Bolognese sauce but still left lots of vegetables in to make it healthier than a traditional almost all beef sauce. I also left 1/4 of it vegetarian to satisfy my daughter. The original recipe also called for eggplant but since I added meat I left out the eggplant.  Overall we all really liked how both the meat and the vegetarian versions tasted.  I noted where you can add the meat or leave it out depending on your preferences.   Note:  The quantities may look large in the pictures because I doubled the recipe so I can serve it again for a kid party in a couple of days. 
Mushroom (and Beef) Bolognese

  • Servings: 4-6
  • Difficulty: medium
  • Print

Vegetarian Bolognese Sauce that can also have lean ground beef and mild chicken breast sausage added to it for a more traditional but vegetable-laden bolognese sauce

Ingredients

  • ½ cup dried porcini mushrooms
  • extra virgin olive oil or oil of choice
  • one small onion, small dice
  • 2 carrots, peeled and small dice
  • 3/4 lb lean grass-fed ground beef –IF it will not be vegetarian.
  • 1/4  lb mild ground chicken breast sausage —Note: This may be hard to find, at Whole Foods they made this up for me, just ask you butcher, or just use plain ground chicken breast or pre-made chicken sausage or lean ground beef. I think spicy chicken sausage would be really good except for my spice phobe… so I used the mild sausage.–IF it will not be vegetarian.
  • 1 lb cremini mushrooms, small dice
  • ½ lb shiitake mushrooms, stems removed, caps diced
  • kosher salt
  • fresh ground pepper
  • 5 garlic cloves, minced
  • 3 tablespoons tomato paste
  • 1 tablespoon mild white miso (this is surprising but turned out to be worthwhile)
  • one 2-inch chunk of Parmigiano-Reggiano cheese, plus grated cheese for serving
  • one 14.5 oz can crushed peeled tomatoes (organic or no salt added if possible)
  • one 14.5 oz can chopped peeled tomatoes (organic or no salt added if possible)
  • 3 thyme sprigs (or 1 tablespoon of dried thyme)
  • 1 tablespoon of dried oregano (I probably add more, but I don’t measure)
  • ½ teaspoon sugar (or honey, to cut the tomato acidity)
  • 1 package of fresh tagliatelle pasta (or pasta of your choice)
  • 2 tablespoons of chopped fresh basil (I think fresh is important here, dried basil really doesn’t taste the same, but do what you can)

Procedure

  1. In a small bowl, cover the porcini mushrooms with 1 cup of boiling water; soak until softened, about 30 minutes. Finely chop the porcini mushrooms, discarding any tough bits. Drain mushrooms, reserving 1/2 cup of the soaking liquid. Chop the mushrooms finely.
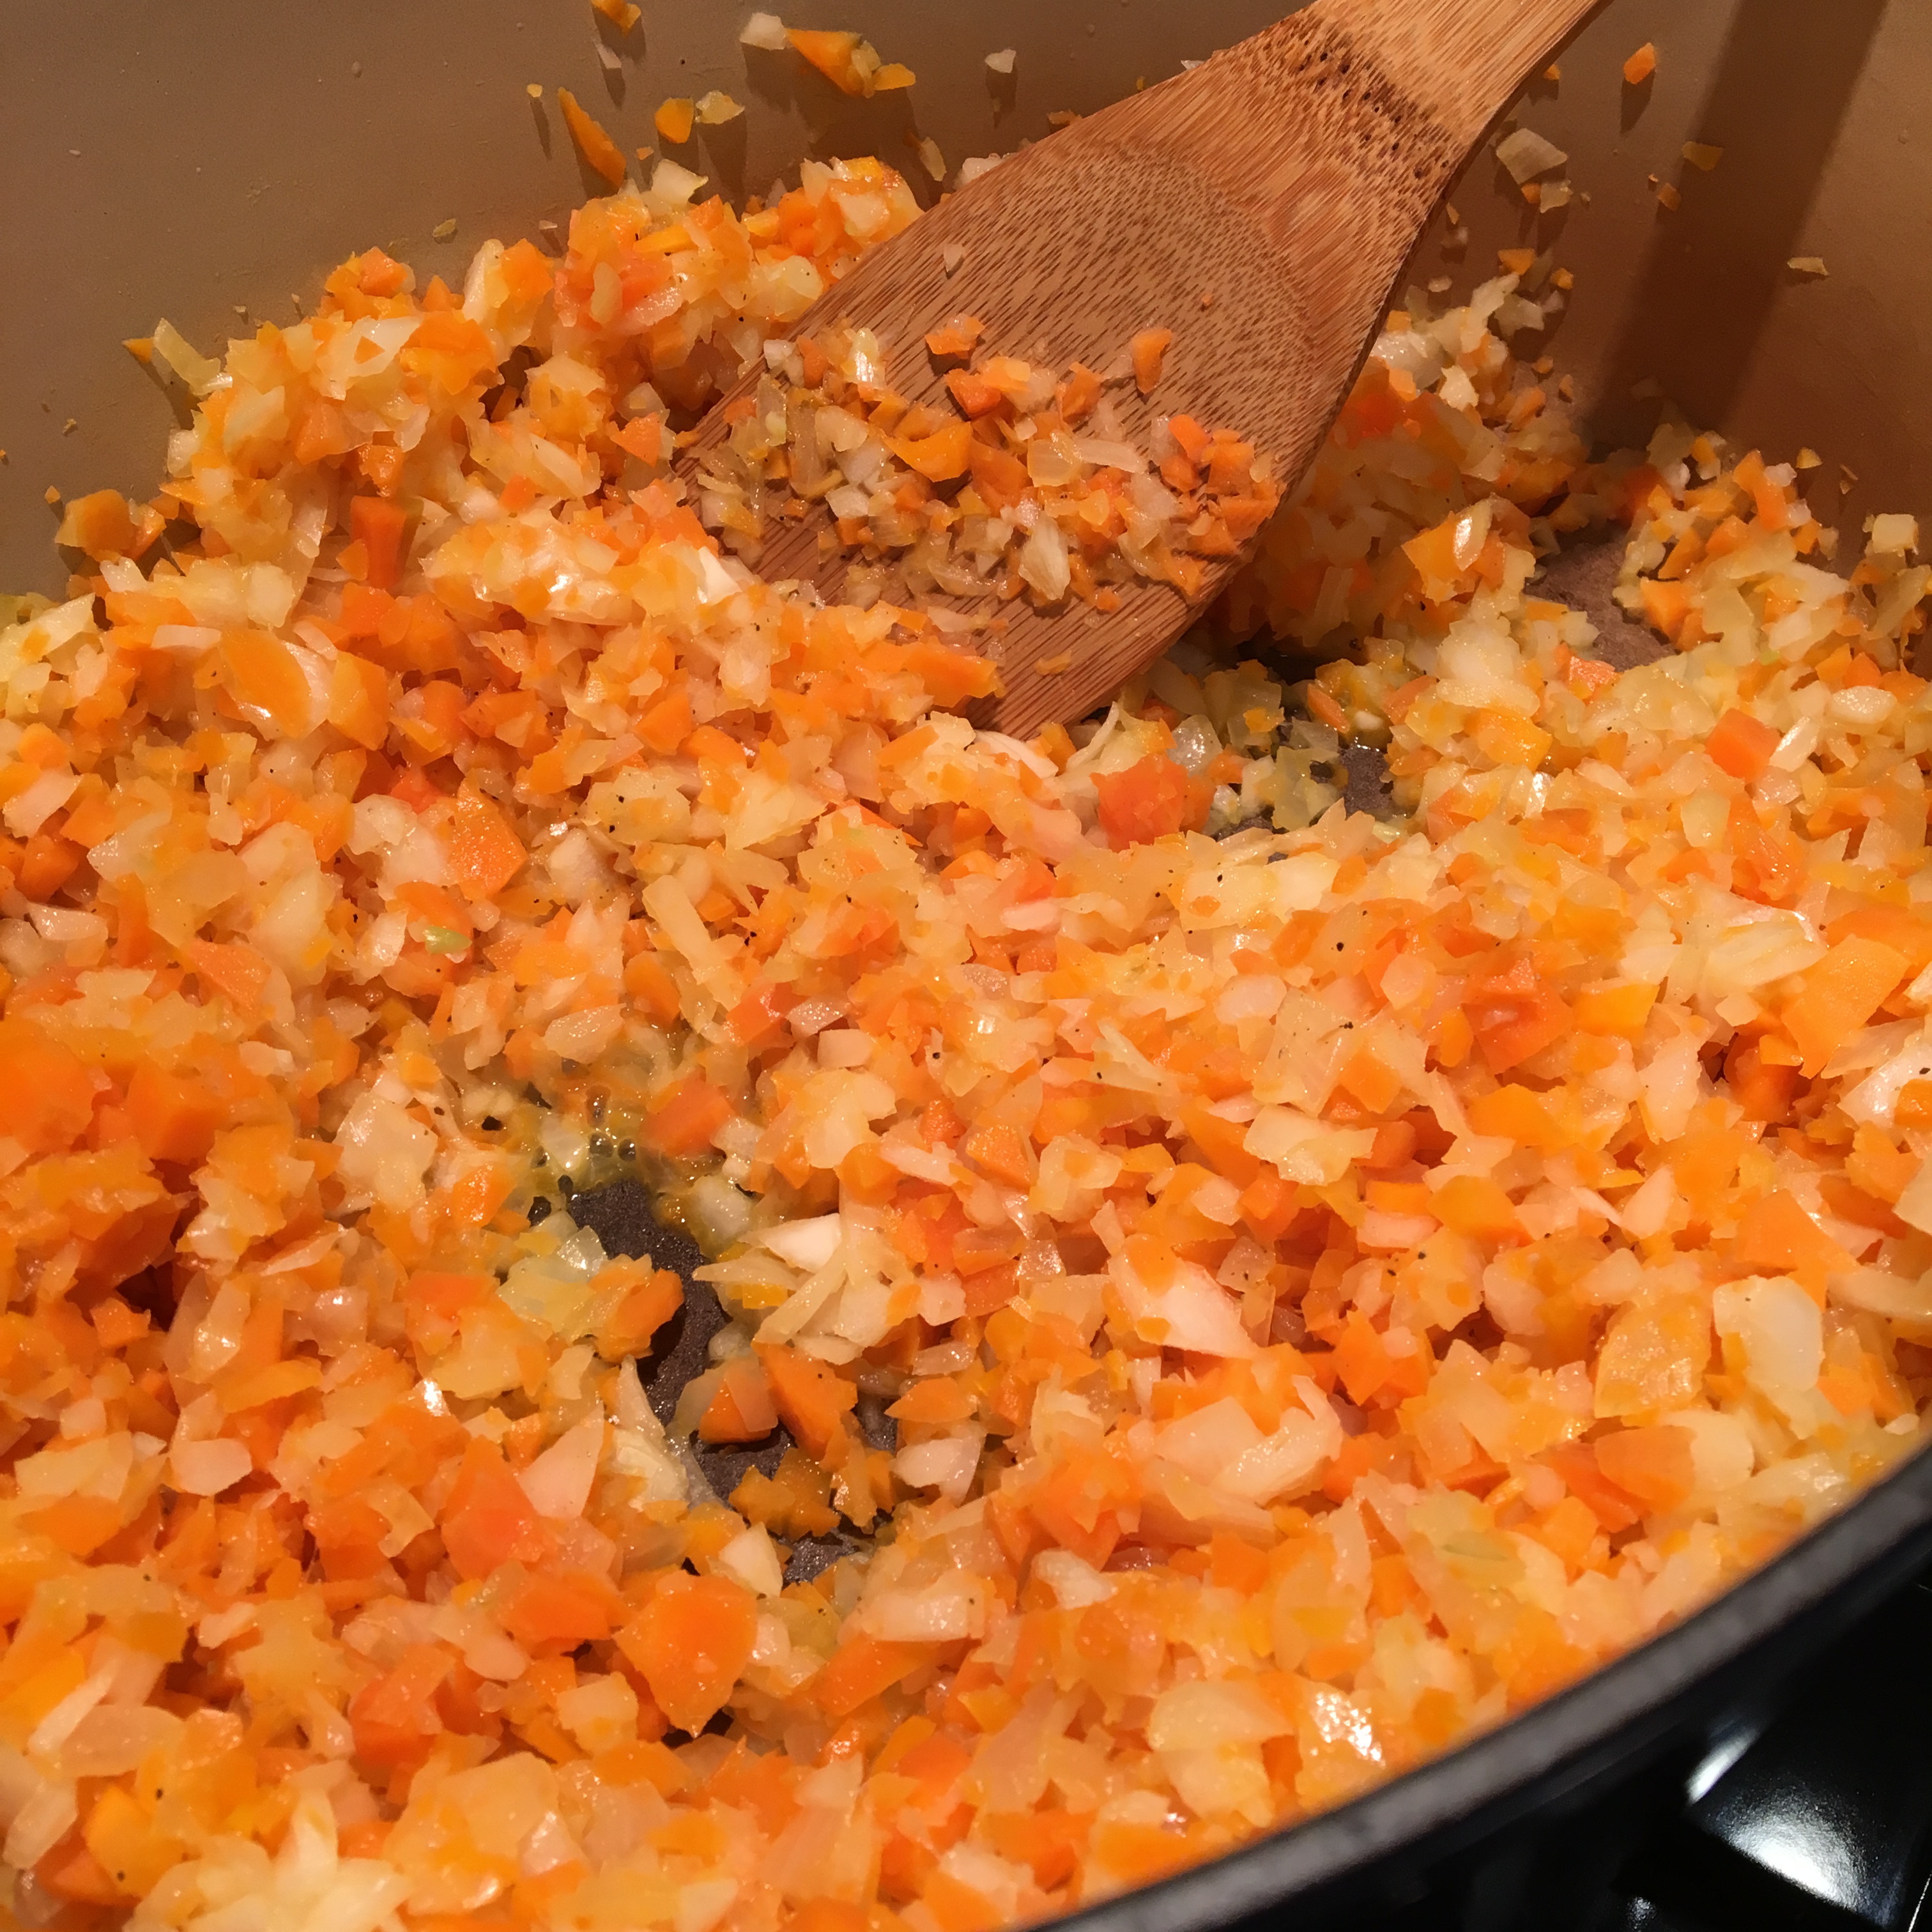
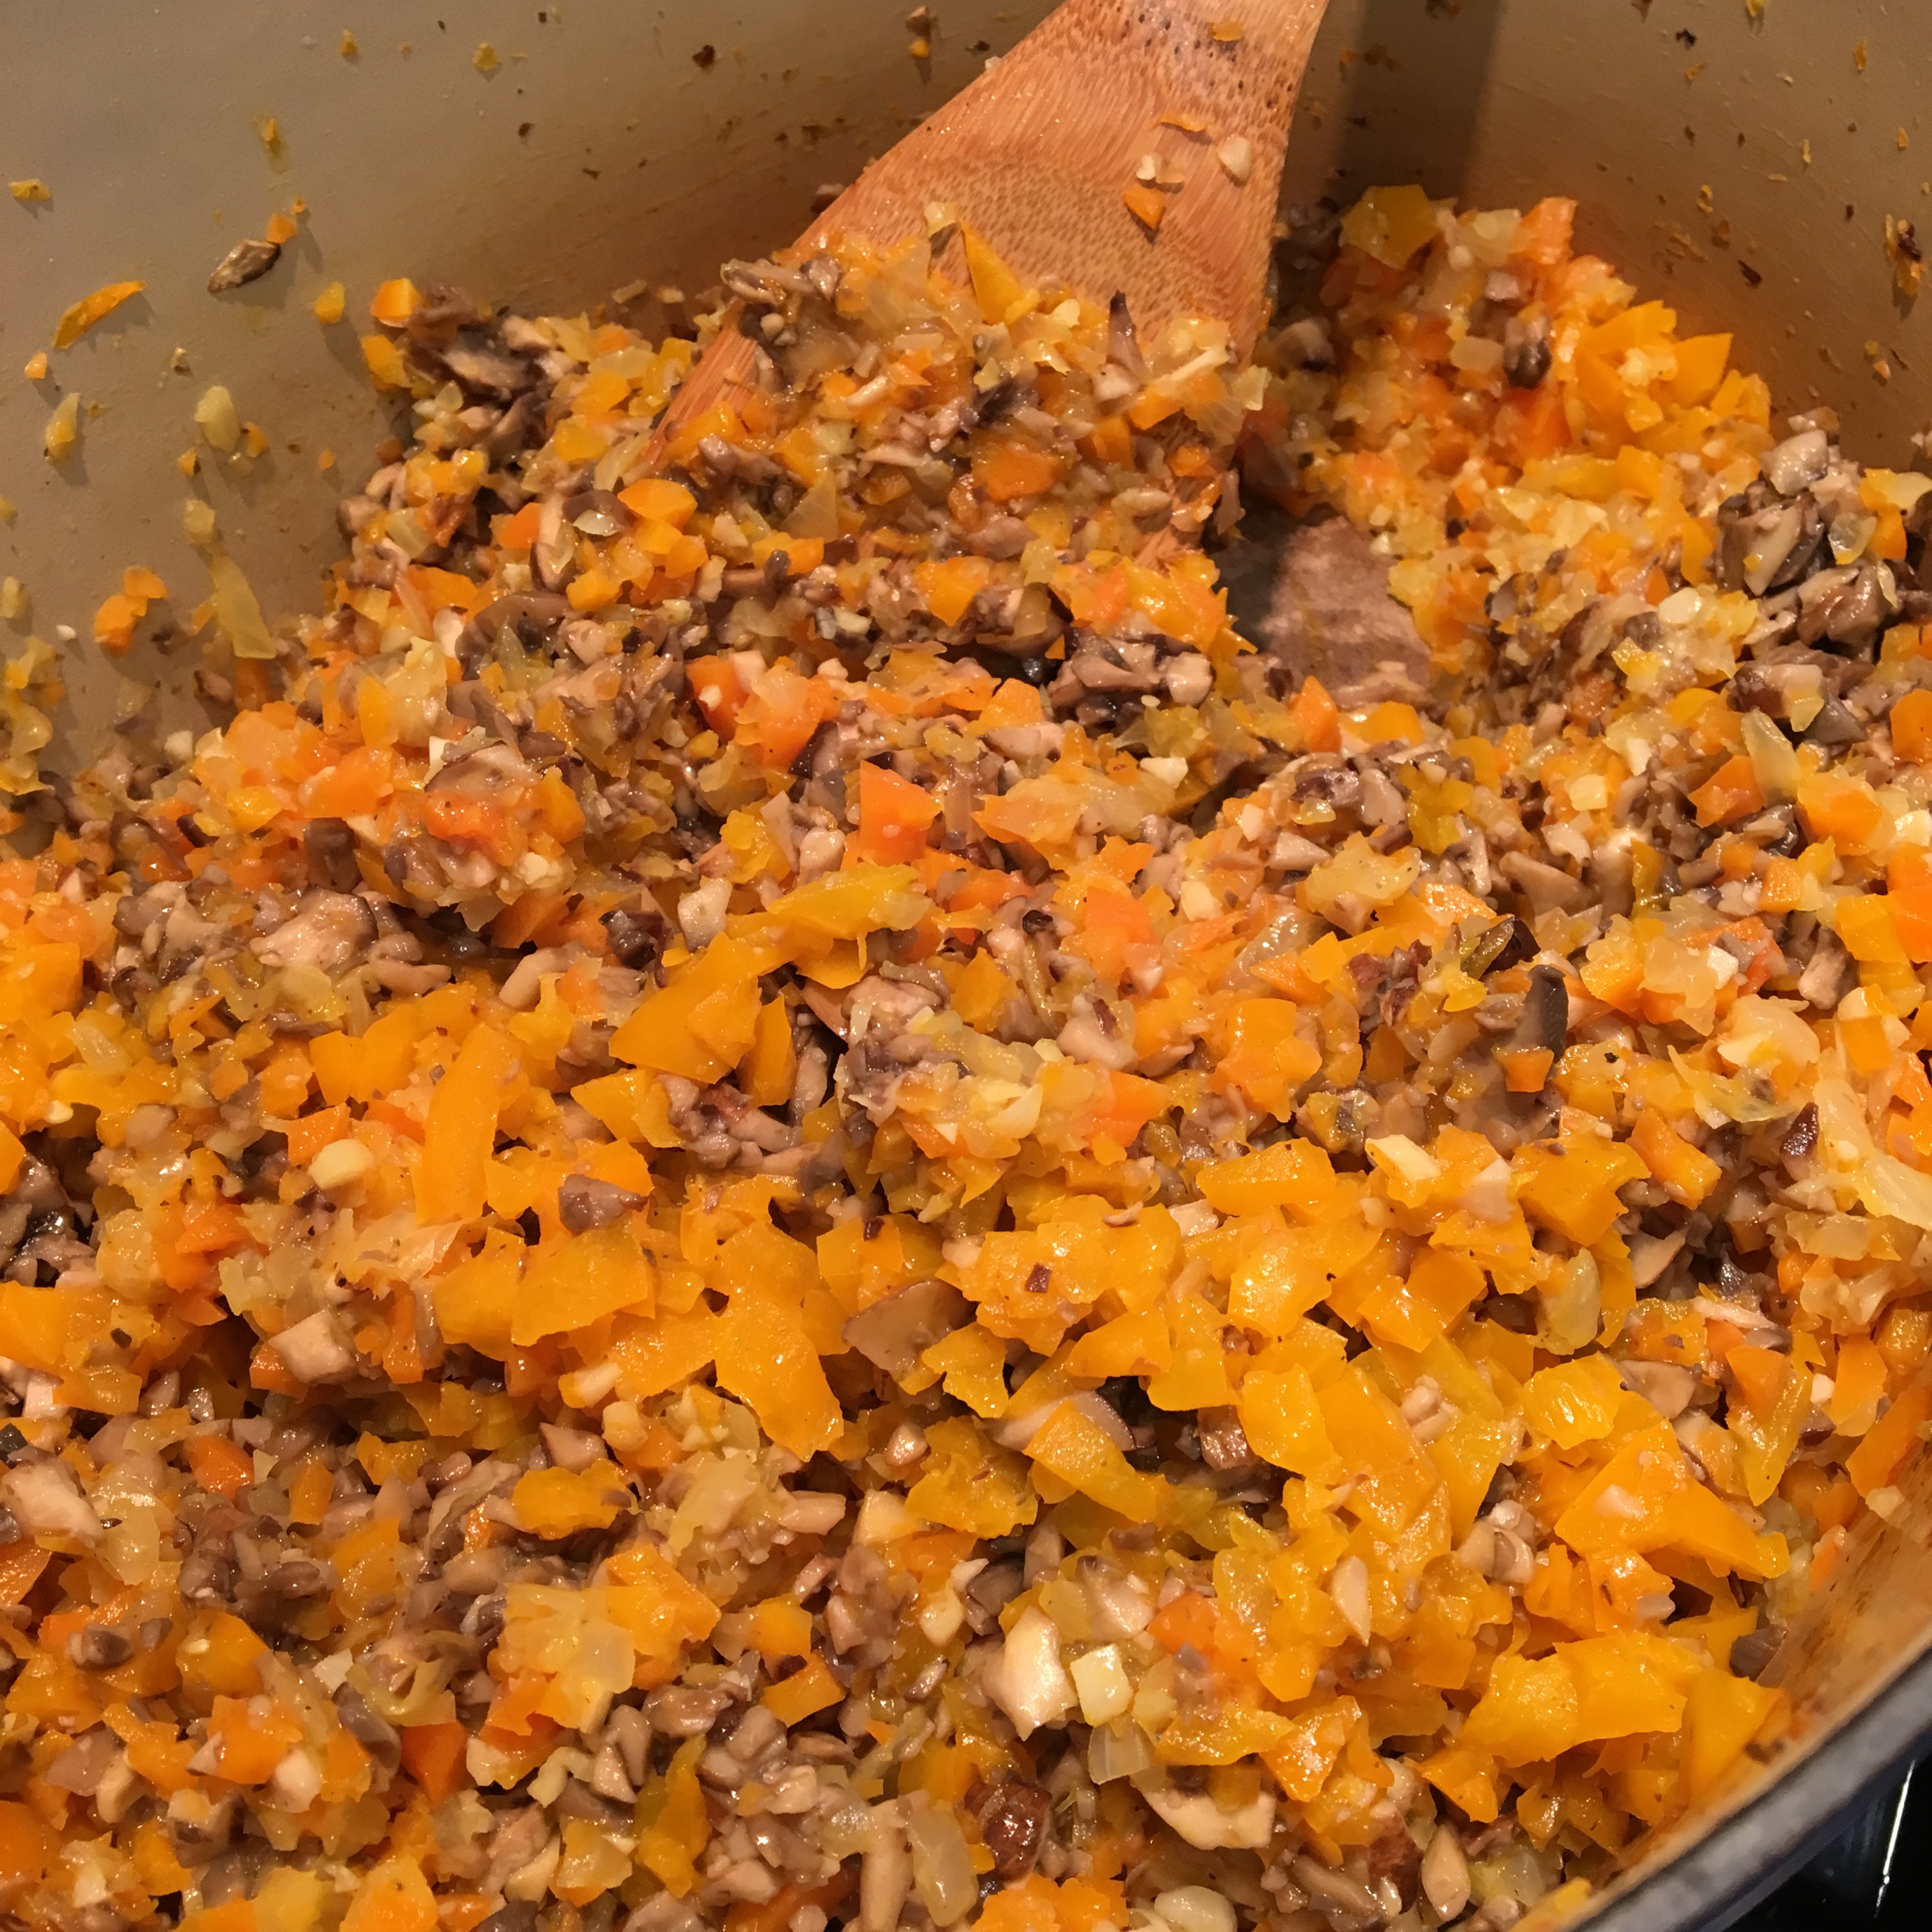
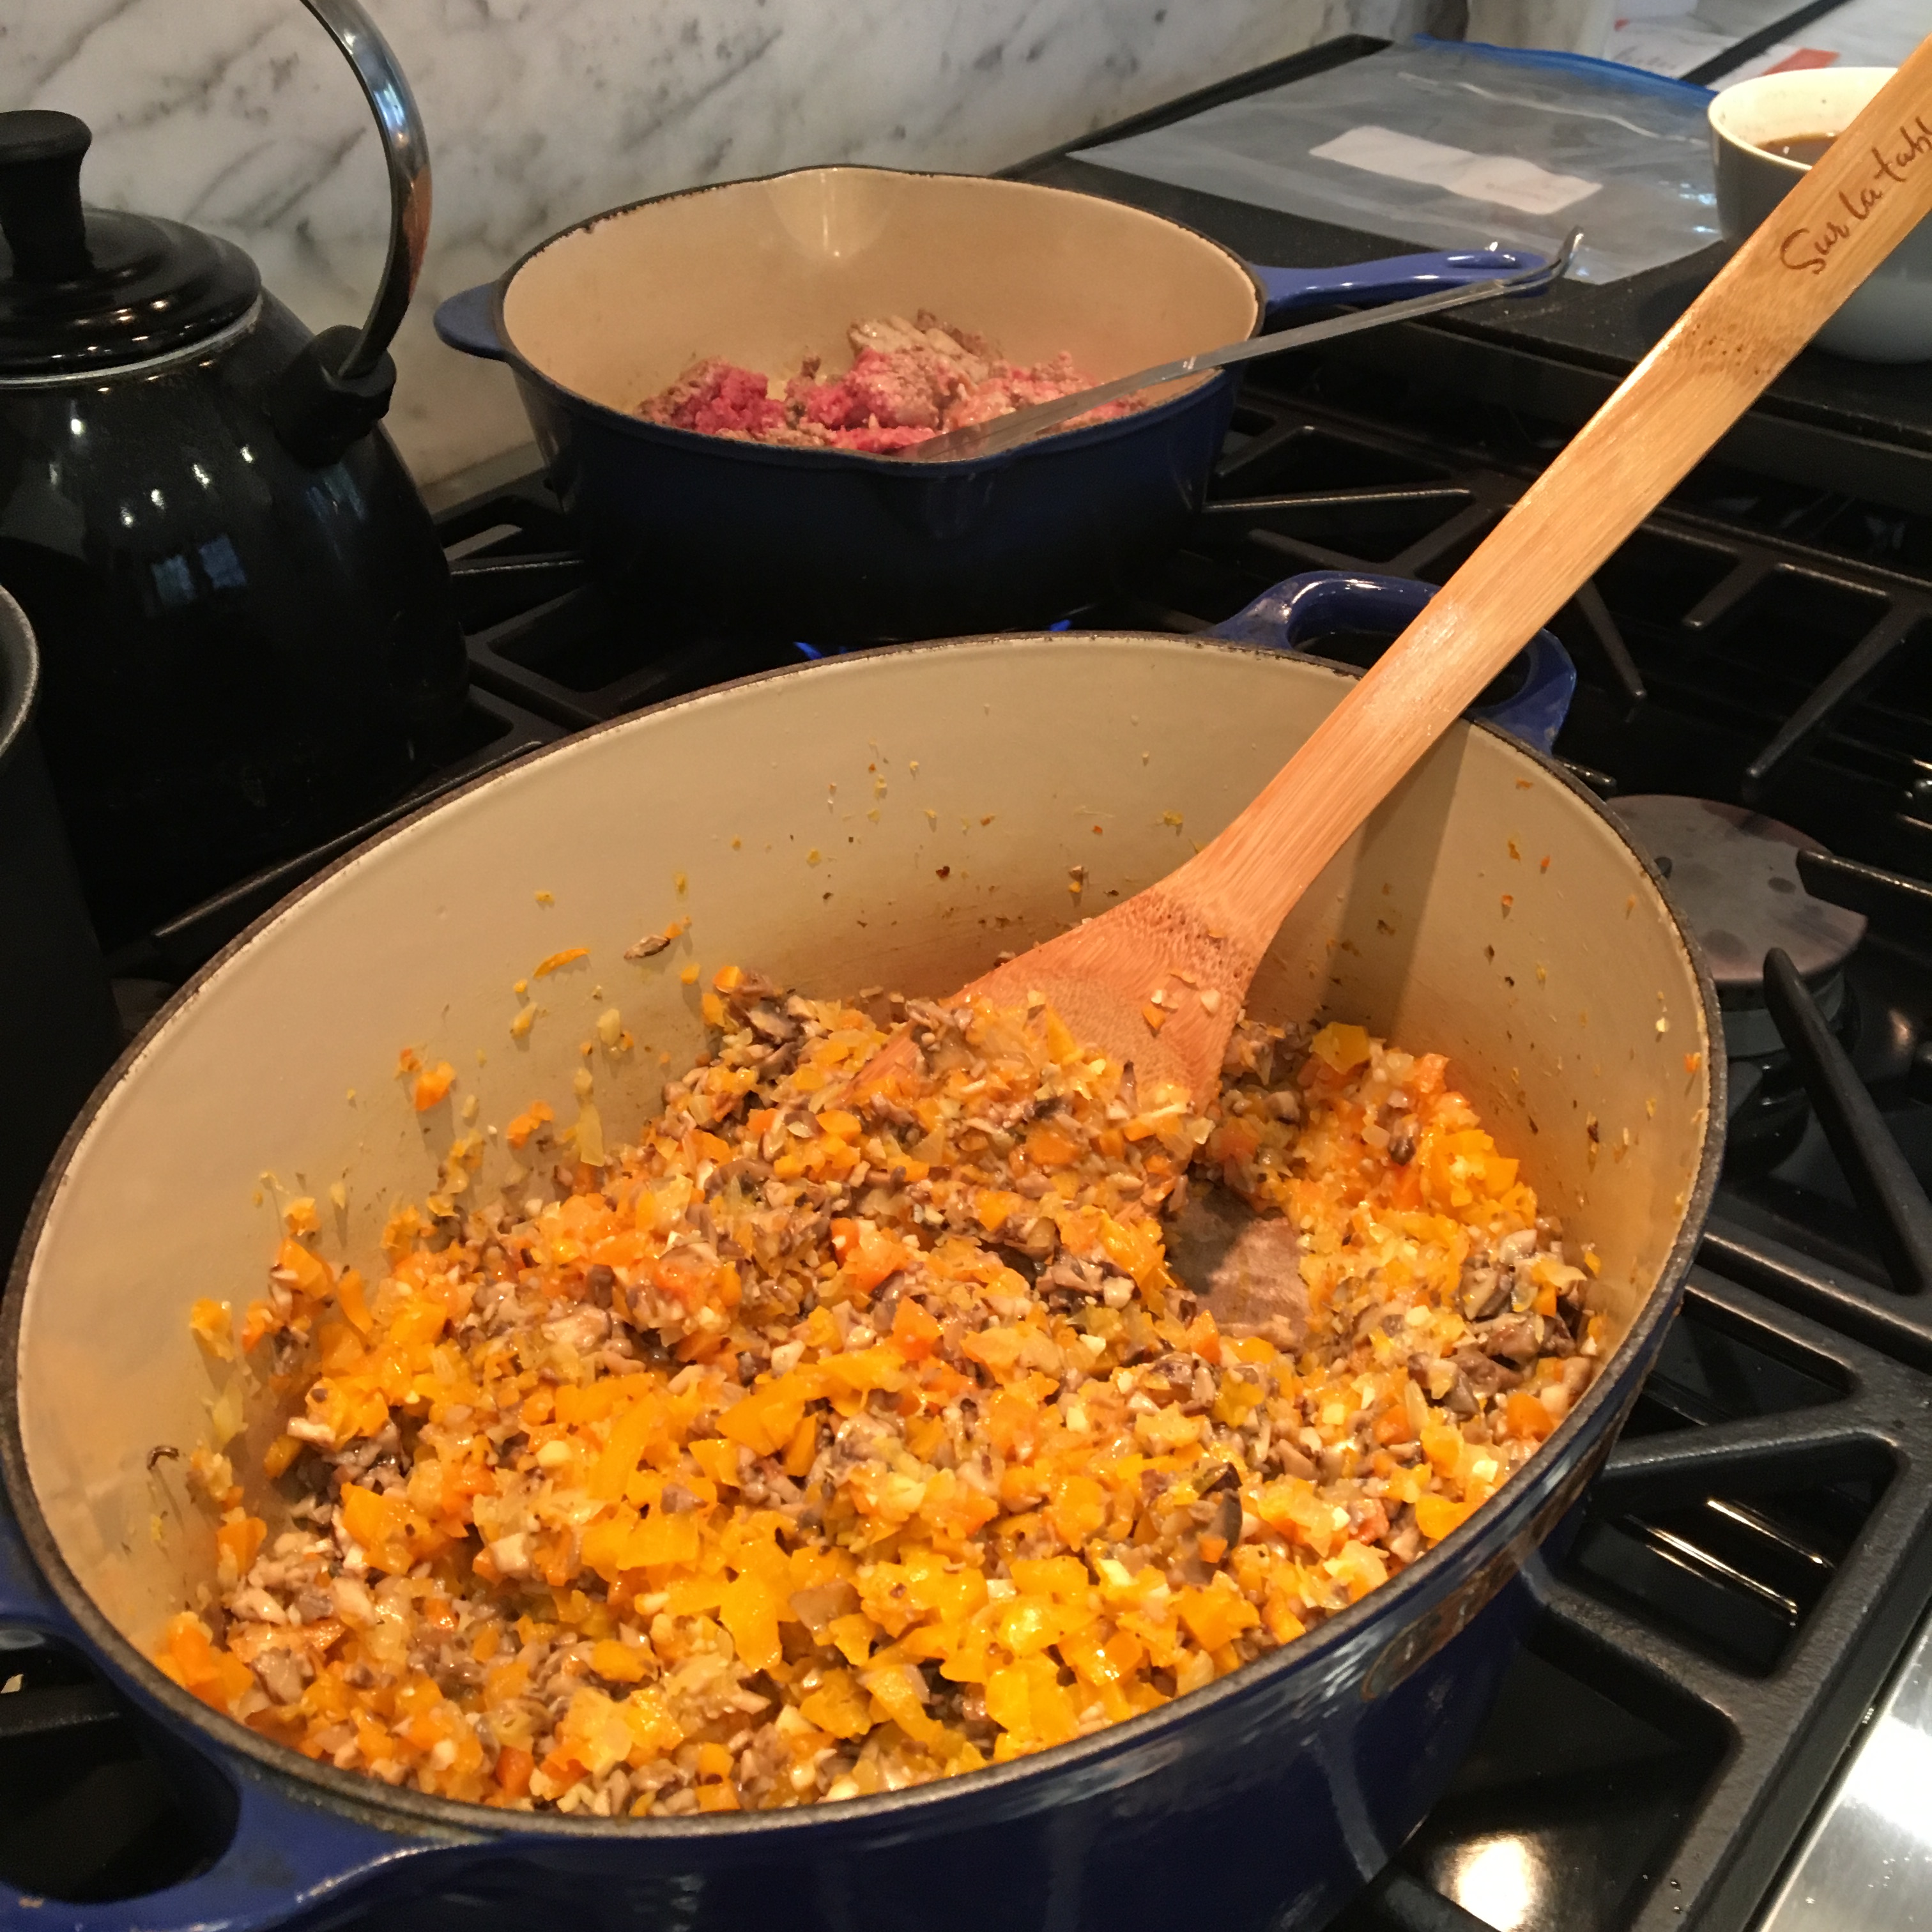
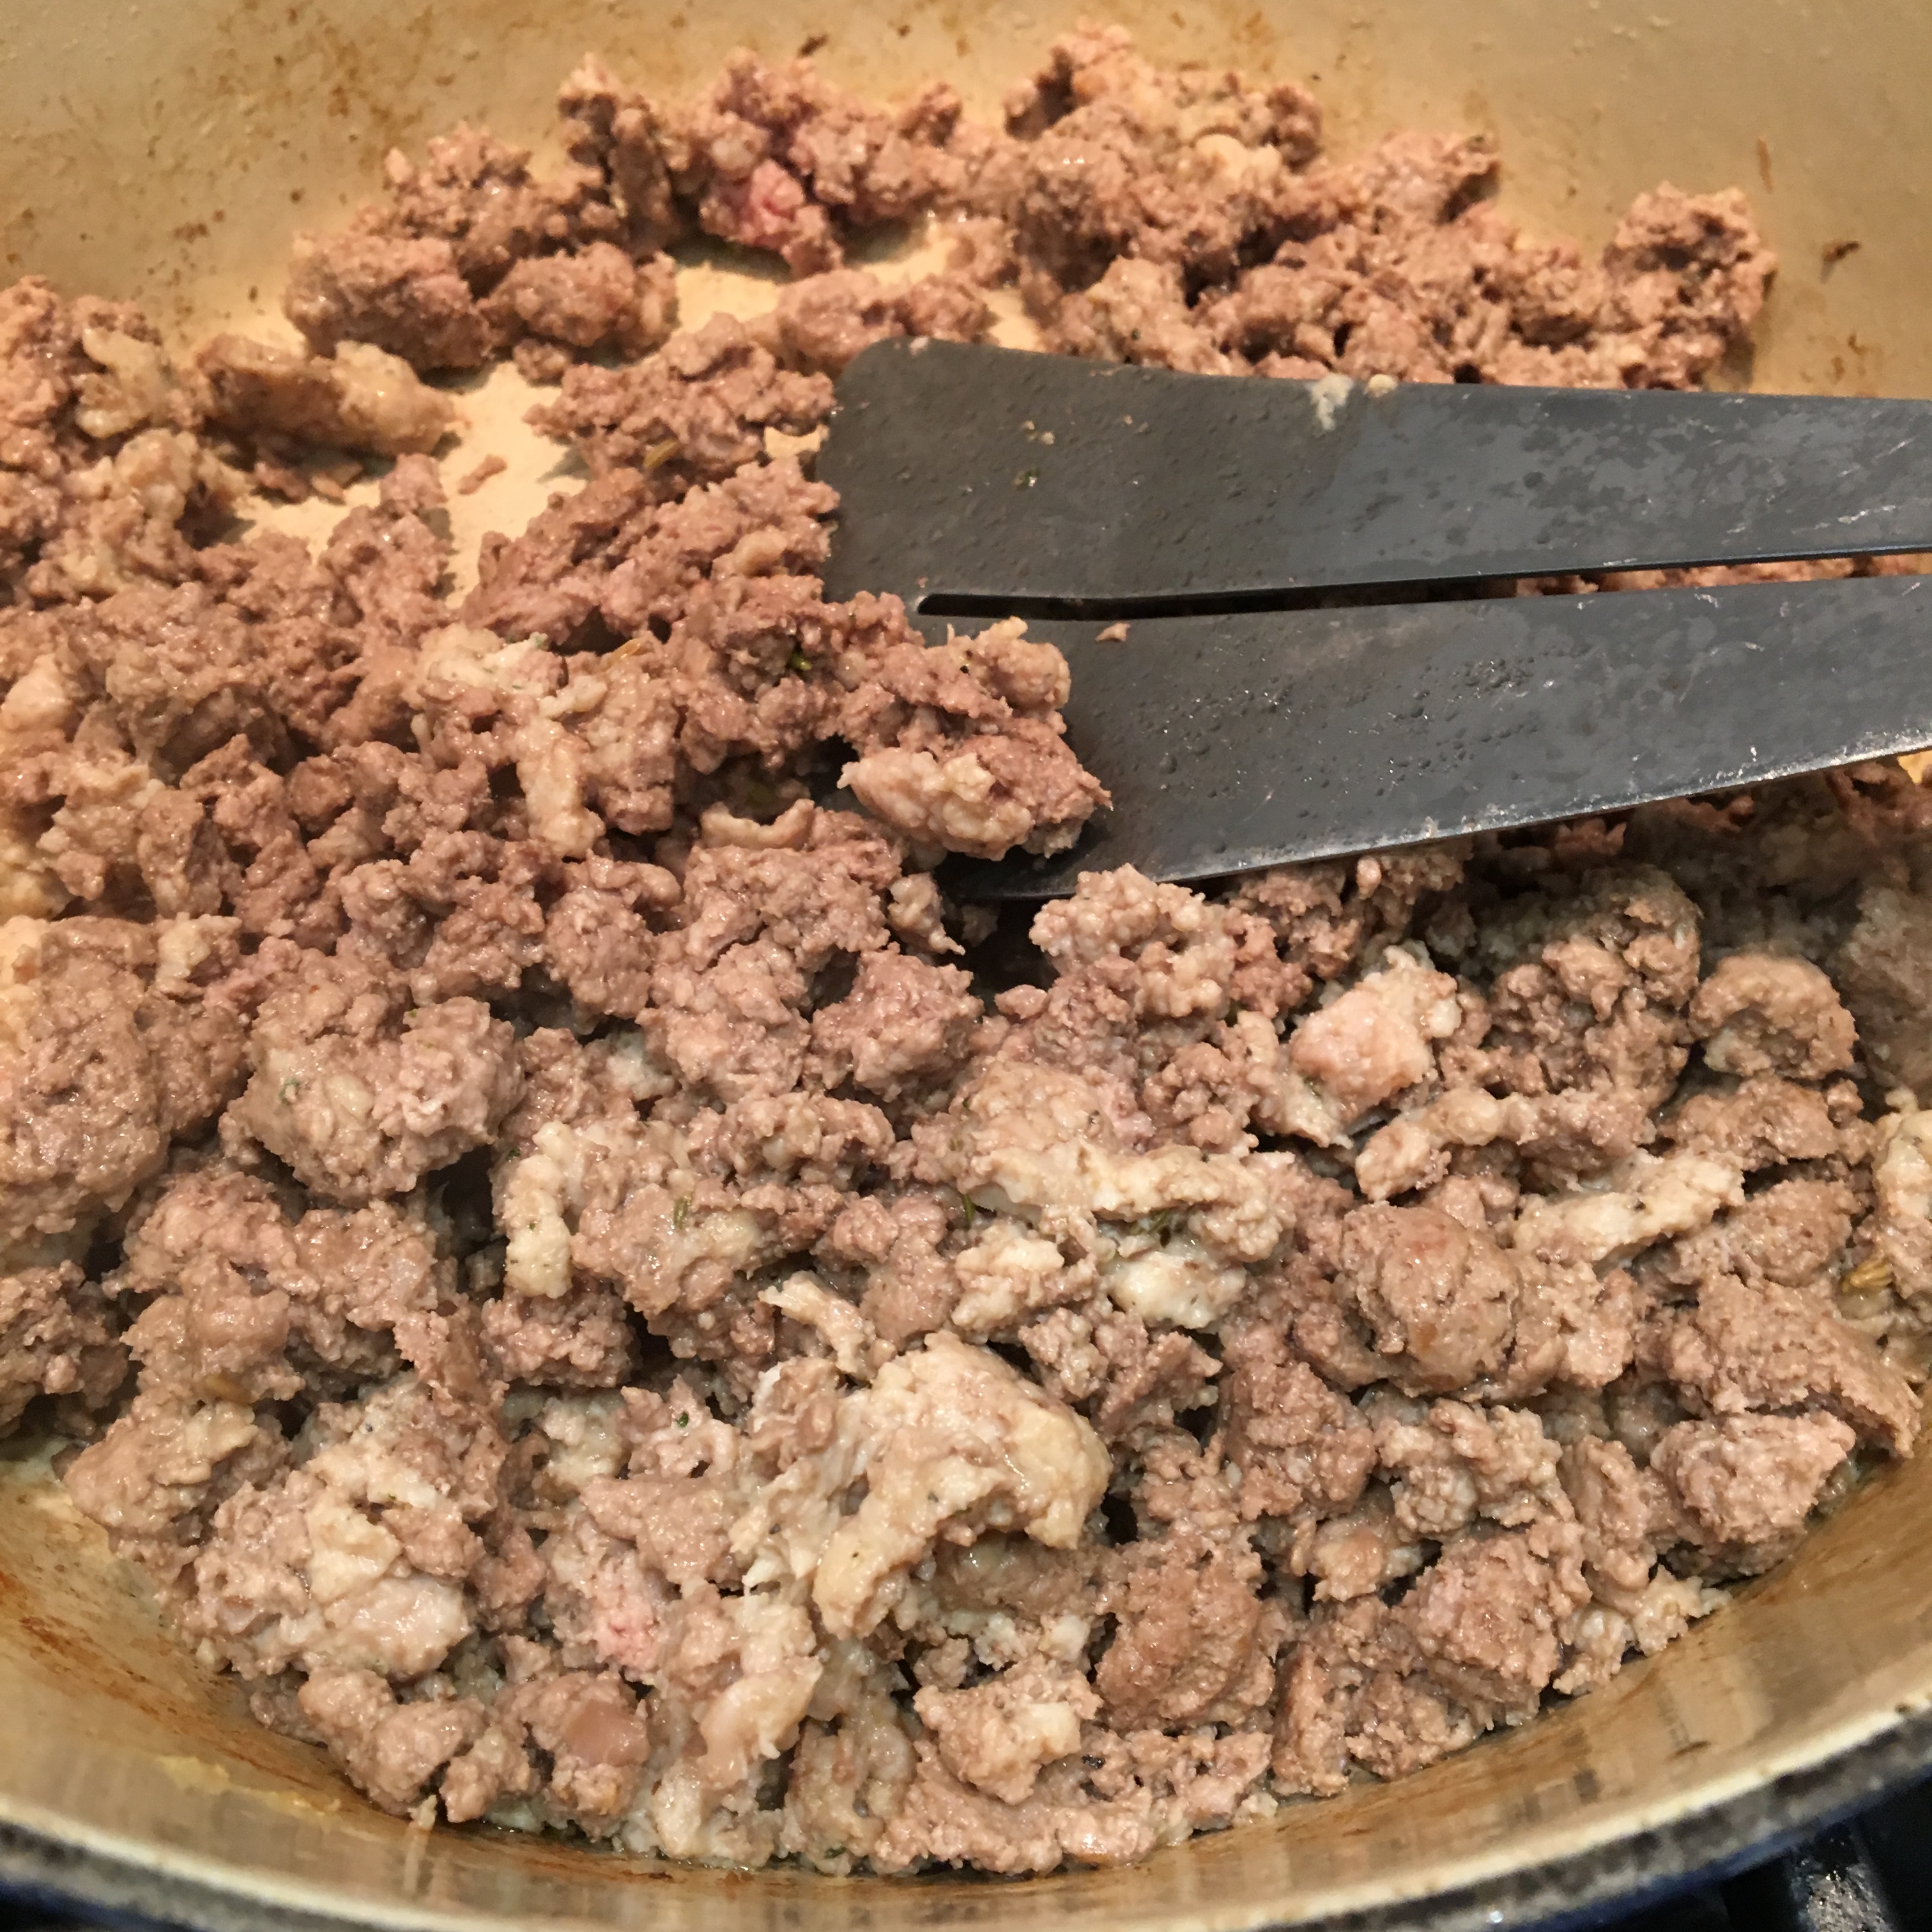
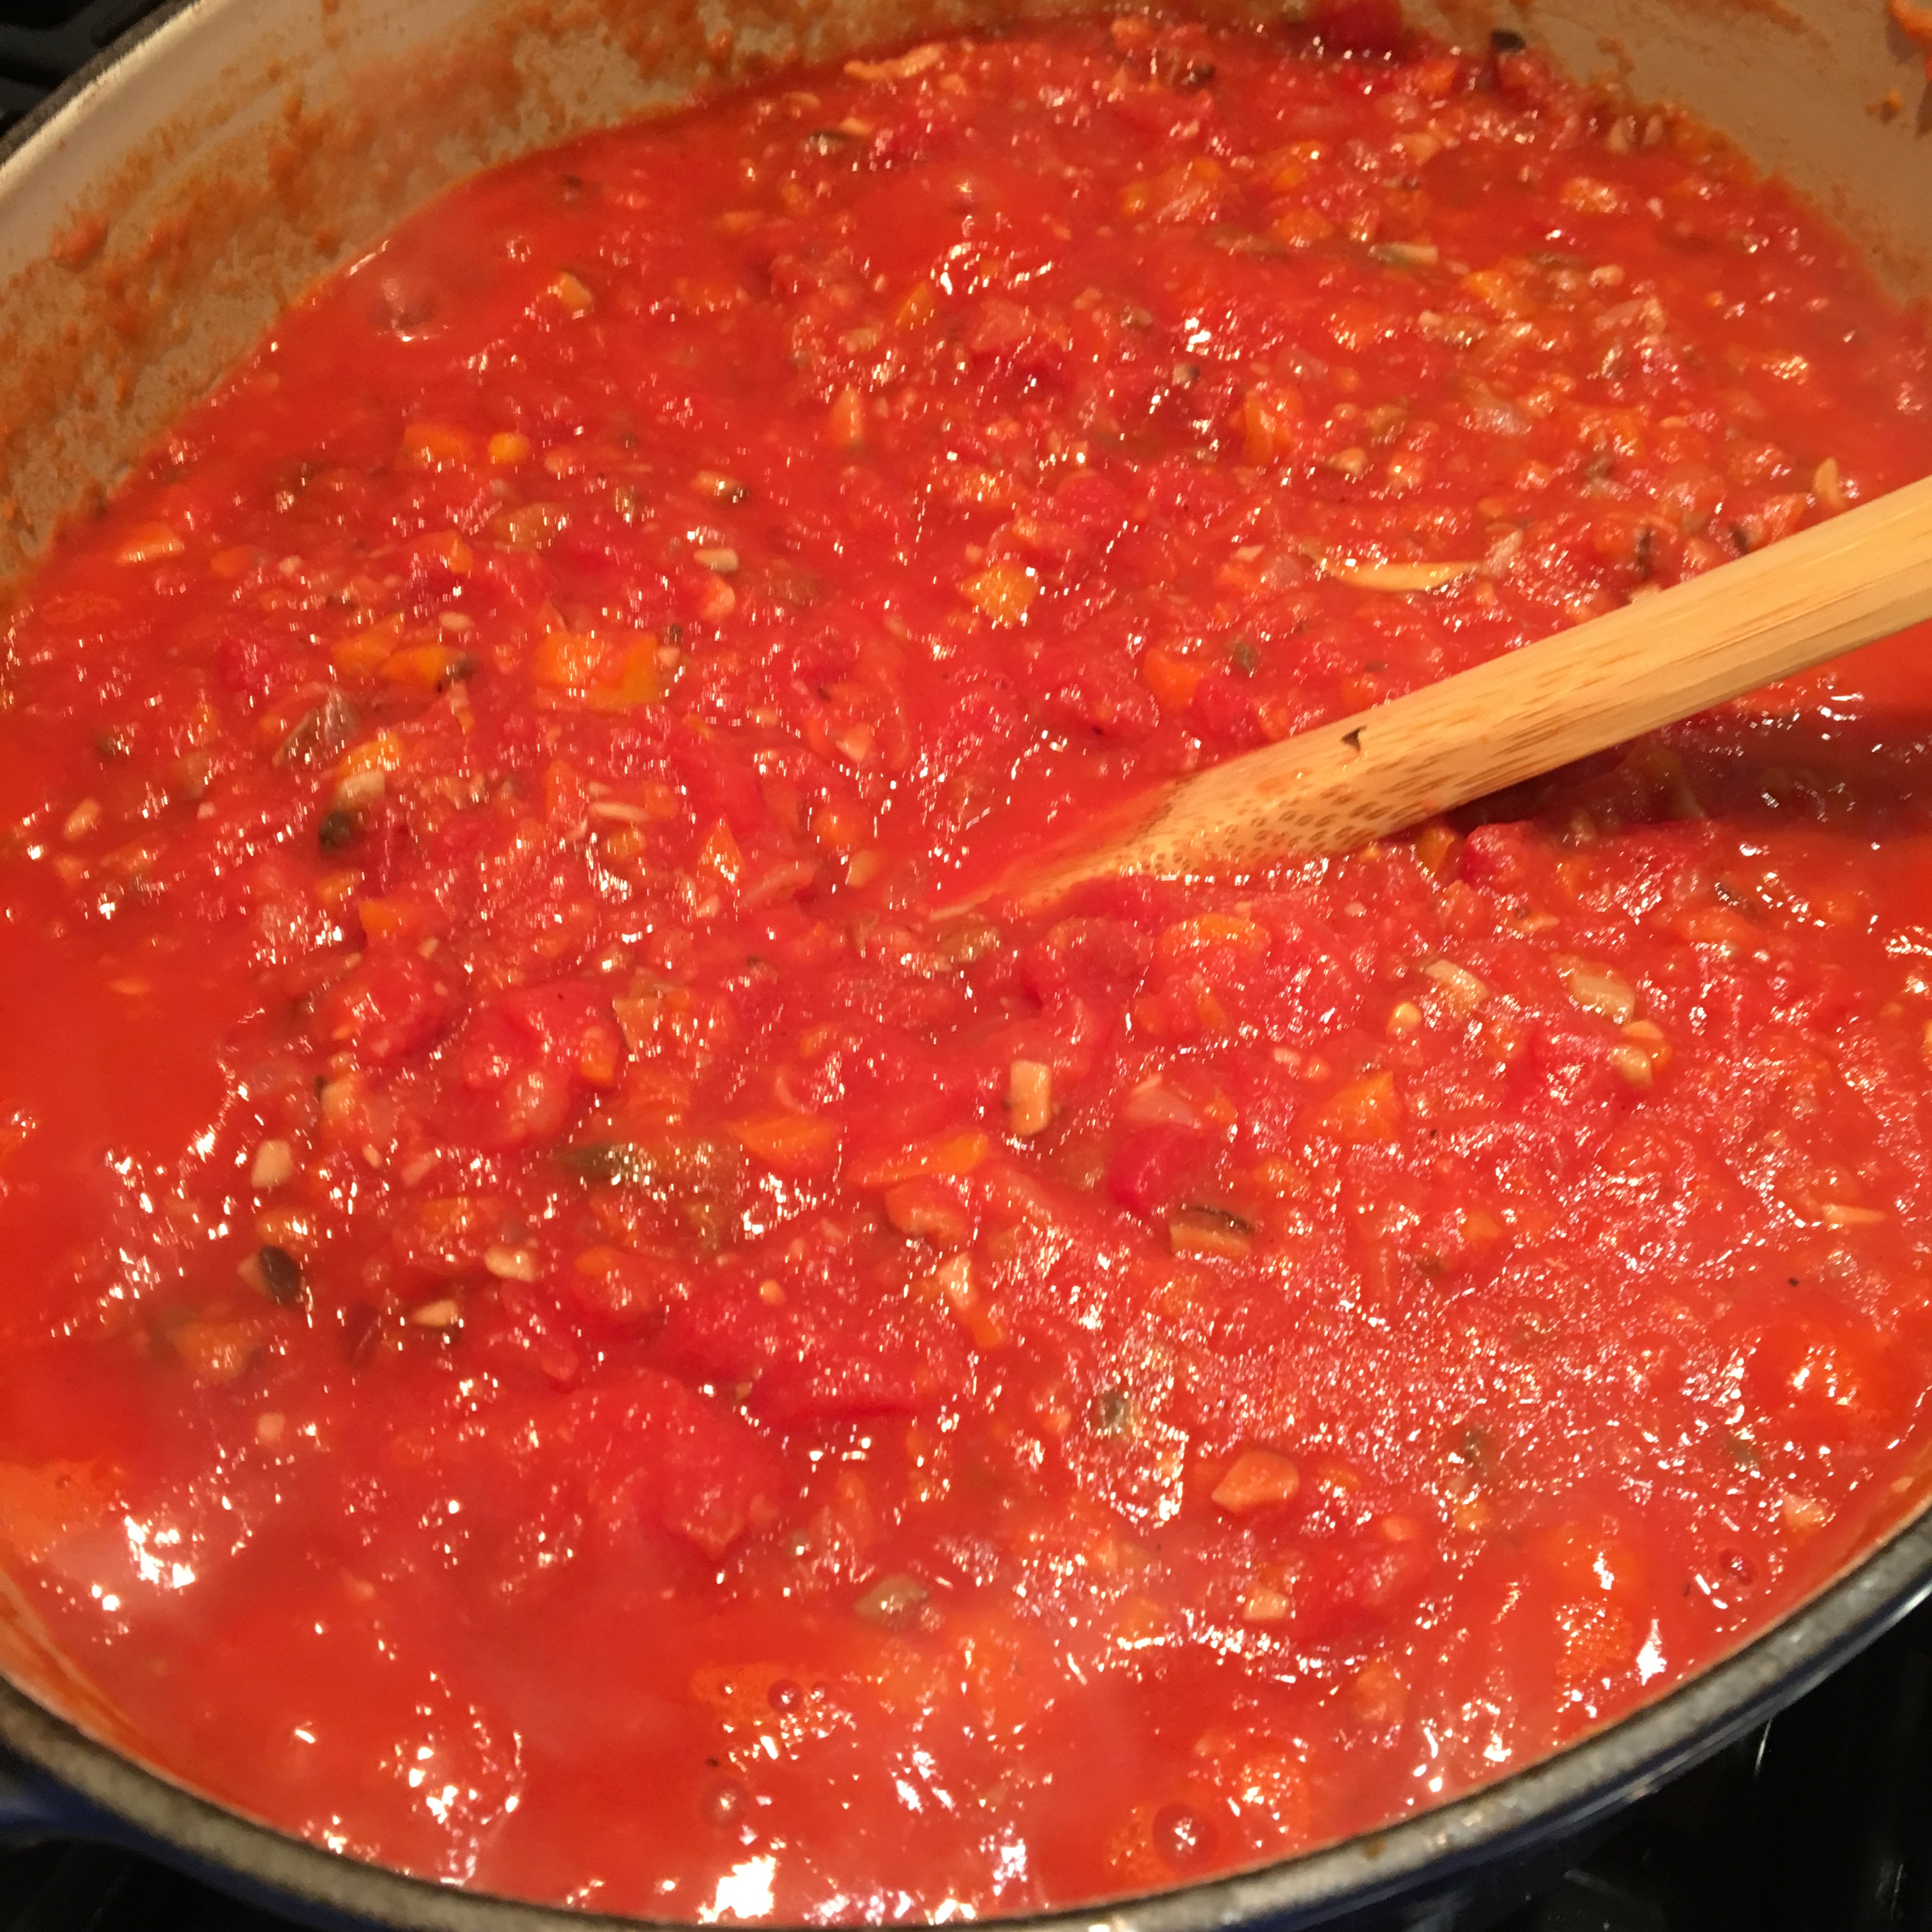
  2. In a large pot (I like to use an enameled cast-iron casserole, it cleans up easily) heat 1–2 tablespoons of the oil. Add the onion and carrots and cook over moderate heat for about 5 minutes. Add additional oil if needed and then add the ground beef if using, chicken sausage if using, cremini, shiitake and chopped porcini mushrooms and season with salt and pepper. Cook, stirring occasionally, until the meat is fully cooked, about 10 minutes. Stir in the garlic, tomato paste and miso and cook for 2 minutes. Add the chunk of cheese, tomatoes and their juices, thyme, oregano, sugar and reserved mushroom soaking liquid, and bring to a simmer.
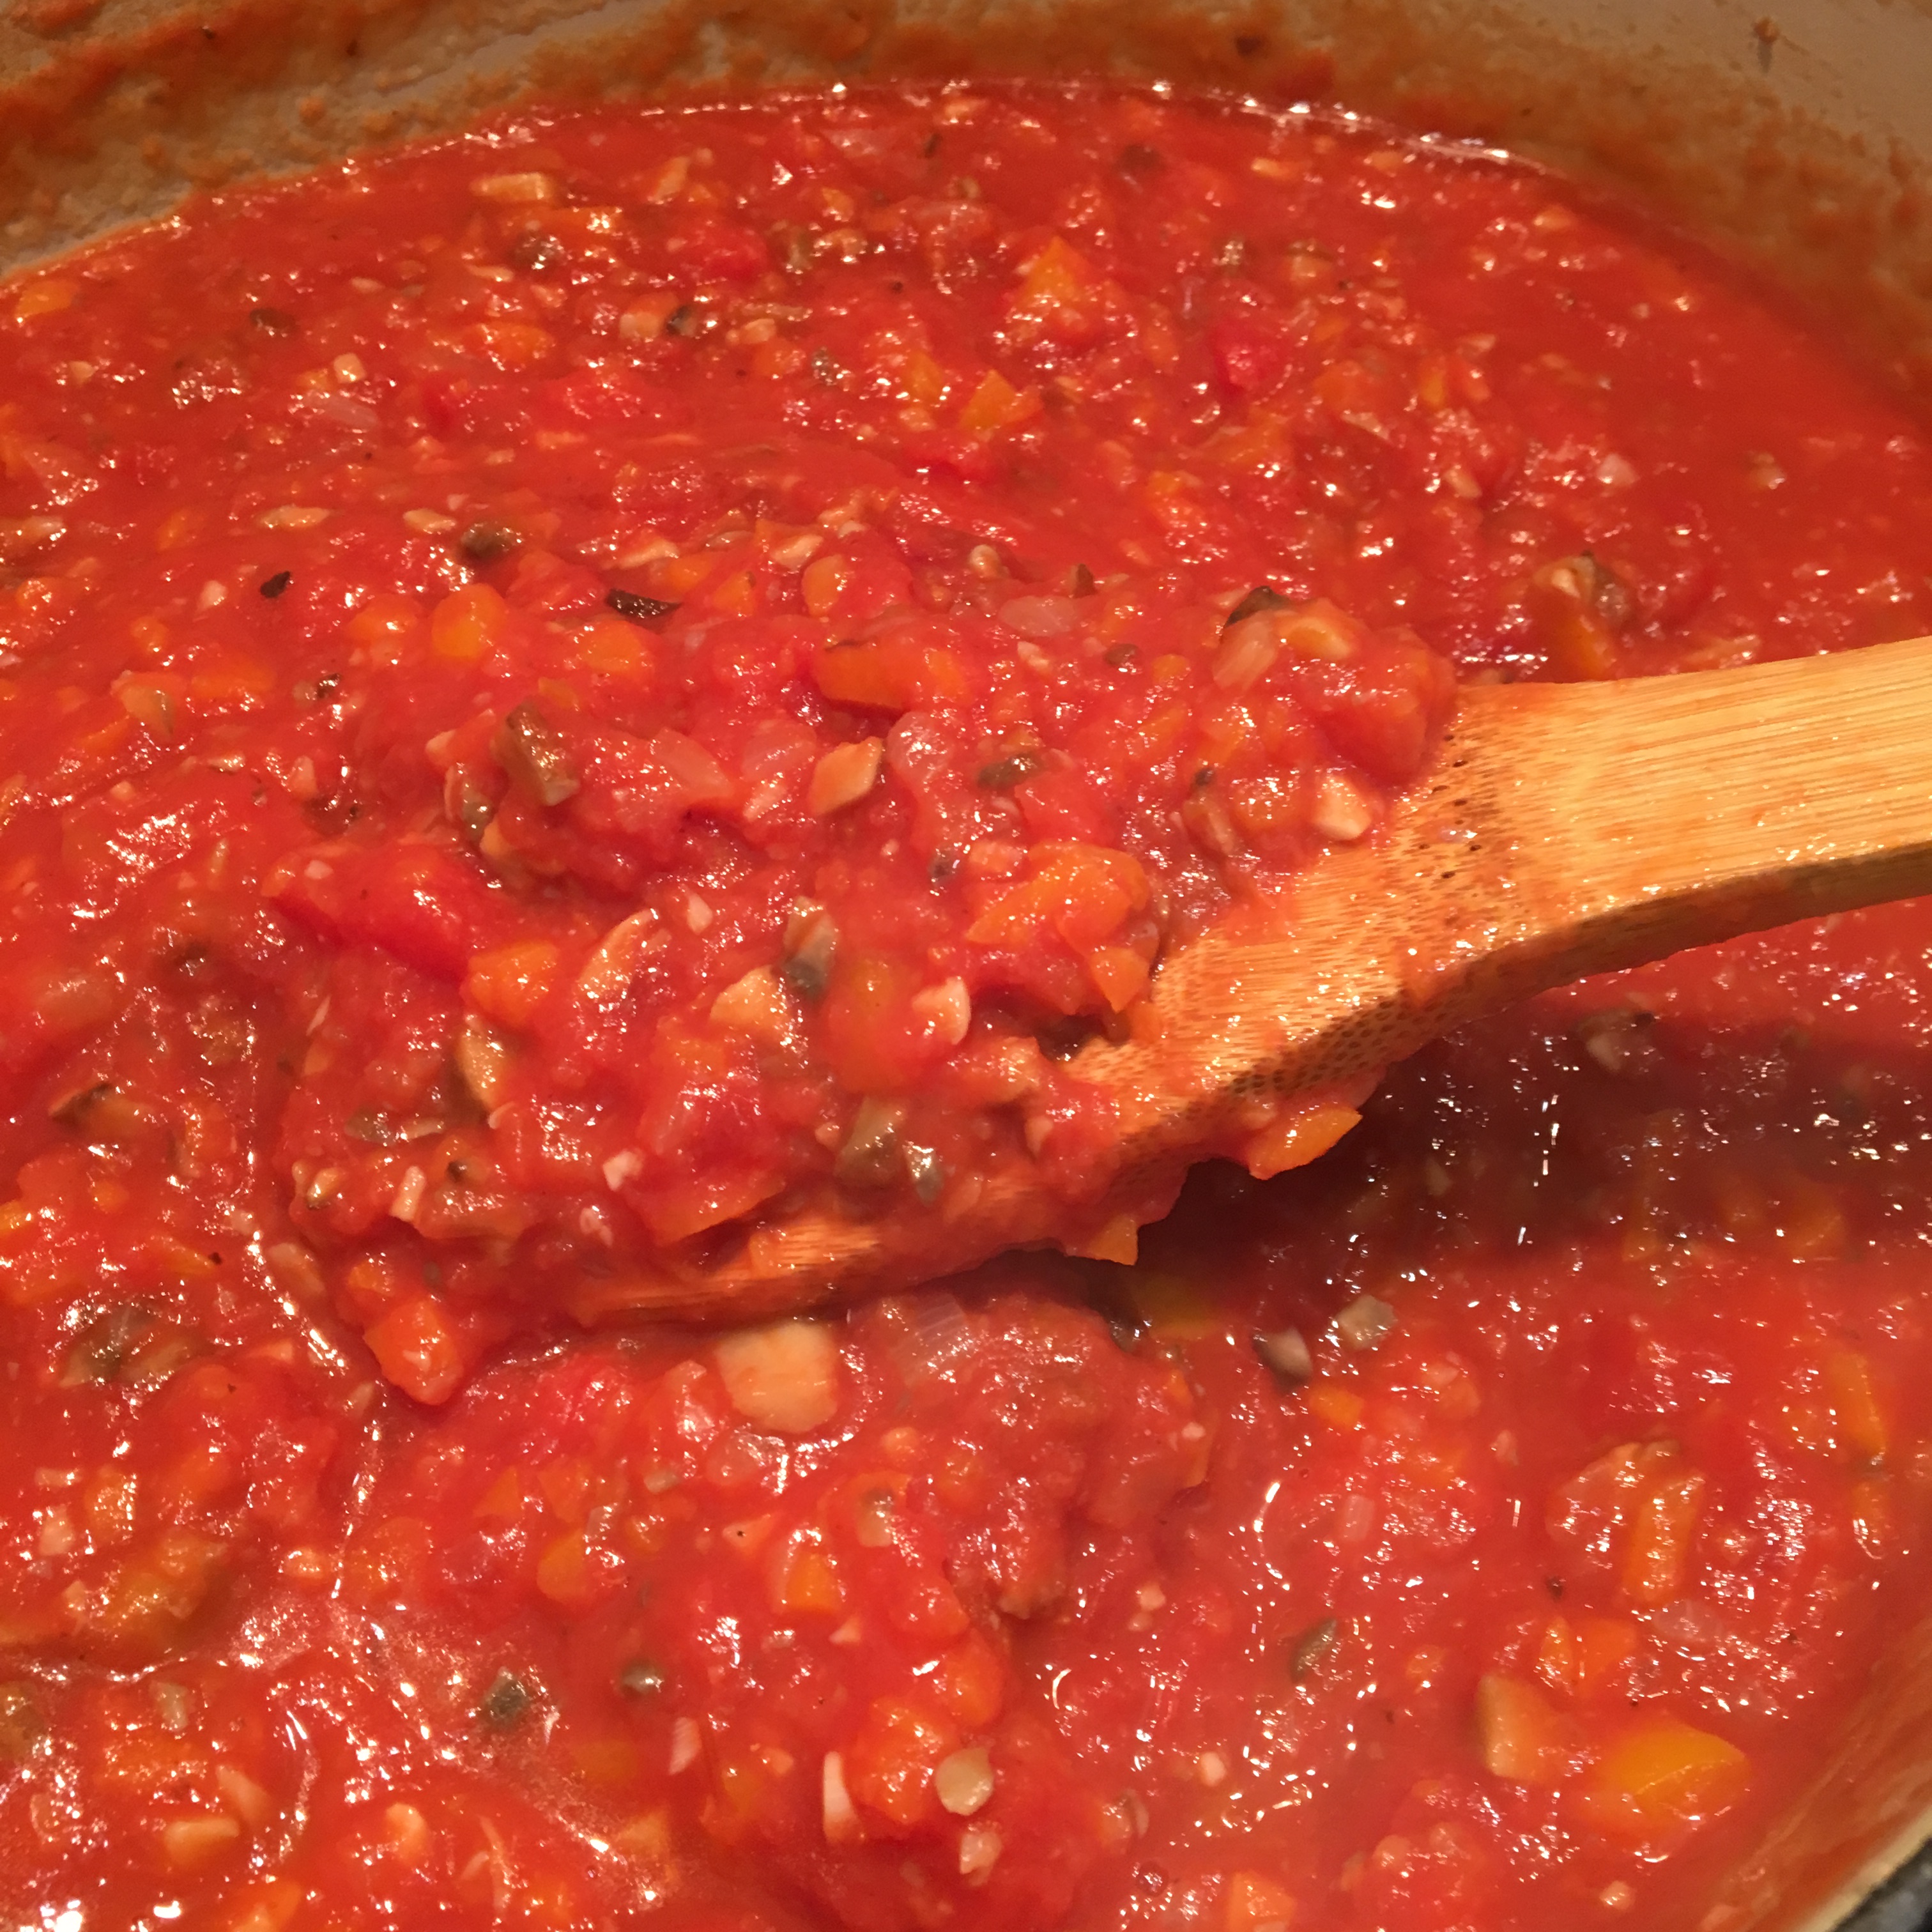
  3. Halfway cover the pot and cook over low heat so it simmers gently, stirring occasionally, until the sauce is very thick, about 1–1.5 hours. Discard the thyme and oregano sprigs (if using fresh herbs); season the sauce with salt and pepper and more oregano and thyme if needed.
  4. In a pot of boiling water (salt optional), cook the pasta until al dente. Drain
  5. Add the pasta and chopped basil to the sauce; toss to coat. Serve in bowls, topped with grated cheese.

https://healthyseasonalcooking.wordpress.com

March 16, 2017

IMG_4063
Onions, carrot and garlic

IMG_4064
onions, carrot, garlic and mushrooms

IMG_4065

IMG_4070
ground beef and chicken sausage

IMG_4067IMG_4069

IMG_4074
Finished product! yum!

Roasted Butternut Squash and Wild Mushroom Brown Rice Risotto

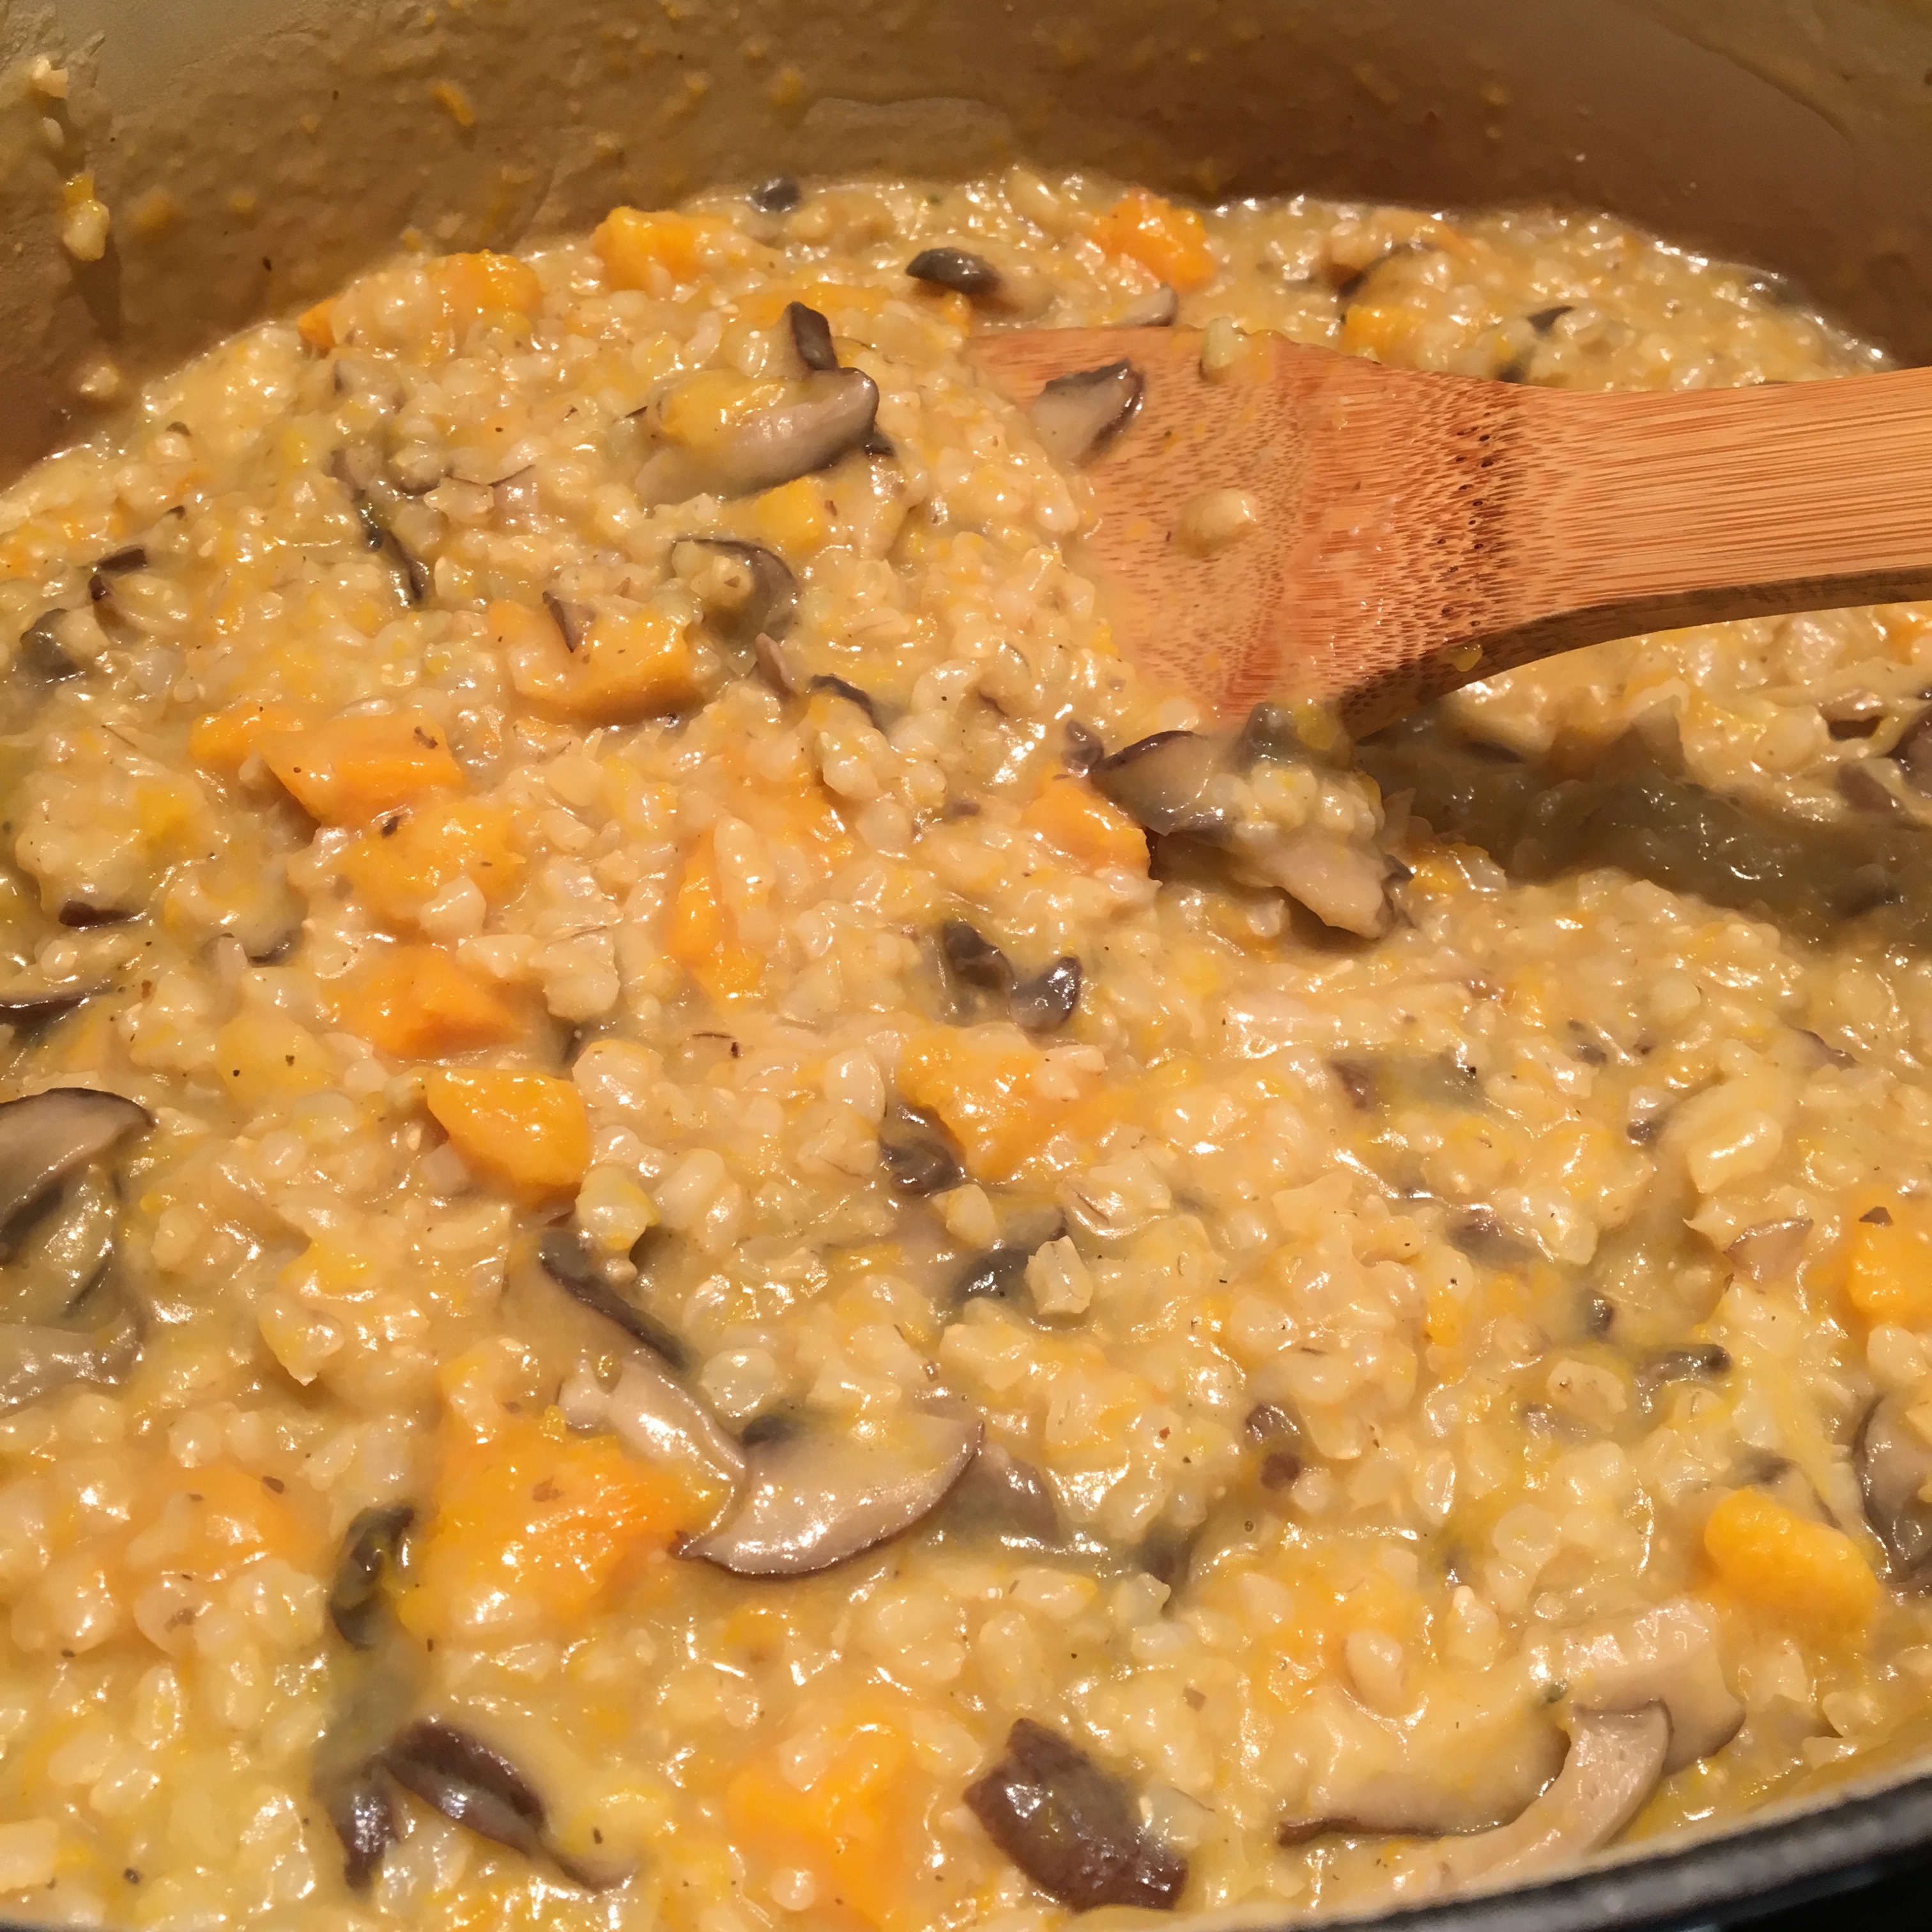
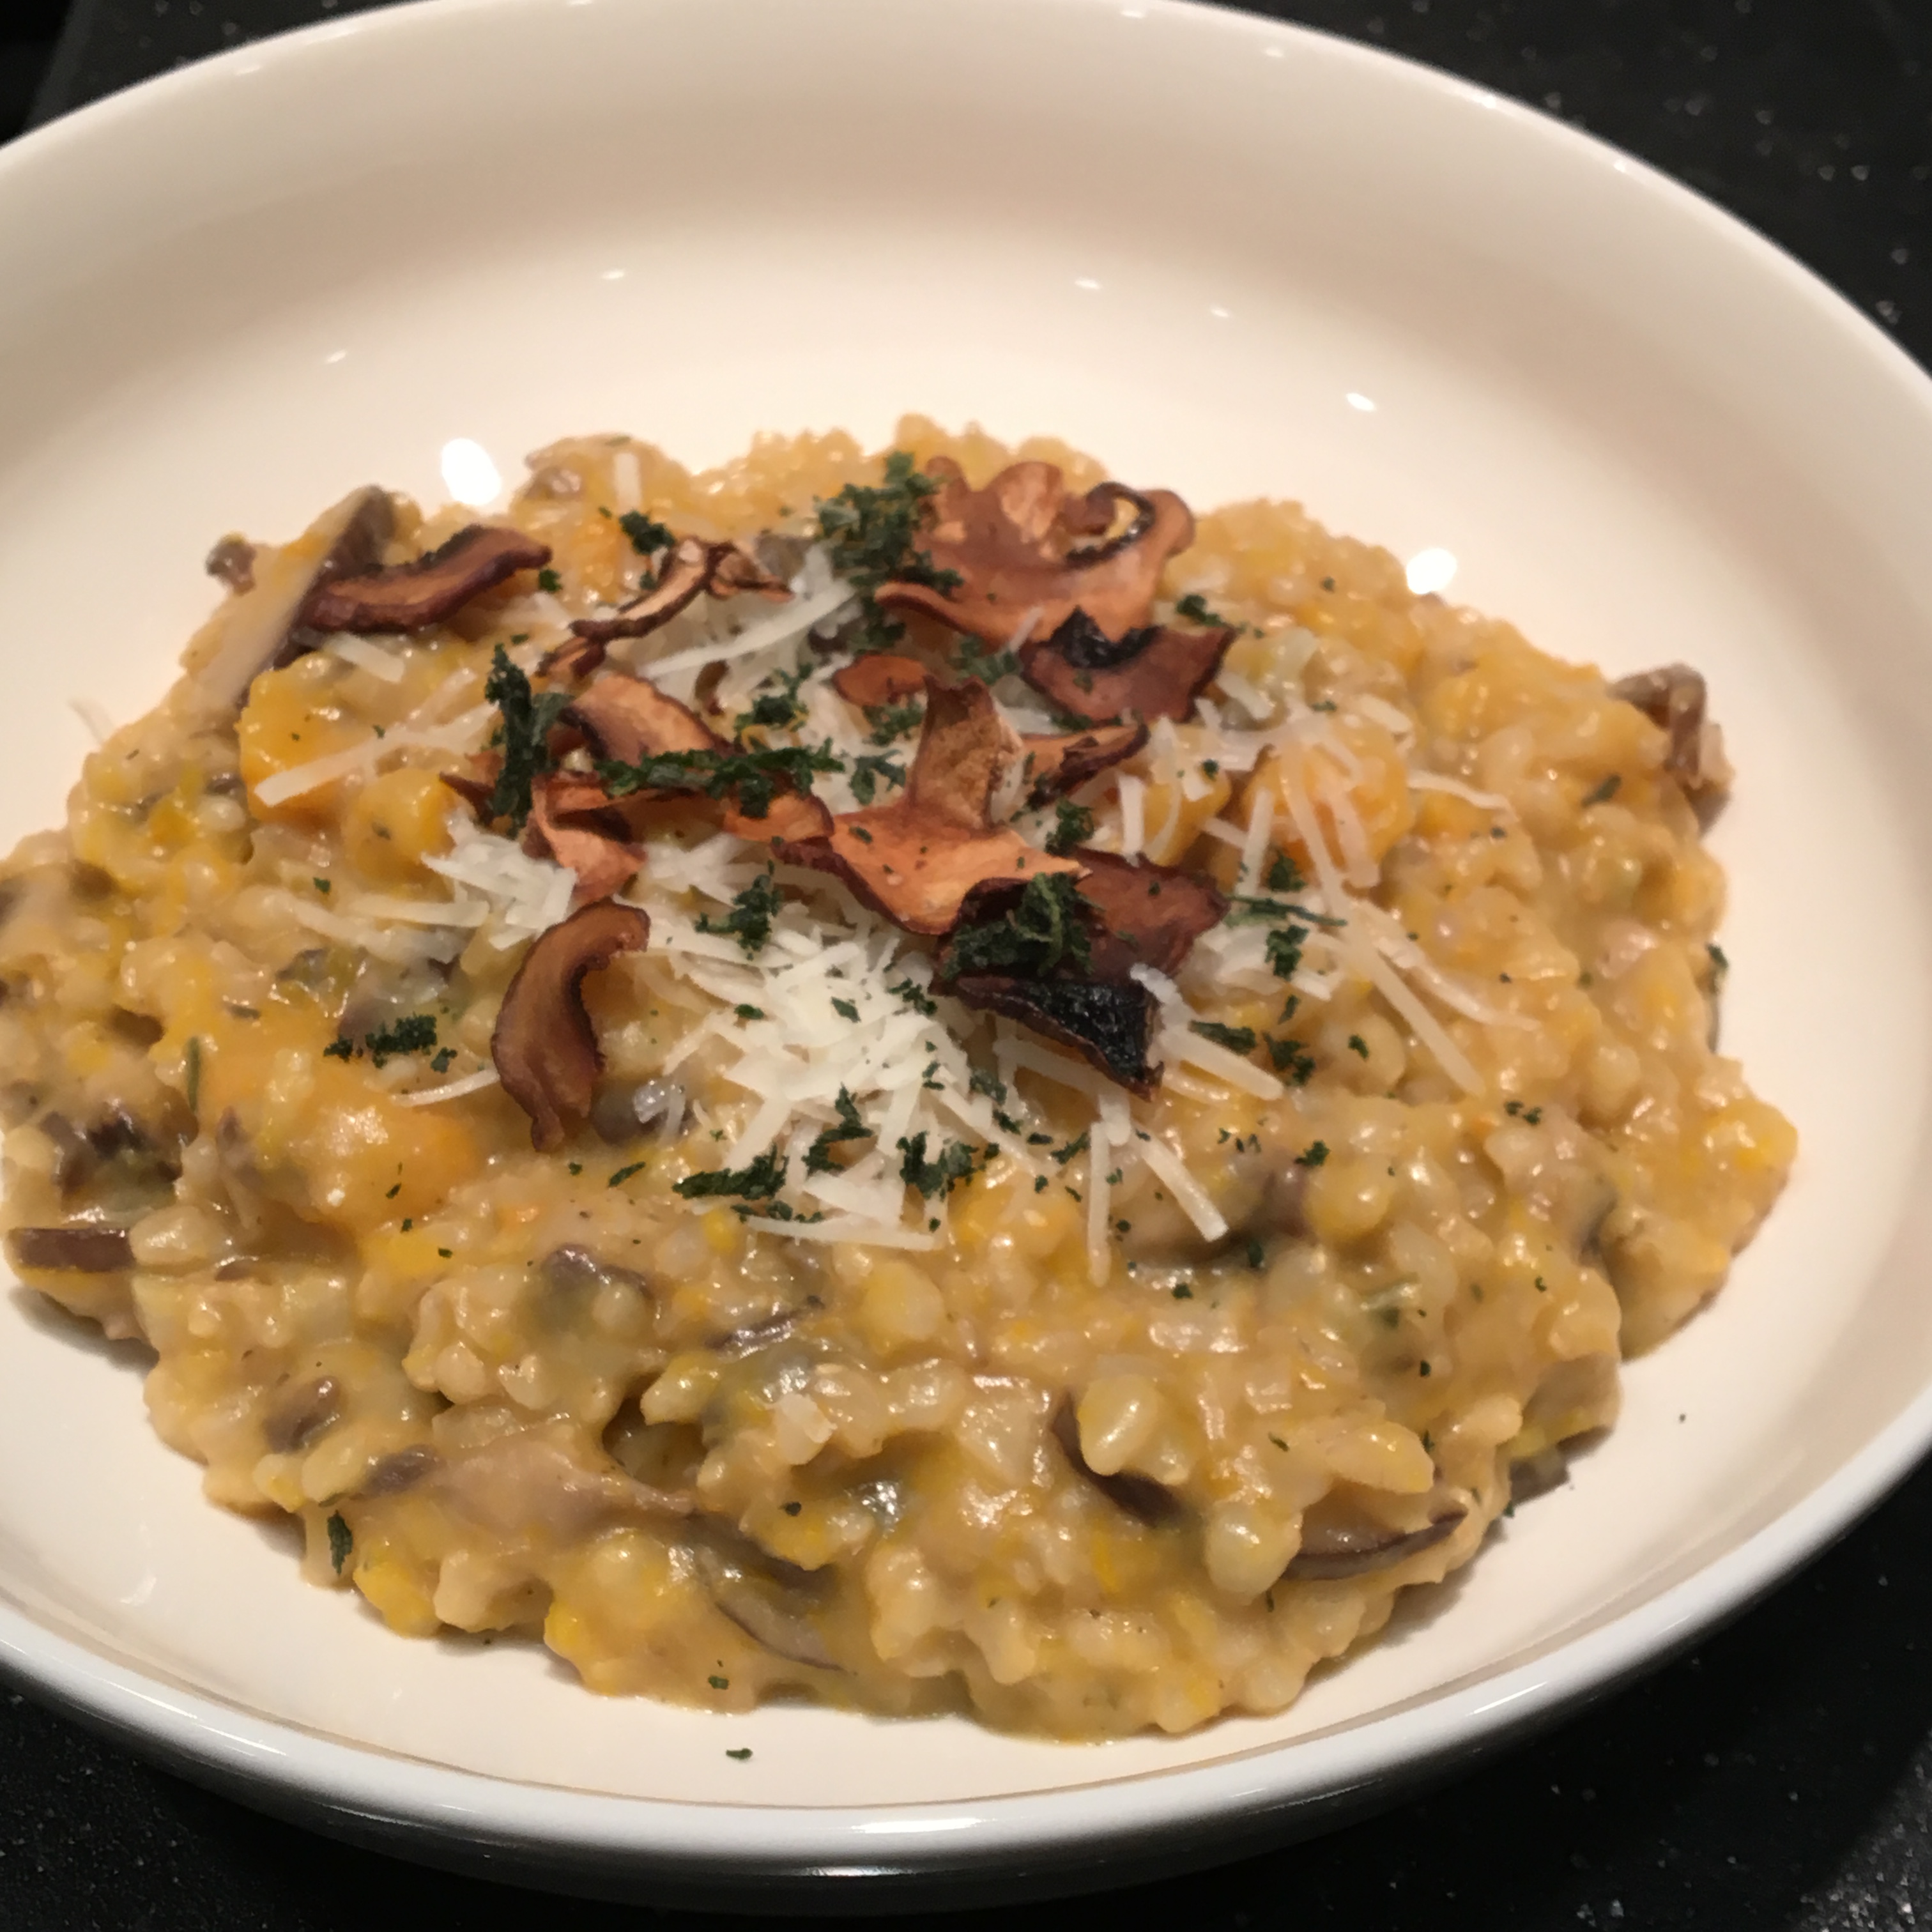
What a wonderfully warming and hearty Winter dish, that truly exceeded my expectations (and I think my husband’s as well)! I haven’t attempted risotto in years, but I came across a roasted butternut squash risotto recipe and decided that it would be a fun project to make today. Be warned, this takes time, but not the traditional standing over the pot and stirring for hours kind of time. For much of the time the dish was minding itself in the oven baking, which is not too bad for risotto! I based this off of a recipe by Cookie and Kate, but I made a few changes: I added a little more water, I added shiitake and cremini mushrooms in the risotto, added crispy mushrooms as a garnish and I skipped the butter. I also roasted the squash whole before cutting it because I really dislike cutting into hard squash – so worried about cutting off a limb! Risotto with only a cup of cheese and no butter, as well as brown rice for added nutrition! Pretty healthy and still so creamy and comforting.

Roasted Butternut Squash and Wild Mushroom Brown Rice Risotto

  • Servings: 4 mains or 6 sides
  • Difficulty: medium
  • Print

Healthy and savory vegetarian risotto that bakes in the oven.

Credit: Roasted Butternut Squash Risotto by Cookie and Kate

Ingredients

Risotto

  • 1 small butternut squash
  • small yellow onion or sweet onion, chopped
  • 2 cloves garlic, minced
  • 5 large shiitake mushrooms, thinly sliced
  • 5 large cremini mushrooms, thinly sliced (plus 2 more below for the garnish)
  • olive oil
  • Salt and freshly ground pepper
  • 4 cups of vegetable broth, divided
  • 2 cups water, divided
  • 1 ½ cups brown arborio or short-grain brown rice
  • 1/2 cup dry white wine (optional)
  • 1 cup of freshly grated Parmigiano Reggiano Cheese
  • 1 tablespoon thyme

Crispy Mushrooms and Crispy Sage

  • 2 cremini mushrooms, paper thin slices (if you are short on time skip this, it will still be delicious)
  • 20 sage leaves
  • olive oil
  • salt
  • freshly ground pepper

Procedure

  1. Pre-heat oven to 375 degrees F.
  2. Place washed whole butternut squash on a baking sheet and bake for 45 minutes, or until skin starts to brown and shrivel. Turn once or twice while baking. Let cool until you can touch it long enough to peel it.
  3. While squash is baking, heat a large dutch oven or pot on medium heat with some olive oil. Add chopped onions and cook for about 5 minutes or until they begin to soften. Add sliced mushrooms and cook for 5 more minutes or until mushrooms begin to shrink and soften. Add some salt and pepper while cooking. Add garlic and cook for 2 more minutes or until garlic is fragrant.
  4. Add 3 cups of broth and 1 cup of water to the onion mix, cover, and bring to a boil. Remove from the heat and stir in the rice. Cover the pot and bake in the 375 degree oven for 60 minutes. It may seem pretty dry when you remove the lid but don’t worry you will add more liquid soon!
  5. While the risotto is baking peel the cooked squash, scoop out the seeds and cut into a small dice. Place the diced squash on a parchment-lined baking sheet and sprinkle with a little olive oil, salt and pepper and bake for another 20 or 30 minutes or until the squash begins to brown around the sides. Remove the squash from the oven and set aside.
  6. To make the crispy mushrooms and sage place the paper thin slices of mushroom and the sage leaves on a baking sheet sprinkled with olive oil and a little salt. Bake the sage for 5 minutes or less, you just want them a little crumbly.  Bake the paper thin mushrooms for around 30 minutes, turning once, until they become crispy but not burned. Check them often. When crispy remove from oven and set aside.
  7. Remove the risotto from the oven after one hour and place on the stovetop over medium heat. Pour in the wine and stir for 2 minutes. Add the remaining 1 cup of broth, thyme  and parmesan and stir vigorously for 3 minutes. Add more water if needed. You can keep it on low heat at this point if not ready to serve, adding water periodically to keep it from drying out and to keep the consistency creamy.
  8. Serve in shallow bowls with a pinch of cheese, crispy mushrooms and sage. Tastes great with a dry chablis.

https://healthyseasonalcooking.wordpress.com

February 22, 2017


img_3992
Creamy and rich risotto in the pot!

img_3993
Garnished and ready to eat.

img_3994

Kale Salad with Miso and Pistachios

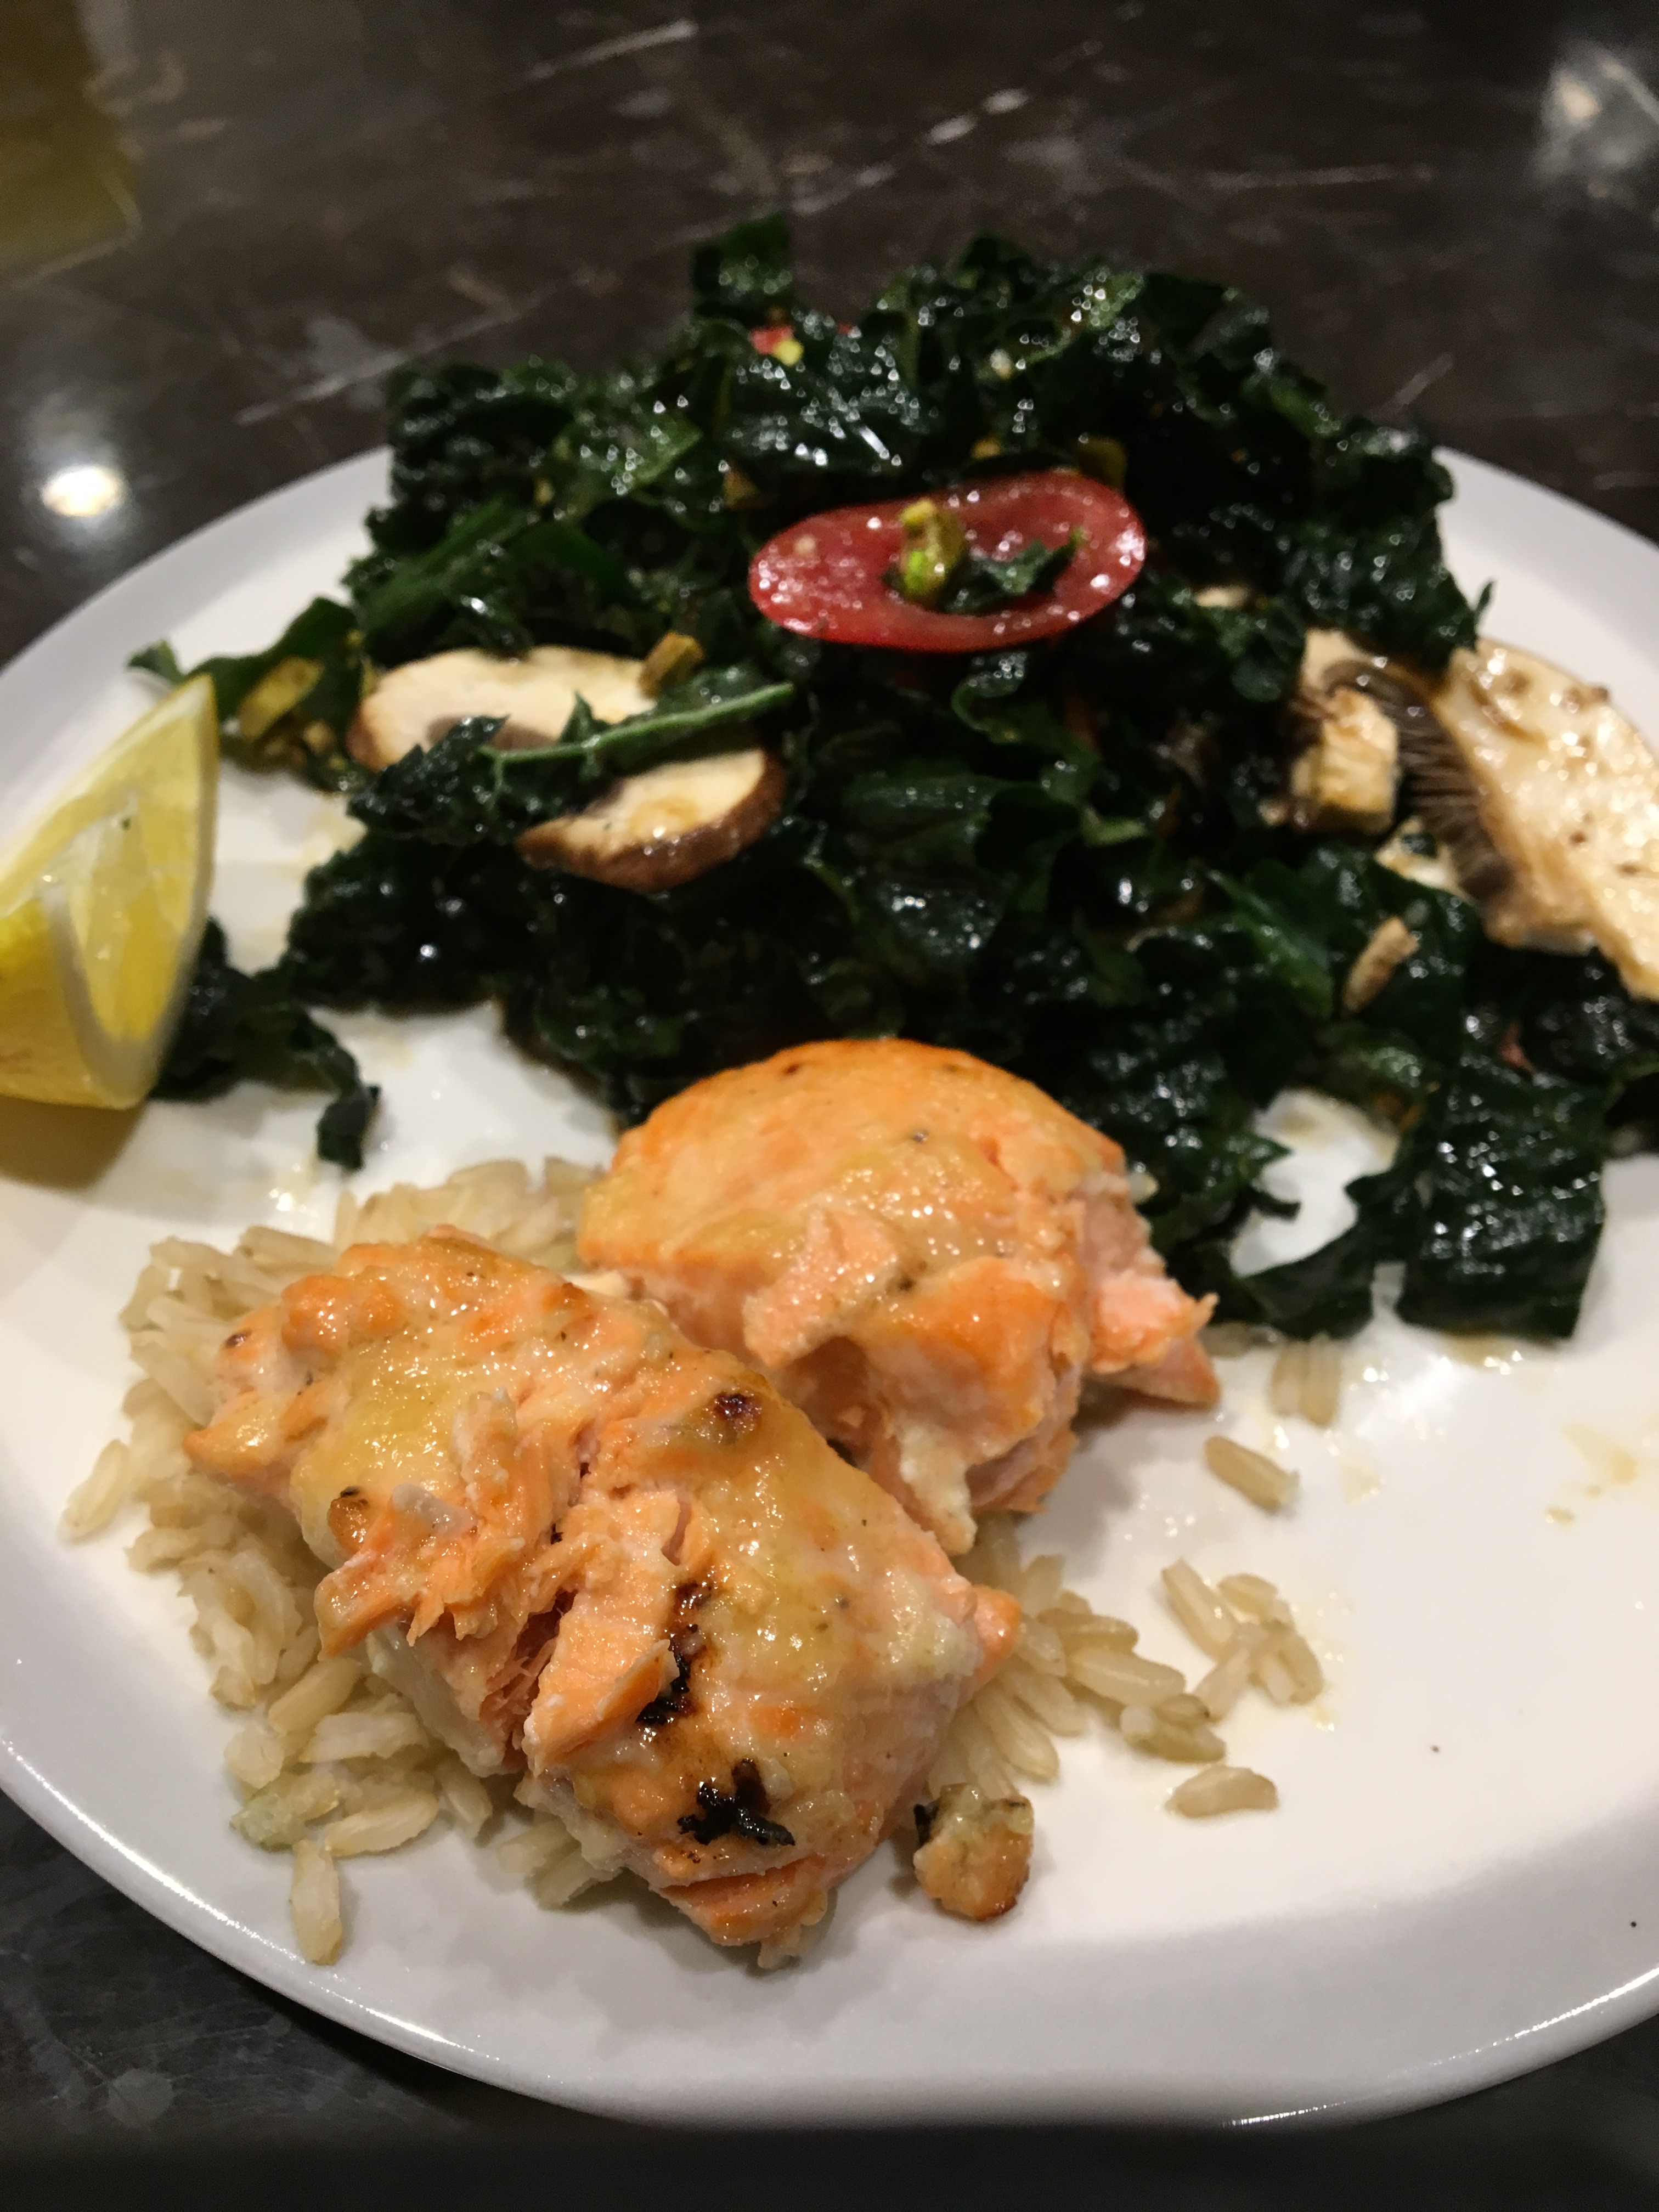
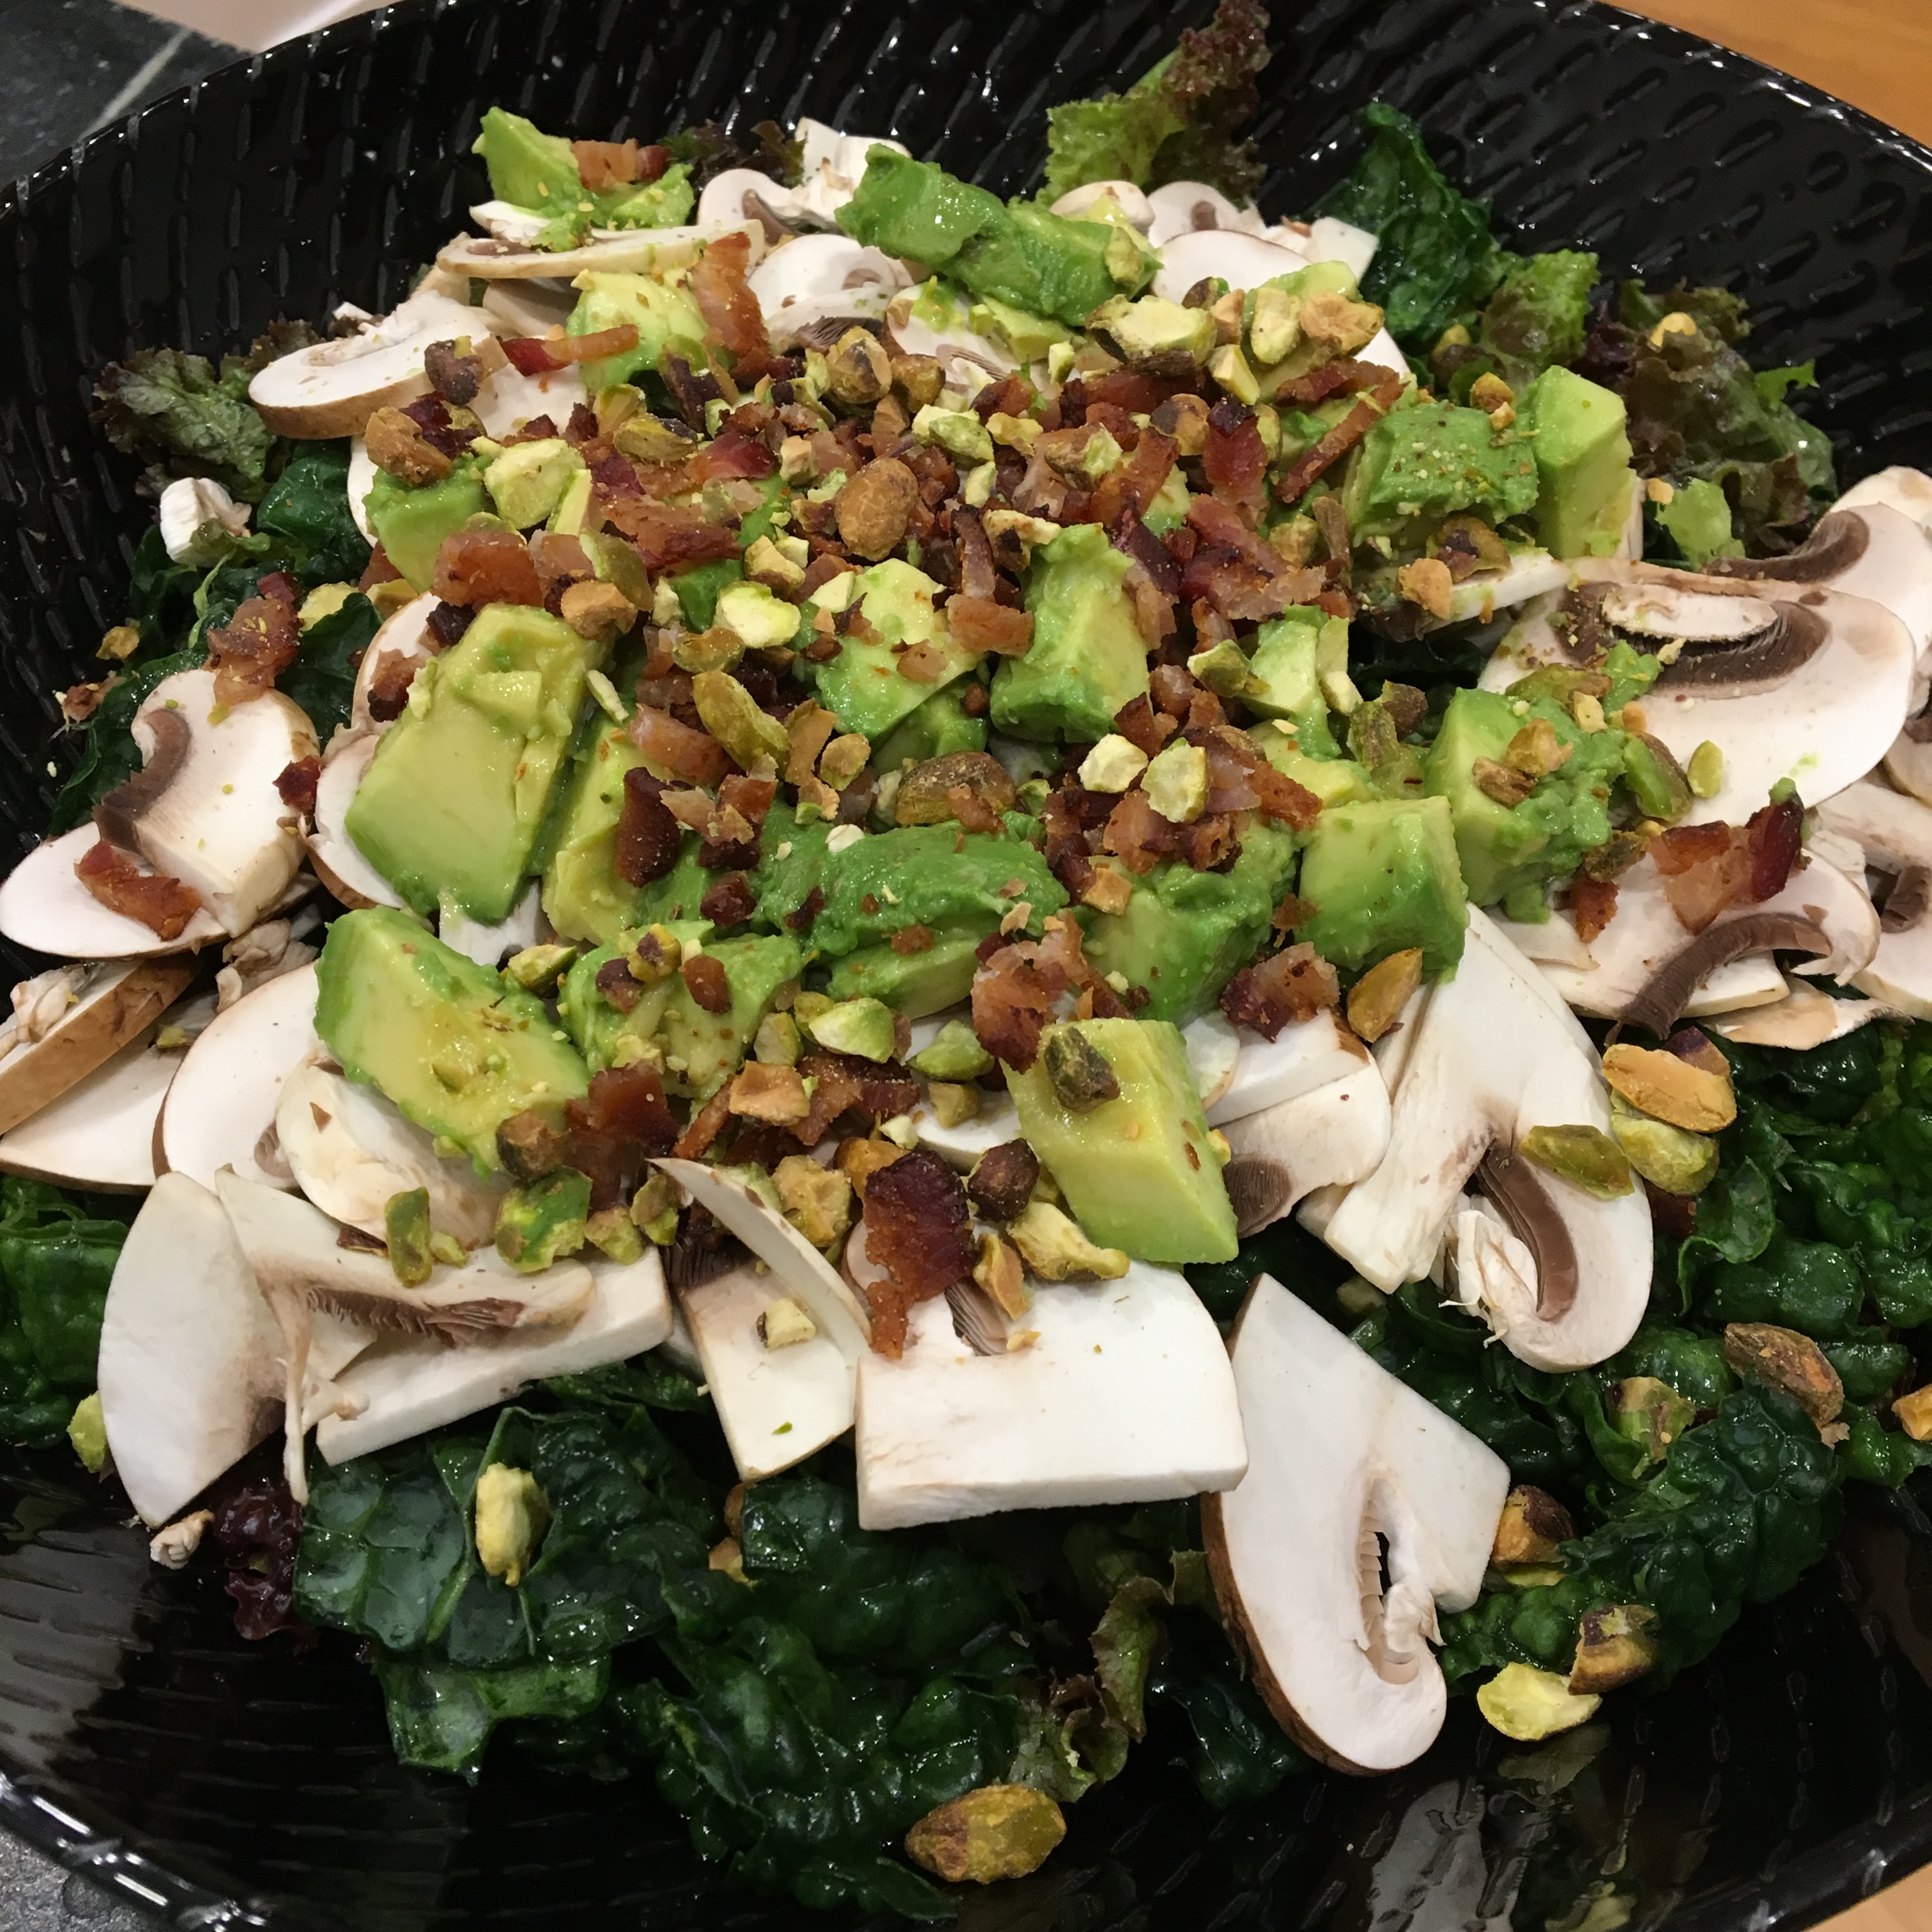
This is pretty much a straight-up Food and Wine/Andrew Zimmern recipe. Really easy and really flavorful! Original recipe included 2 scallions, thinly sliced and did not include the mushrooms or avocado (or sometimes tomatoes) that I added. I think some grilled shrimp or hardboiled egg would be really good in this as well.  I served this with Quick Brined Roasted Salmon with Lemon Garlic Oil and some simple brown Jasmine rice. Very easy and delicious meal. My son could not get enough of the salmon and the salmon’s savory sauce.

Kale Salad with Miso and Pistachios

  • Servings: 4
  • Difficulty: easy
  • Print

Quick and savory kale salad.

Ingredients

  • 1 1/2 pounds kale – stems discarded and leaves thinly sliced
  • 3 tablespoons fresh lemon juice
  • kosher salt
  • 2 tablespoons apple cider vinegar
  • 2 tablespoons sesame seeds, lightly crushed
  • 1 tablespoon brown miso
  • 1 teaspoon coconut palm sugar or brown sugar
  • 3 tablespoons extra virgin olive oil
  • 2 cremini mushrooms, thinly slices
  • 1 cup of baby tomatoes, sliced in thirds
  • 1/4 cup unsalted pistachios, roasted  and chopped

Procedure

  1. In a large bowl, toss the kale with the lemon juice and a generous pinch of salt.
  2. In a small bowl, whisk the vinegar with the sesame seeds, miso and sugar. Gradually whisk in the oil.
  3. Add the tomatoes and mushrooms to the kale and then add the dressing and toss. Add the pistachios on top and serve.

https://healthyseasonalcooking.wordpress.com

February 21, 2017

kale-raw-1kale-cut


Here is it with the tomato and as a side dish with salmon.img_3976IMG_4552


Kale Chips

img_3421What to Make for Dinner…

Note: This is actually an older post from my original Medium Blog site.

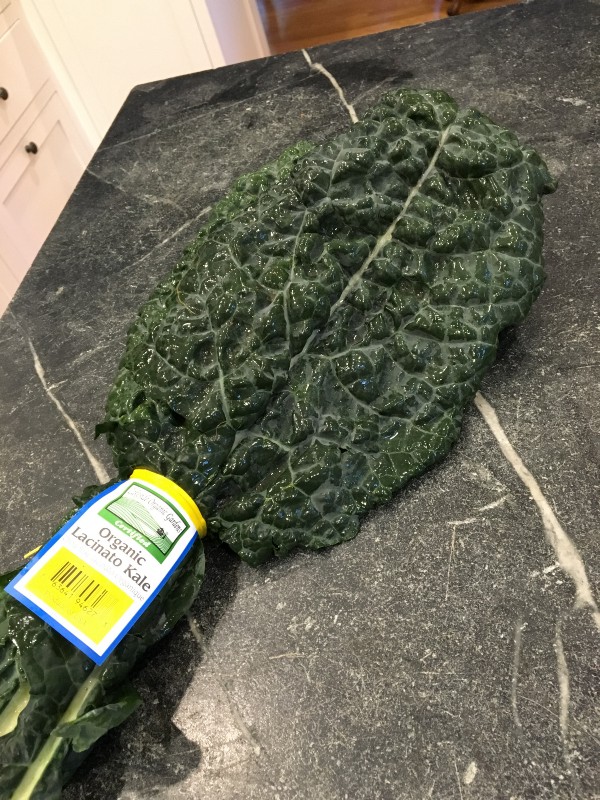
My daughter has gone back to boarding school and my husband has a work dinner, so tonight I am cooking for just my son and myself. I wandered up and down the aisles of Whole Foods for a while drawing a blank. I almost never go to the store without a list or at least a plan in my head for what I need. Today was different for some reason, I was just completely drawing a blank! After running into a friend who suggested I grab something in the meat department that is half-way prepared since there are only two of us (great idea!) I settled on a lemon-herb marinated piece of salmon (the hubby is not really a fish fan so this is a good thing to eat without him) and some really big and beautiful looking organic Lacinato Kale (a.k.a. Dinosaur or Tuscan Kale). I decided I will also make some plain jasmine rice in my rice maker, to make things easy.

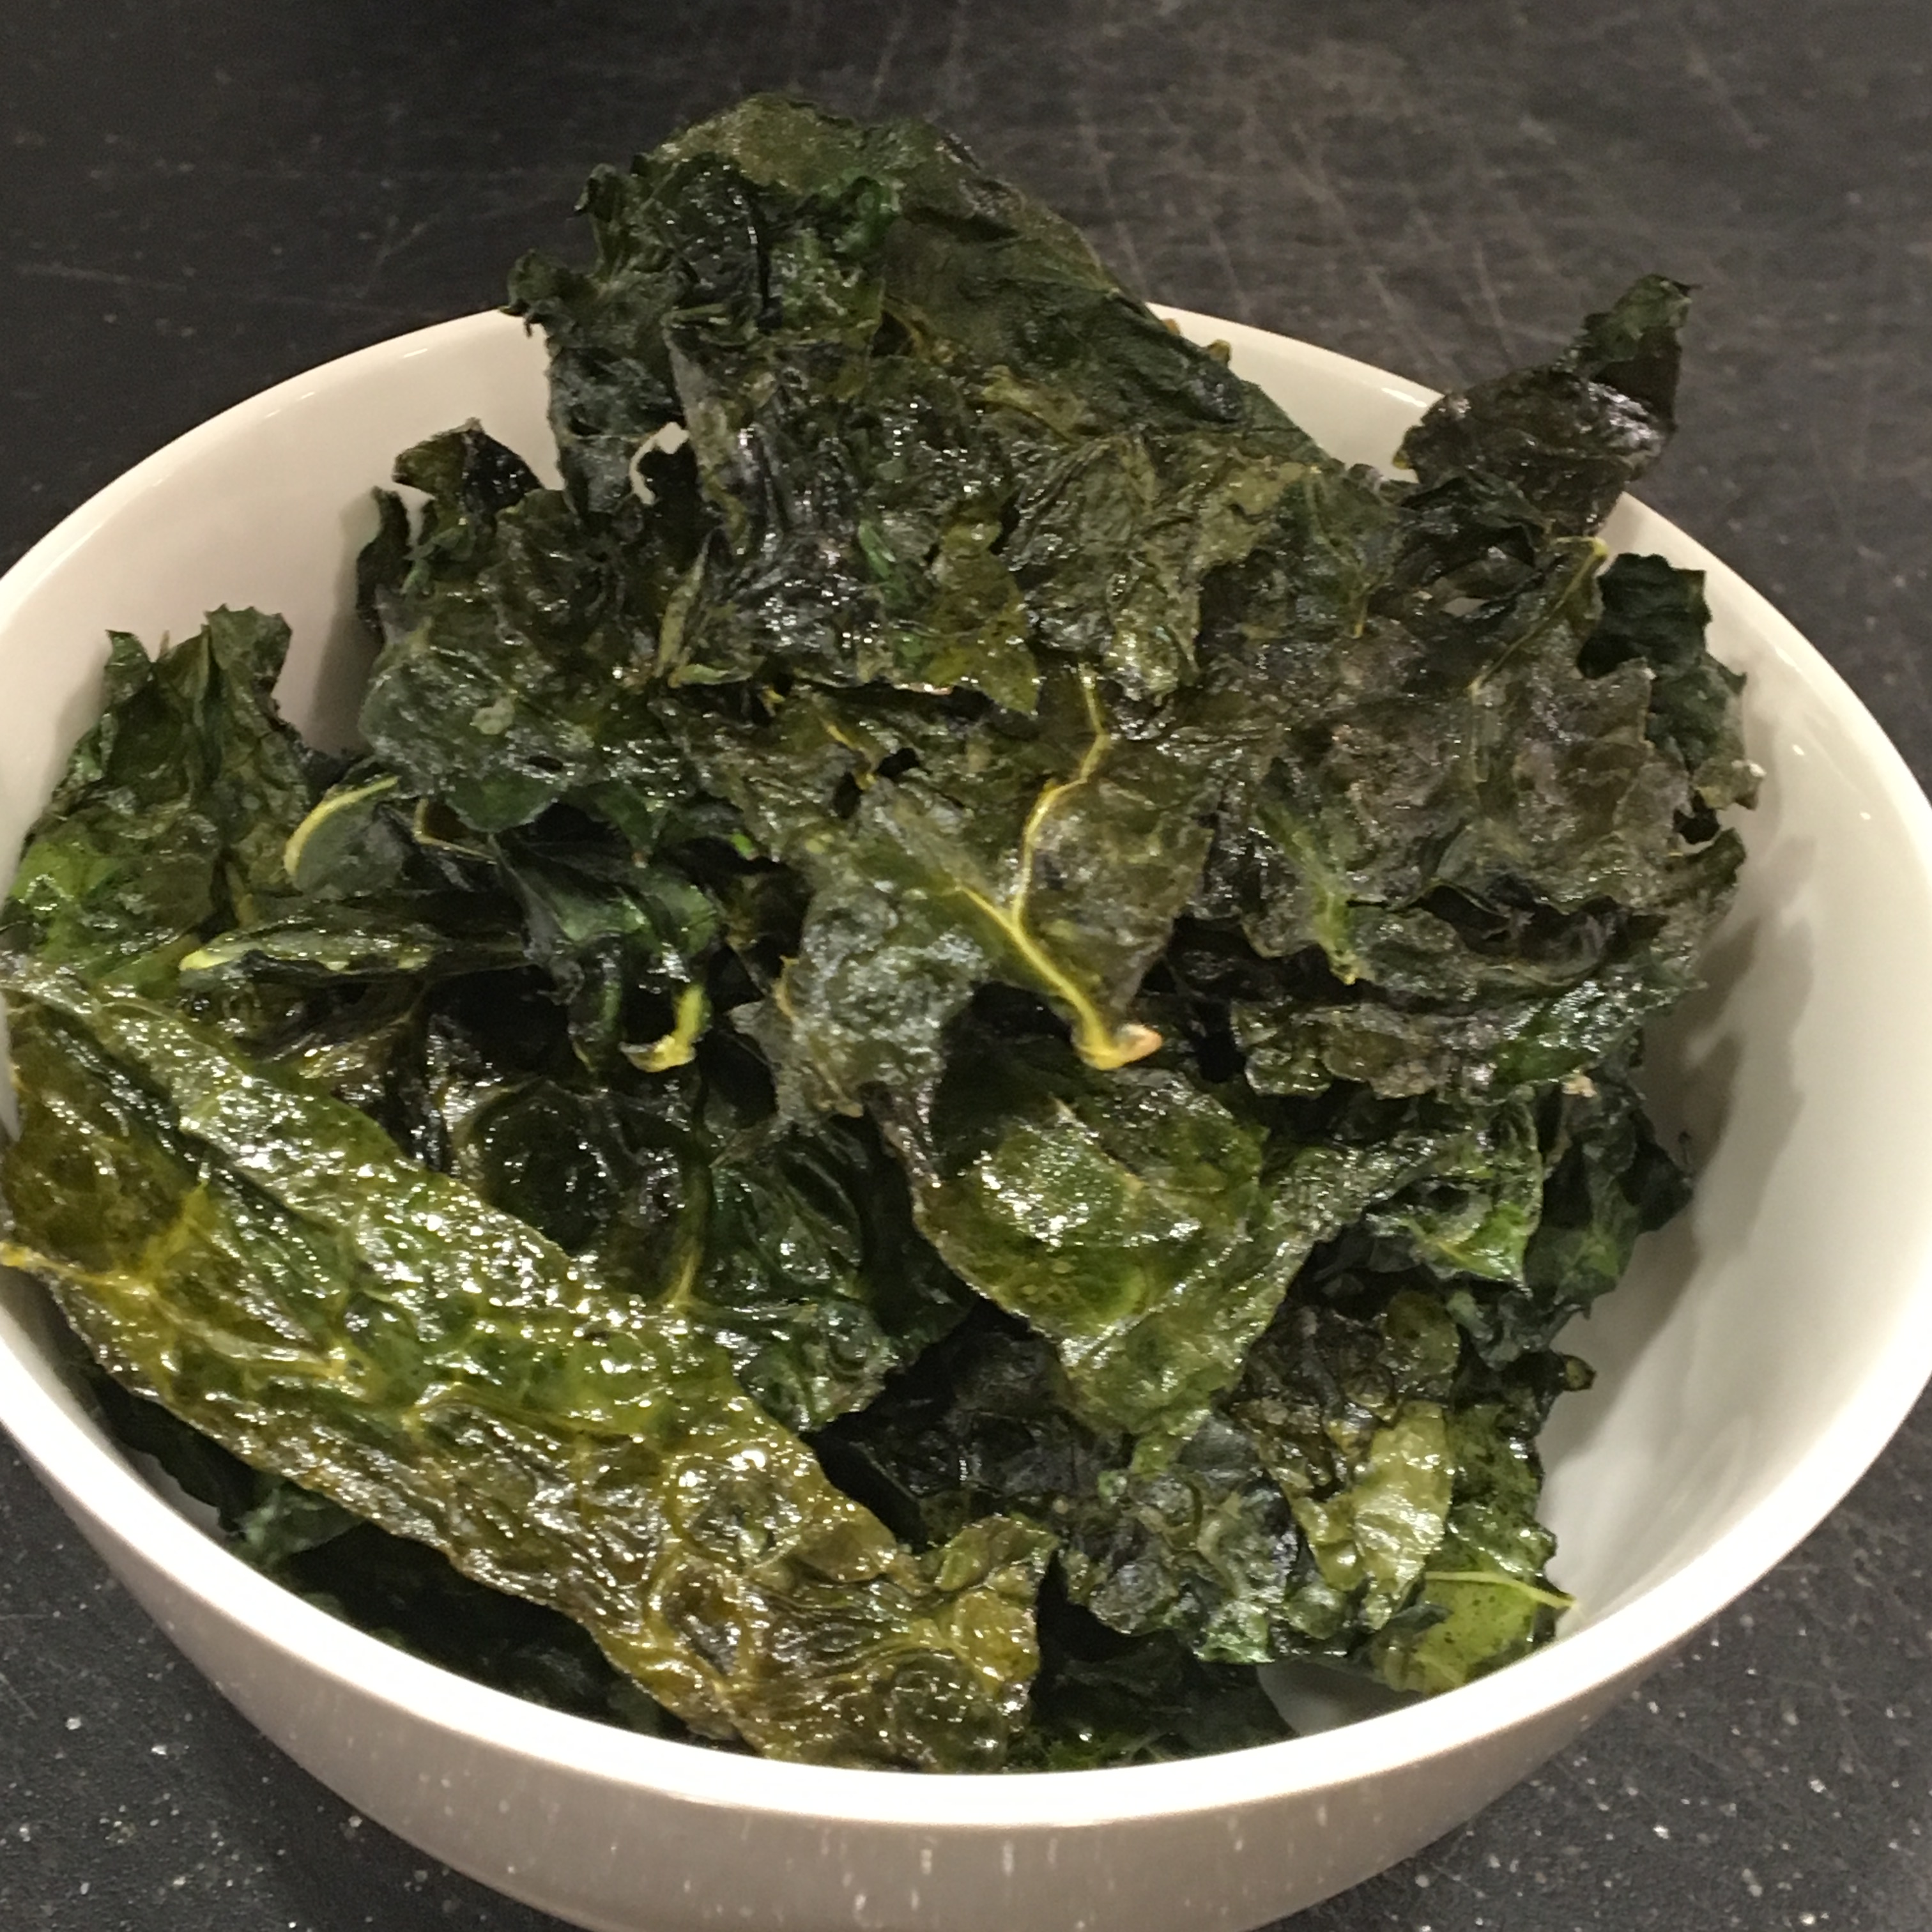
Below is the recipe for kale chips that I made out of the kale. They are a really yummy way to eat kale and my kids love them (but another thing my husband doesn’t care for). They are crunchy, a bit salty (depending on how salty you like them) and tangy from the vinegar. Yum, flavor explosion! Sometimes they are almost gone before the rest of dinner is made (but I have no idea where they go?).

Kale Chips

  • Servings: varies
  • Difficulty: medium
  • Print

Such an incredible crunchy way to eat kale. Delicious and healthy alternative to a potato chip when you are craving some crunch and savory flavors.

Ingredients

  • 1 large bunch of Lacianto Kale (aka Dinosaur Kale or Tuscan Kale)
  • 1-2 tablespoons olive oil
  • 1-2 tablespoons white wine vinegar
  • 1 lemon, juiced (Recently I have been leaving this out)
  • Kosher salt or sea salt to taste

Procedure

  1. Pre-heat oven to 300 degrees.
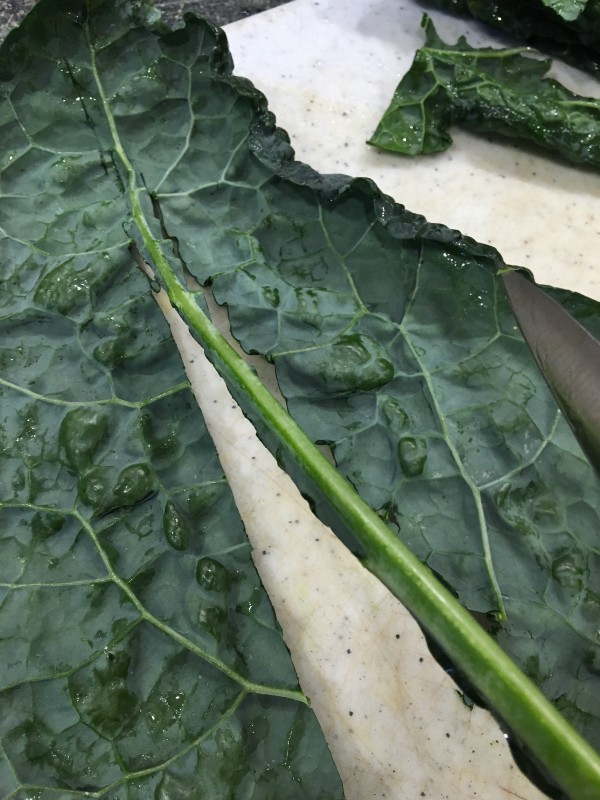
  2. Wash kale thoroughly and pat dry. Remove the center ribs so you just have the dark green leafy part. Slice the kale leaves in half.
  3. Place sliced kale leaves in a large bowl. Add enough olive oil, vinegar and lemon juice to coat the leaves. Add the salt and using your hands massage the ingredients into the leaves so they are all covered.
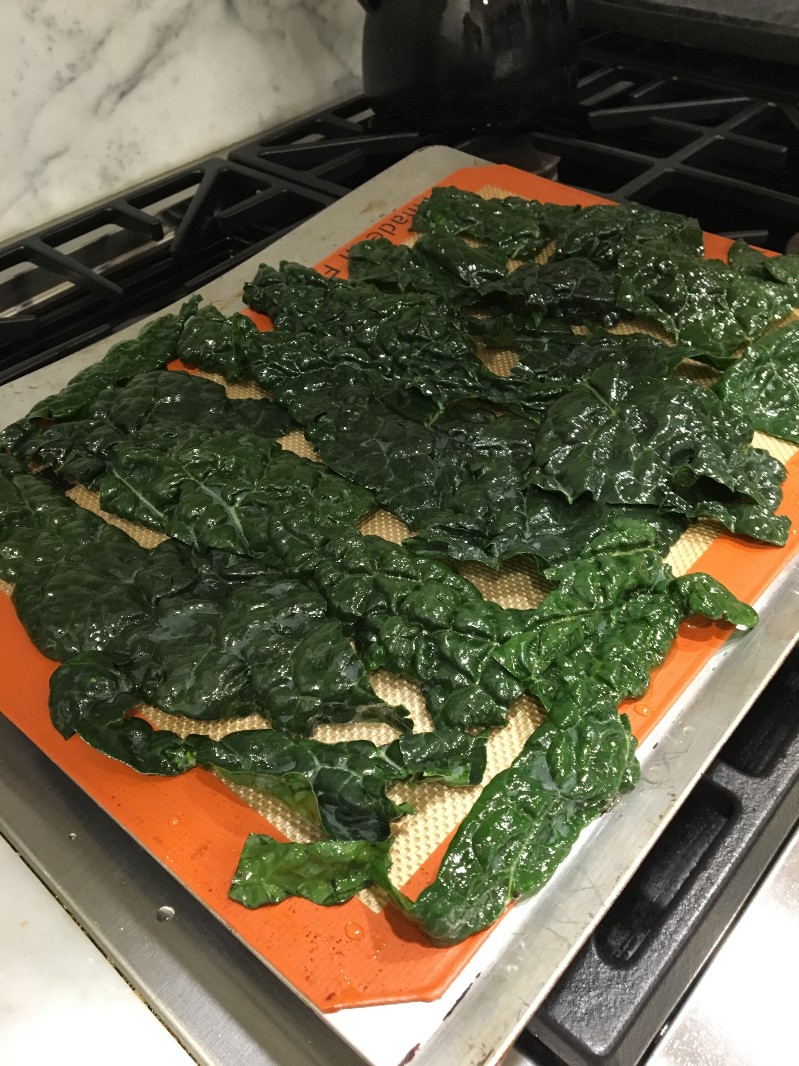
  4. Spread the coated kale leaves in a single layer on a baking sheet and bake for 7 minutes to start. I often use a silicon baking mat (Silpat) to bake these on.
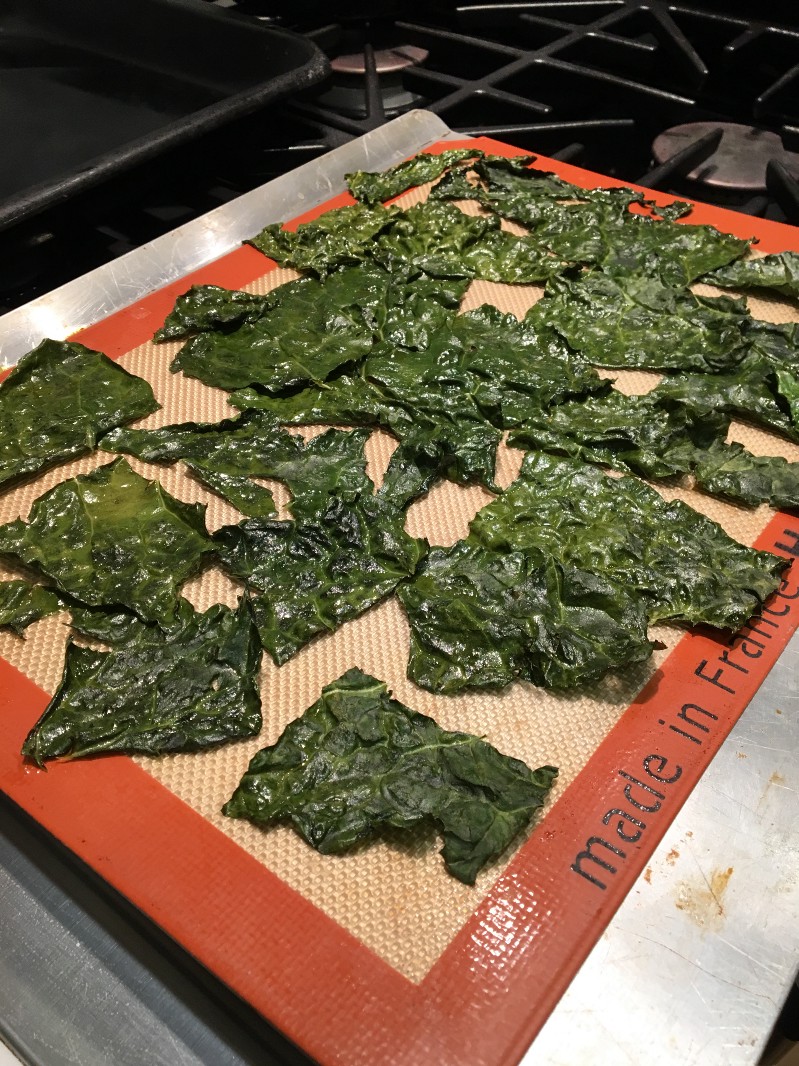
  5. After 7 minutes check to see if any leaves have become crispy (but still GREEN), if so remove them from the baking sheet and put in a serving bowl. Turn over the leaves that are still wet (most will still be wet) and return them to the oven and cook for a few more minutes.
  6. Every 3 minutes (or so) re-check for crispy pieces, removing them from the baking sheet and putting the rest back into the oven. This may seem tedious, but the kale can burn quickly and then it is ruined (even slightly brown kale tastes burnt), it took me a few tries before I understood I needed to keep the heat LOW and check on the kale constantly so I don’t burn any of it. When it is all crispy you are finished!
  7. May be served warm from the oven or at room temperature, but don’t make it too far ahead of time as it may lose its crispiness over time.

https://healthyseasonalcooking.wordpress.com

February 9, 2017

kale raw 1.jpeg

kale cut.jpeg
Remove the hard ribs.

kale-pre-bake
Ready to start baking.

crispy kale.jpeg
Baked to perfection!

perfect single kale chip.jpeg
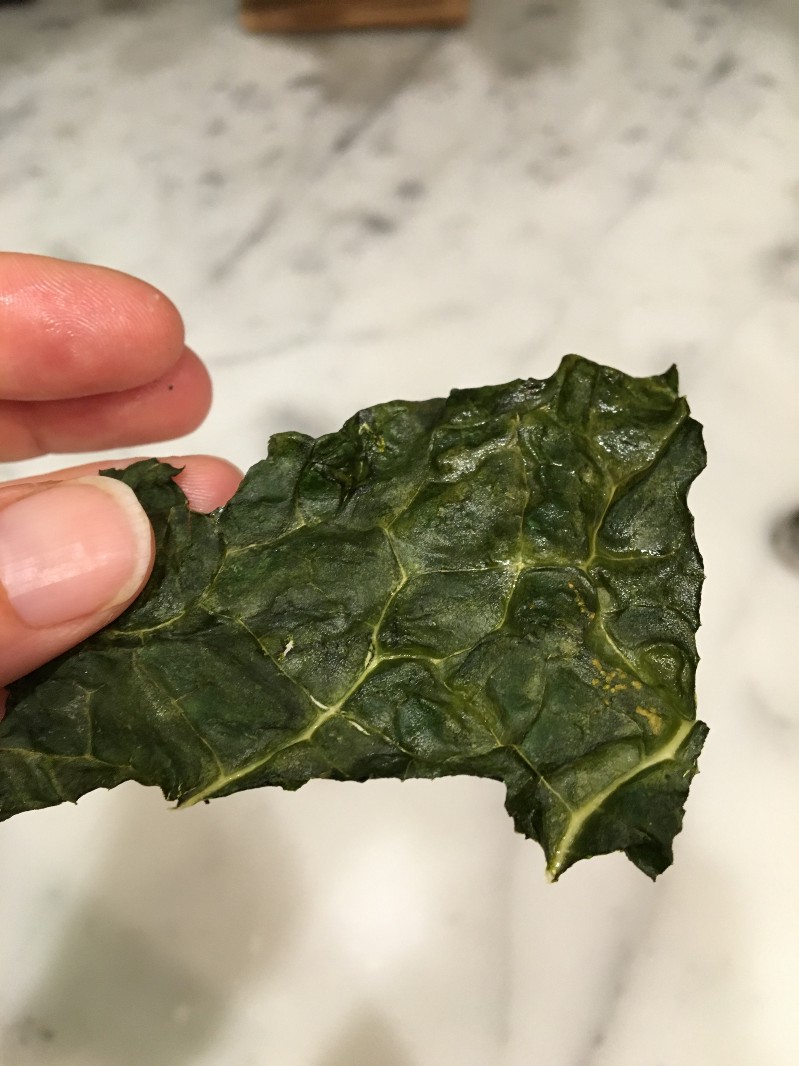
Close-up of a perfectly crispy piece of kale. Mmmm!

tomato.jpeg
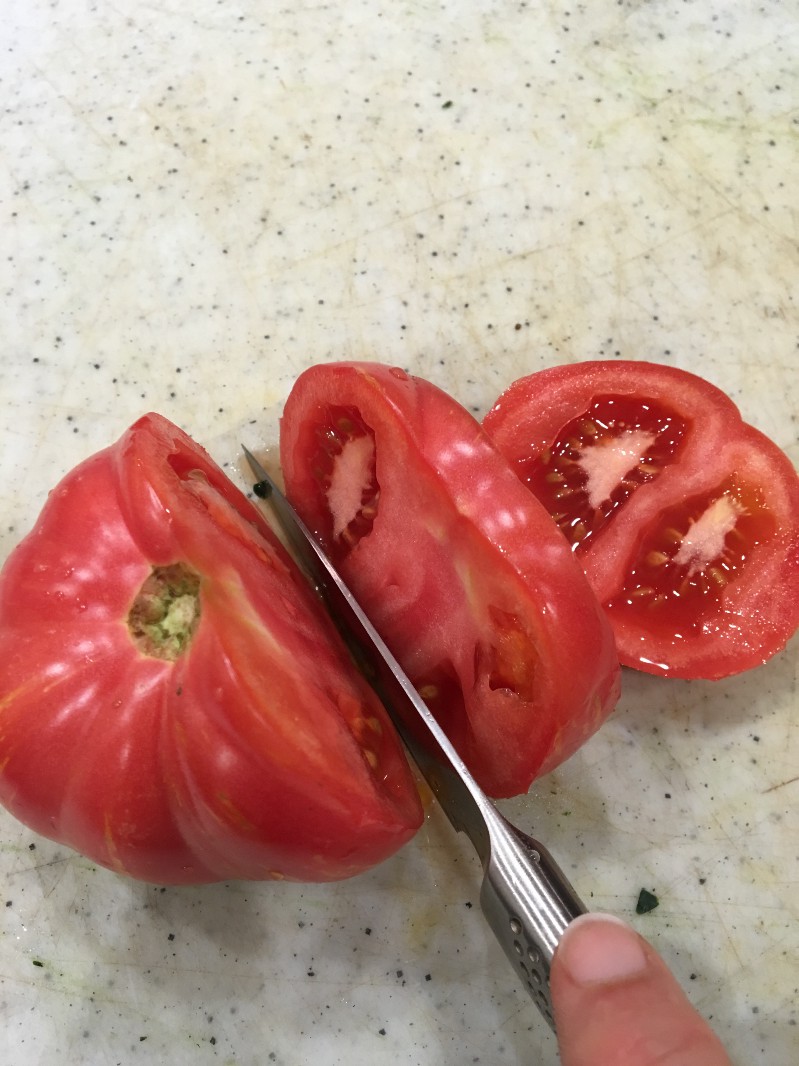
I originally made this in the late summer when tomatoes were at their peak.

salmon WF.jpeg
The pre-seasoned salmon from Whole Foods. Can’t always make everything from scratch.

Ginger Soy Lobster Tail

I haven’t written for over two weeks and I am feeling bad about that. Sorry! Life has been quite busy, so that is part of the reason but the other reason is that my dear husband gave me a week-long class at the Culinary Institute of America in Napa as a holiday gift and I went to my classes last week. Such an amazing program! I went to the Basic Training Boot Camp and I feel like I learned a lot about the “why” we do certain things when we are cooking. I also learned many traditional French techniques, that I still need a lot of work to master and I am interested in tweaking to make the dishes more healthy.

Unfortunately I didn’t use my new skills/knowledge for today’s dinner. It was a very spontaneous choice as I was at the Grocery store and saw lobster tails on sale and decided that it was hard to pass up lobster, so I bought a few and made up a simple Asian-style sauce to put on them. Very simple and quick. I served it with some kale chips (which I thought I posted here but apparently I have not so you can get the recipe on my Medium site-I will have to post it on Word Press in the future) and a little leftover chicken soup from yesterday. Yum!

Ginger Soy Lobster Tail

  • Servings: 4
  • Difficulty: easy
  • Print

Very flavorful and simple lobster recipe that can come together quickly on a weeknight.

Unfortunately I didn’t really measure my sauce ingredients so they are very approximate – use your judgement with the quantities.

Ingredients

Sauce:

  • 1/4 cup Mirin
  • 1/4 cup low sodium soy sauce
  • 2 tablespoons fresh ginger, finely grated or minced
  • fresh ground black pepper to taste
  • 2 tablespoons light sweet miso

Lobster:

  • 4-8 lobster tails (their size can vary so much!)
  • fresh ground pepper
  • small drizzle of olive oil (or sesame oil for a stronger flavor)

Procedure

Sauce:

  1. In a very small sauce pan mix the Mirin, soy sauce, and ginger and then bring to a boil.
  2. Turn down to simmer and reduce the sauce in half so it is thickened.
  3. Take sauce off the heat and stir in the miso. Set aside.

Lobster:

  1. Pre-heat oven to 425 degrees F.
  2. Spray a baking sheet lightly with cooking spray.
  3. With kitchen shears cut the lobster tail shells lengthwise through the top cutting through the shell but not through the lobster meat. Gently pry open the shell exposing the meat and gently loosen the lobster from the shell (but keep the meat in the shell).
  4. Place the tails on the baking sheet meat side up. Sprinkle a little pepper and sauce on the tails and then cook in the oven for 7-8 minutes for very small lobster tails and up to 15 minutes for larger ones, or until the meat turns opaque and feels firm.
  5. Serve the lobster with additional sauce and vegetables. Enjoy!

https://healthyseasonalcooking.wordpress.com

February 9, 2017

Pumpkin Spice Cranberry Muffins

fullsizerender-5This is pretty similar to my pumpkin spice bread recipe, with a few modifications. This recipe and the bread recipe can actually be made into muffins or bread, you just cook it for different amounts of time. I decided to make these because I had a carton of organic pure pumpkin in my pantry so I used half of it for pumpkin waffles and half for these muffins. For both the waffles and muffins I will freeze half of them so with the waffles they can be a quick morning breakfast and the muffins can be popped into my son’s lunch box for a little treat at school. As an experiment I used a combination of whole wheat, buckwheat and almond flours to add some extra nutrients and flavors and I also used coconut palm sugar for the sweetener, which I think made for a really flavorful muffin. The buckwheat flour added a lot of nuttiness. Yum!!!
Pumpkin Spice Cranberry Muffins

  • Servings: 12 large muffins
  • Difficulty: easy
  • Print

Fragrant pumpkin spice muffins that are both healthy and decadent-tasting.

Credit: Inspired by Cooking Light’s Spiced Pumpkin Bread

Ingredients

  • 1 cup whole wheat flour
  • 1/4 cup buckwheat flour
  • 1/4 cup almond meal (flour)
  • 1 cup coconut palm sugar
  • 2 tablespoons ground flax seed meal
  • 1 teaspoon baking soda
  • 1/2 teaspoon baking powder
  • 1 1/2 teaspoons pumpkin pie spice (or approximately 1 teaspoon cinnamon and 1/2 teaspoon nutmeg)
  • 1/4 teaspoon salt
  • 1/4 cup plain yogurt (I use non-fat, but use what you prefer)
  • 2 tablespoons coconut oil
  • 1 large egg
  • 1 cup plain pumpkin puree (canned is what I use)
  • 1 teaspoon vanilla extract
  • 1/2 cup dried cranberries, juice sweetened or unsweetened (watch out, these can have a lot of sugar added)
  • optional: 1/4 cup of nuts of choice (today I used pine nuts – roast for a few minutes for extra flavor)
  • parchment paper muffin liners

Procedure

  1. Preheat oven to 350 degrees Fahrenheit
  2. Combine flours and next 6 ingredients (through salt) in a medium bowl. Stir with a whisk.
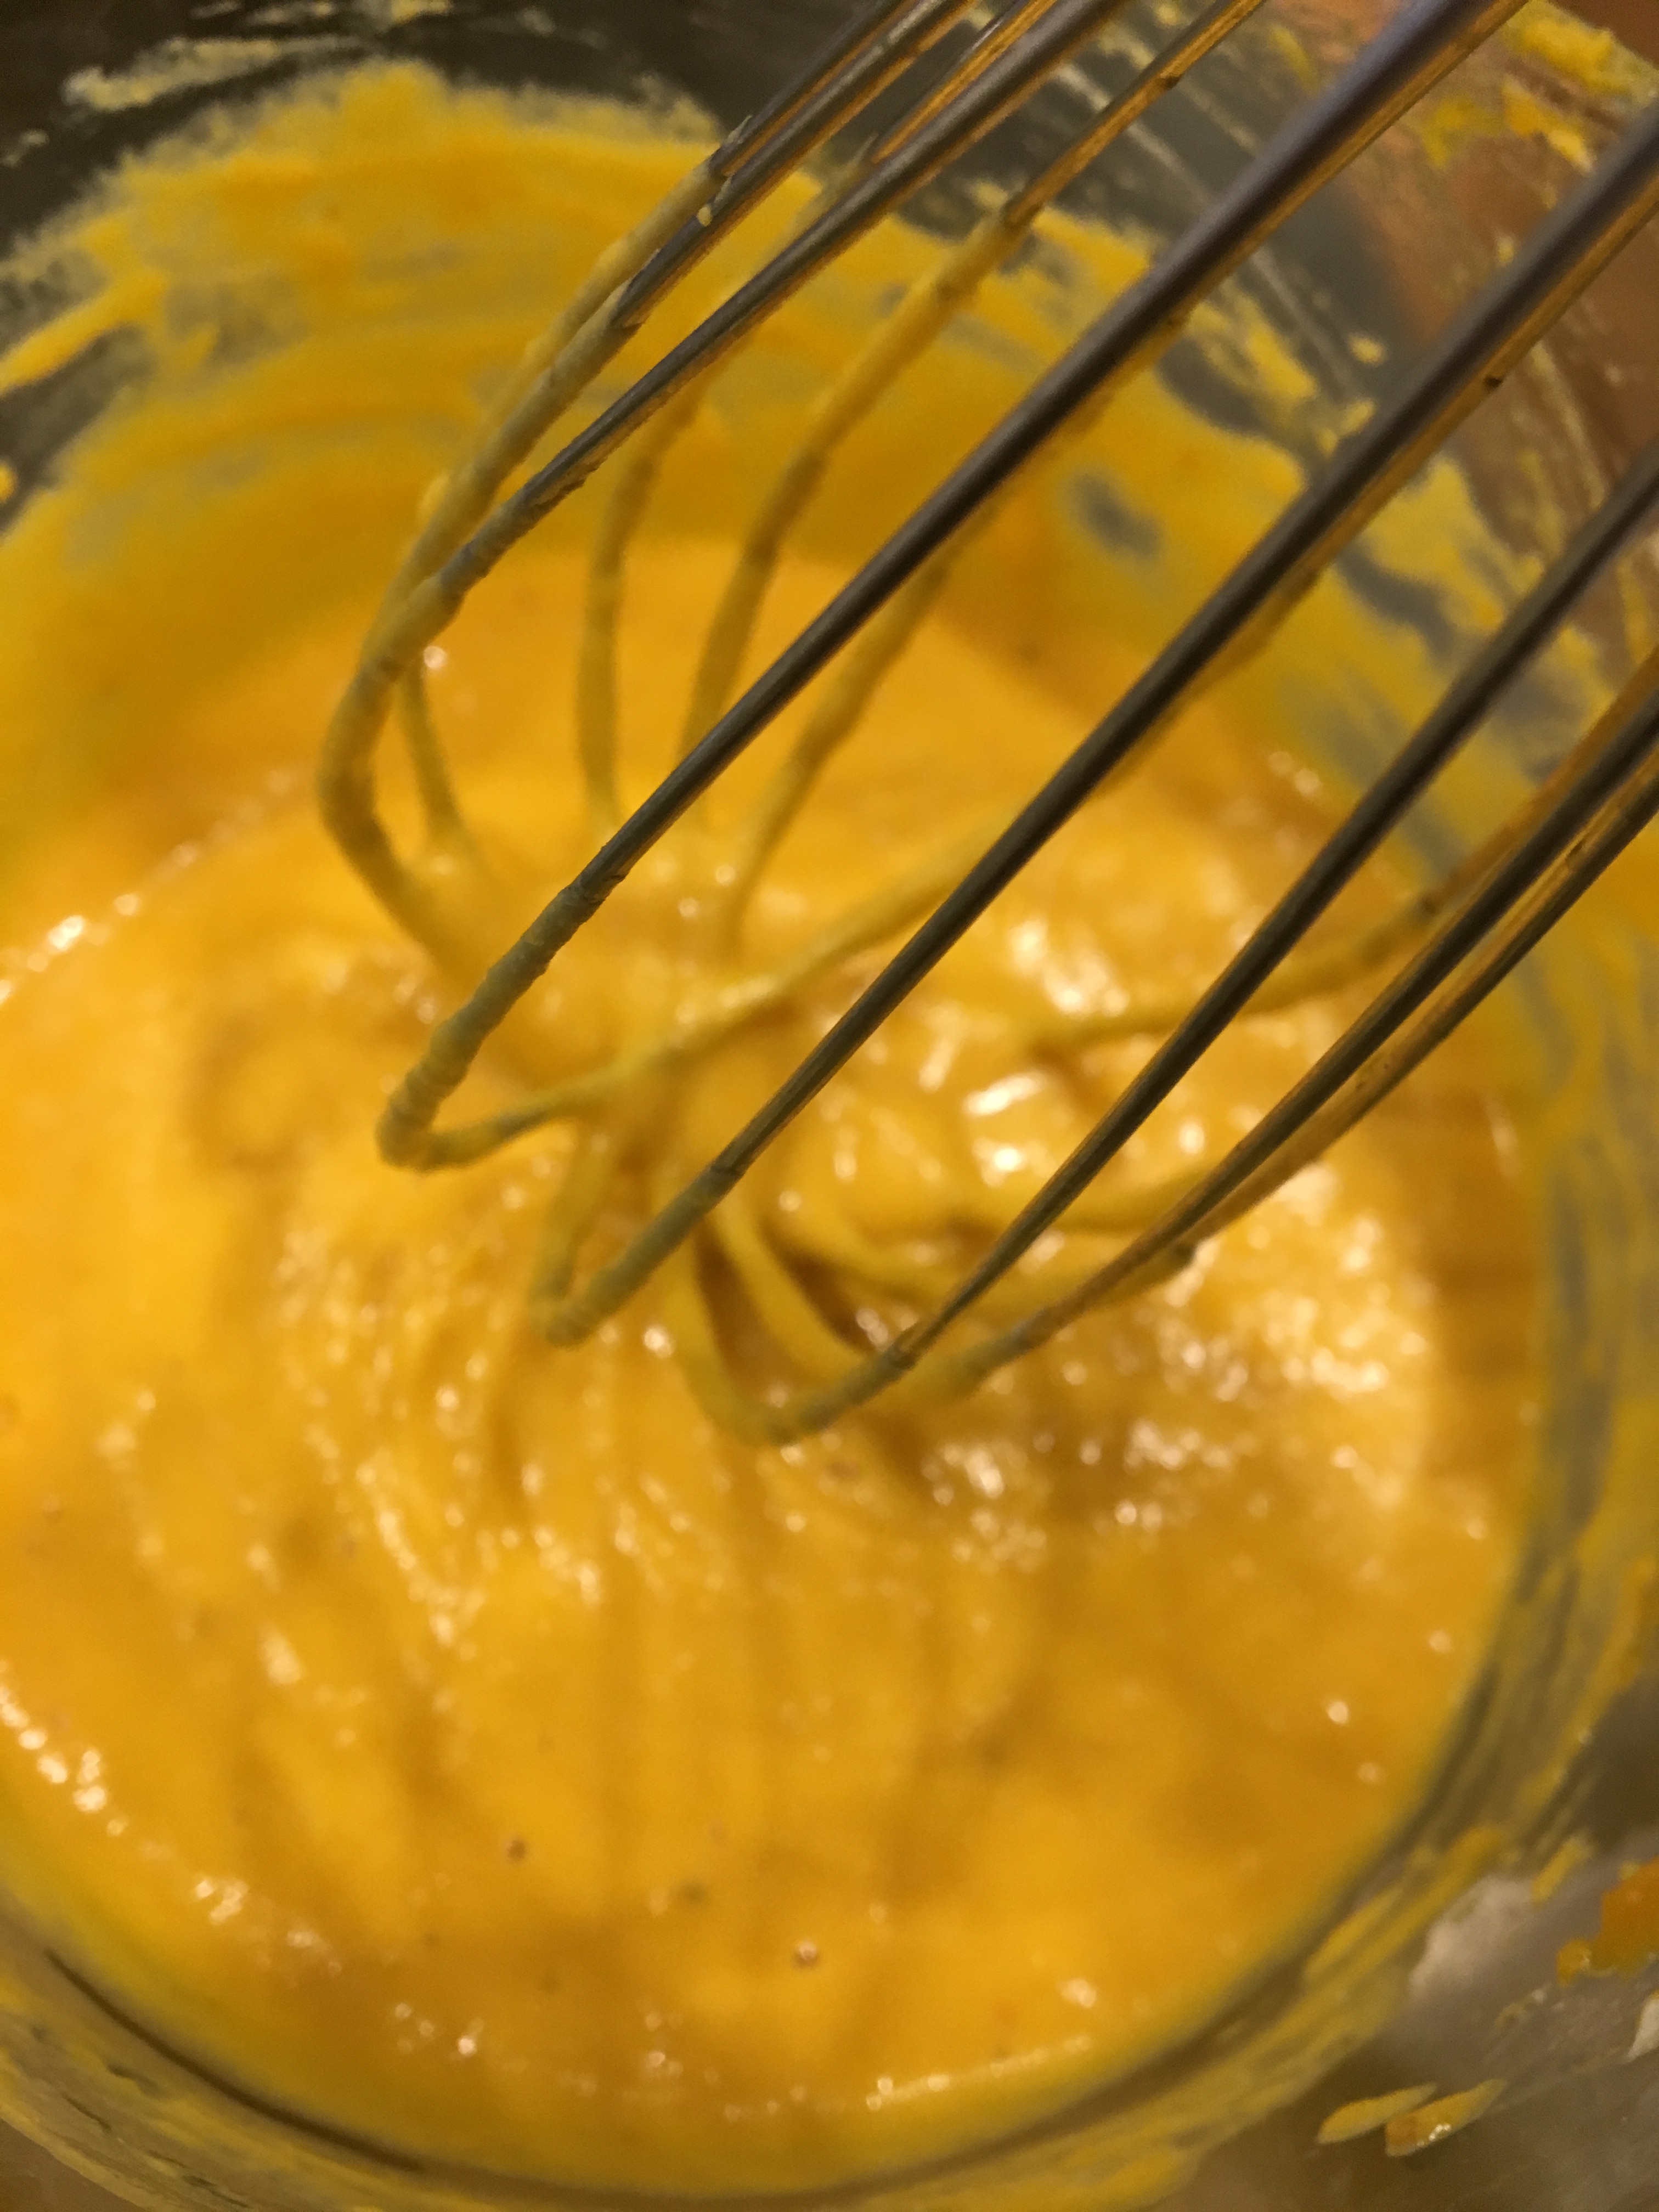
  3. In a small bowl mix  with a whisk the yogurt, oil, egg, pumpkin and vanilla extract until smooth. Add the cranberries and nuts (if using). Stir gently.
  4. Pour the wet mixture into the dry mixture, stirring just until moist. Will be pretty thick.
  5. Spoon the batter into a muffin tin lined with parchment paper muffin liners. The parchment liners don’t require any oil, they are non-stick and are an incredible find! If you don’t have these then lightly spray your muffin tins with cooking spray.  Bake at 350 degrees for 20-25 minutes or until a wooden pick inserted into center comes out clean.
  6. Cool in the pan for 5 minutes, then remove from the pan and cool completely on a wire rack.
  7. I usually freeze half the batch to put in a lunch box or enjoy at a later date.

https://healthyseasonalcooking.wordpress.com

January 22, 2017

img_3801
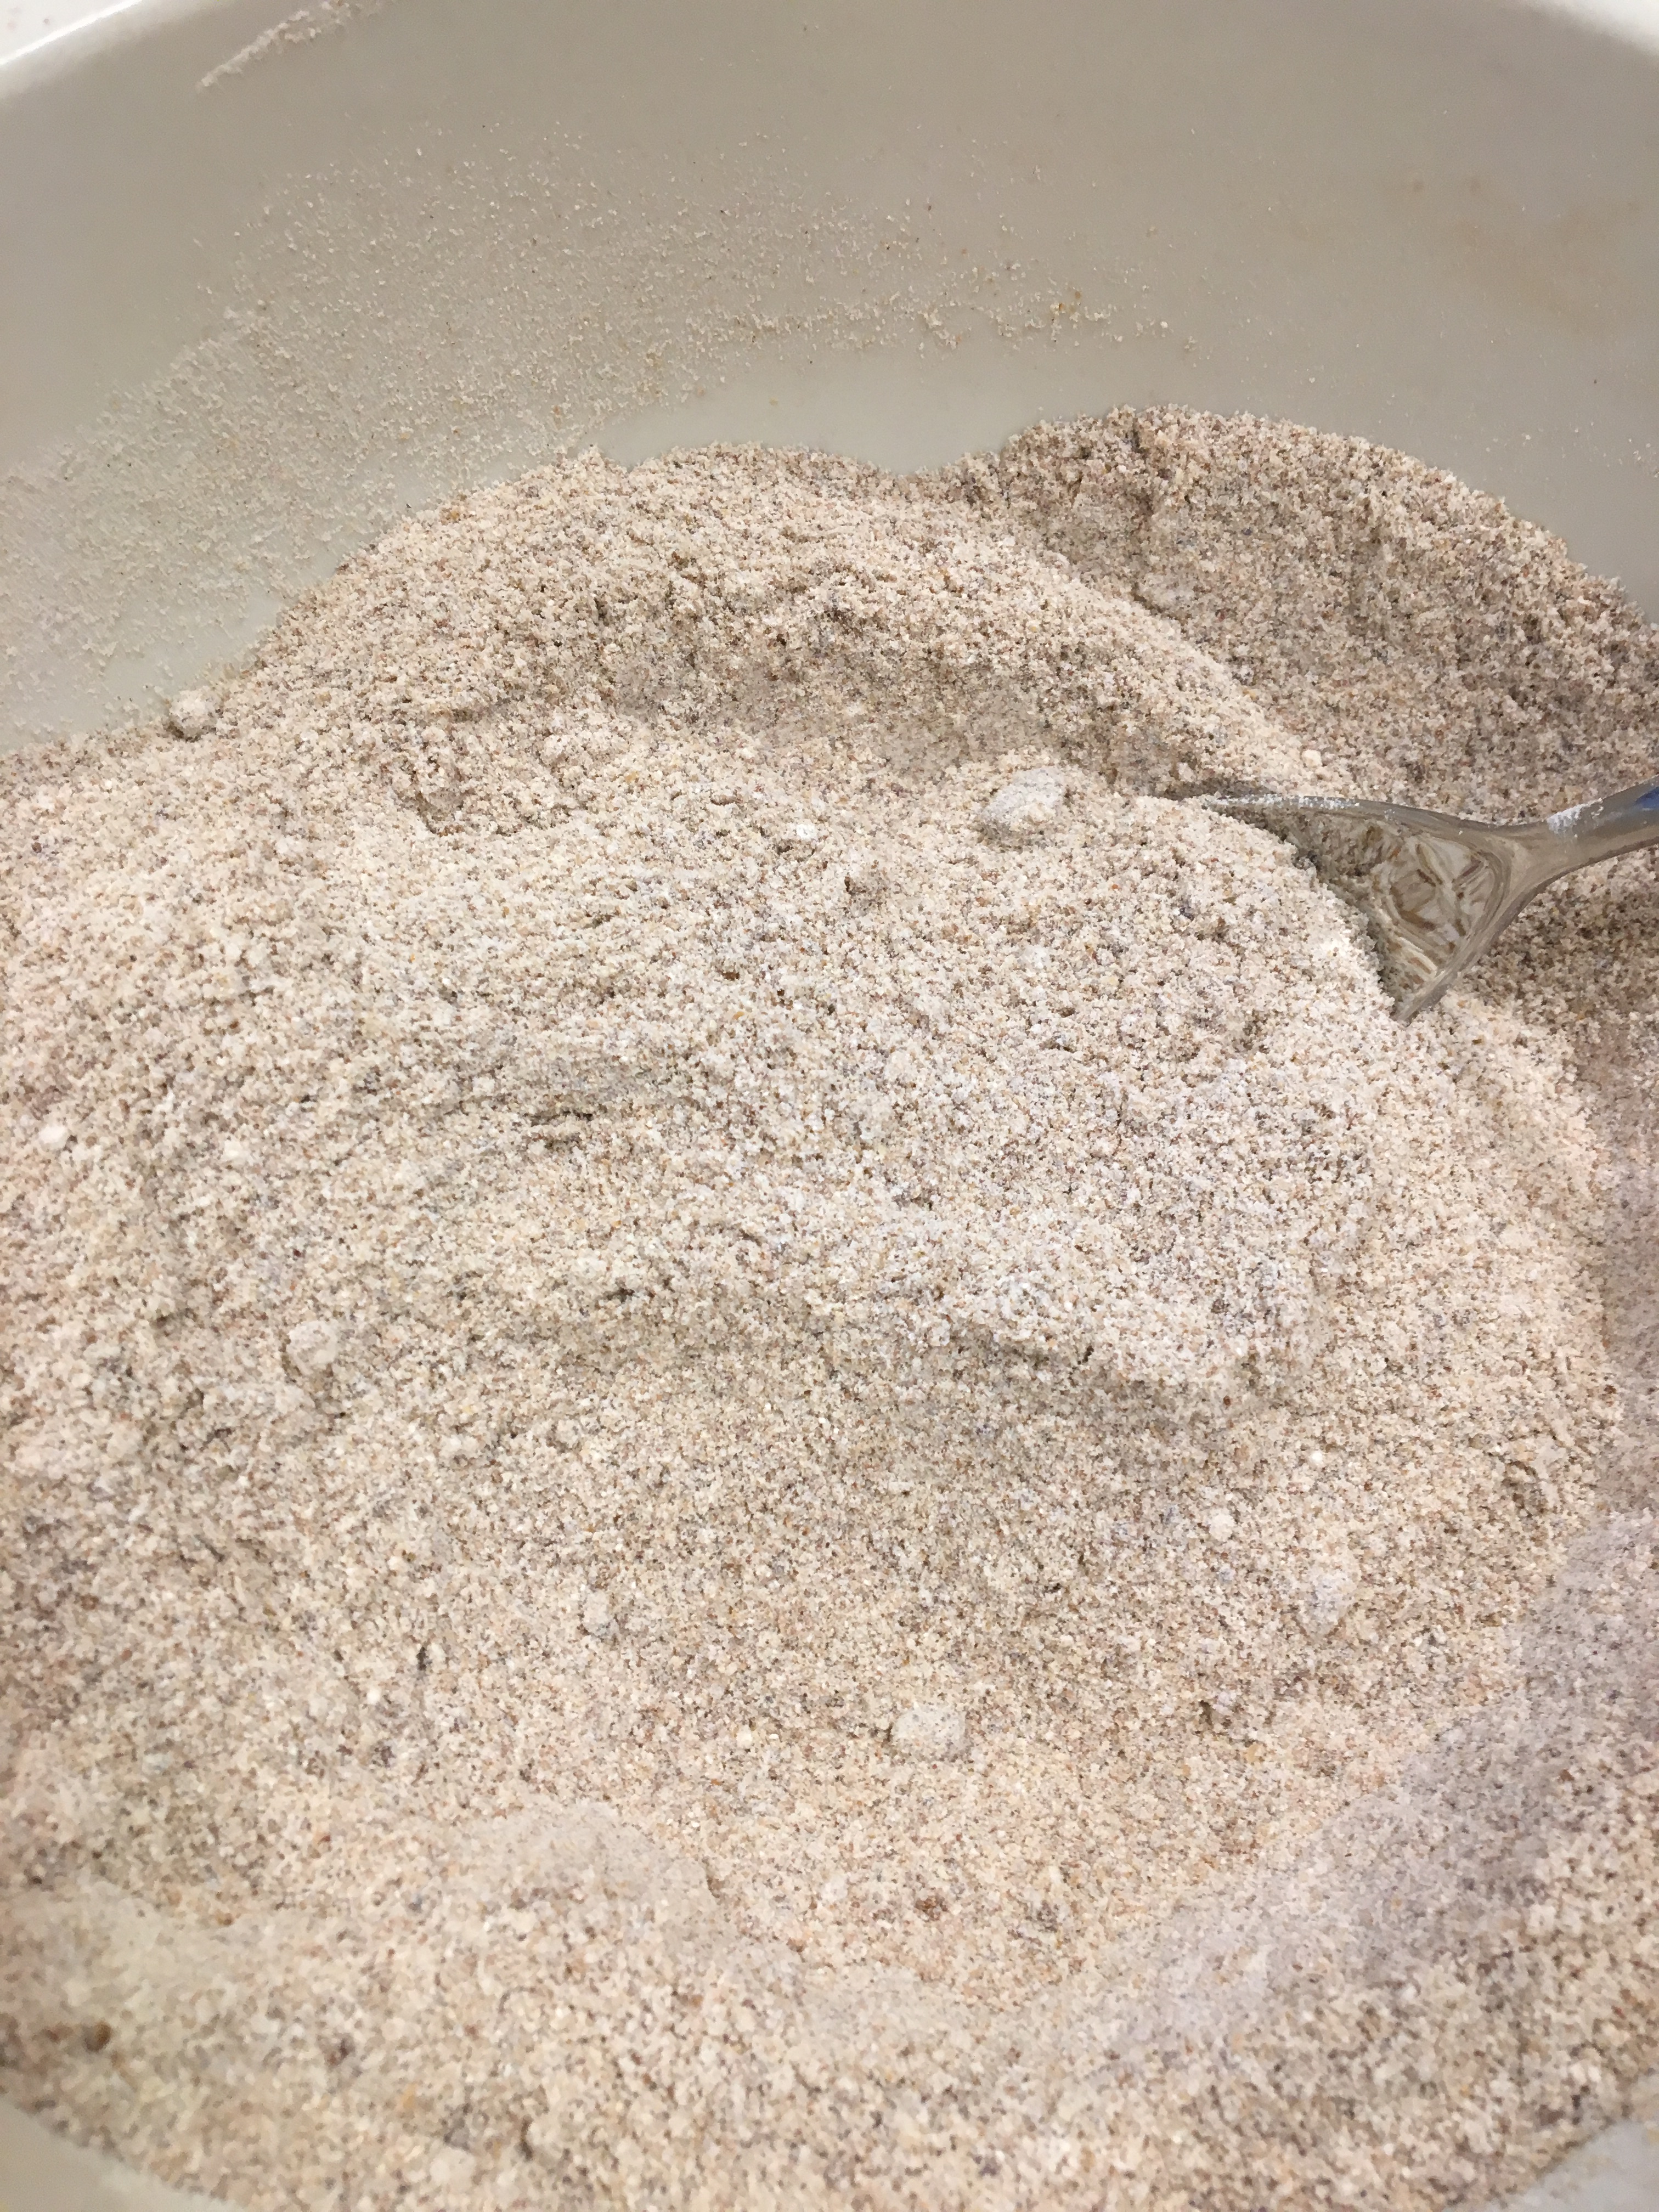
The dry ingredients

img_3797
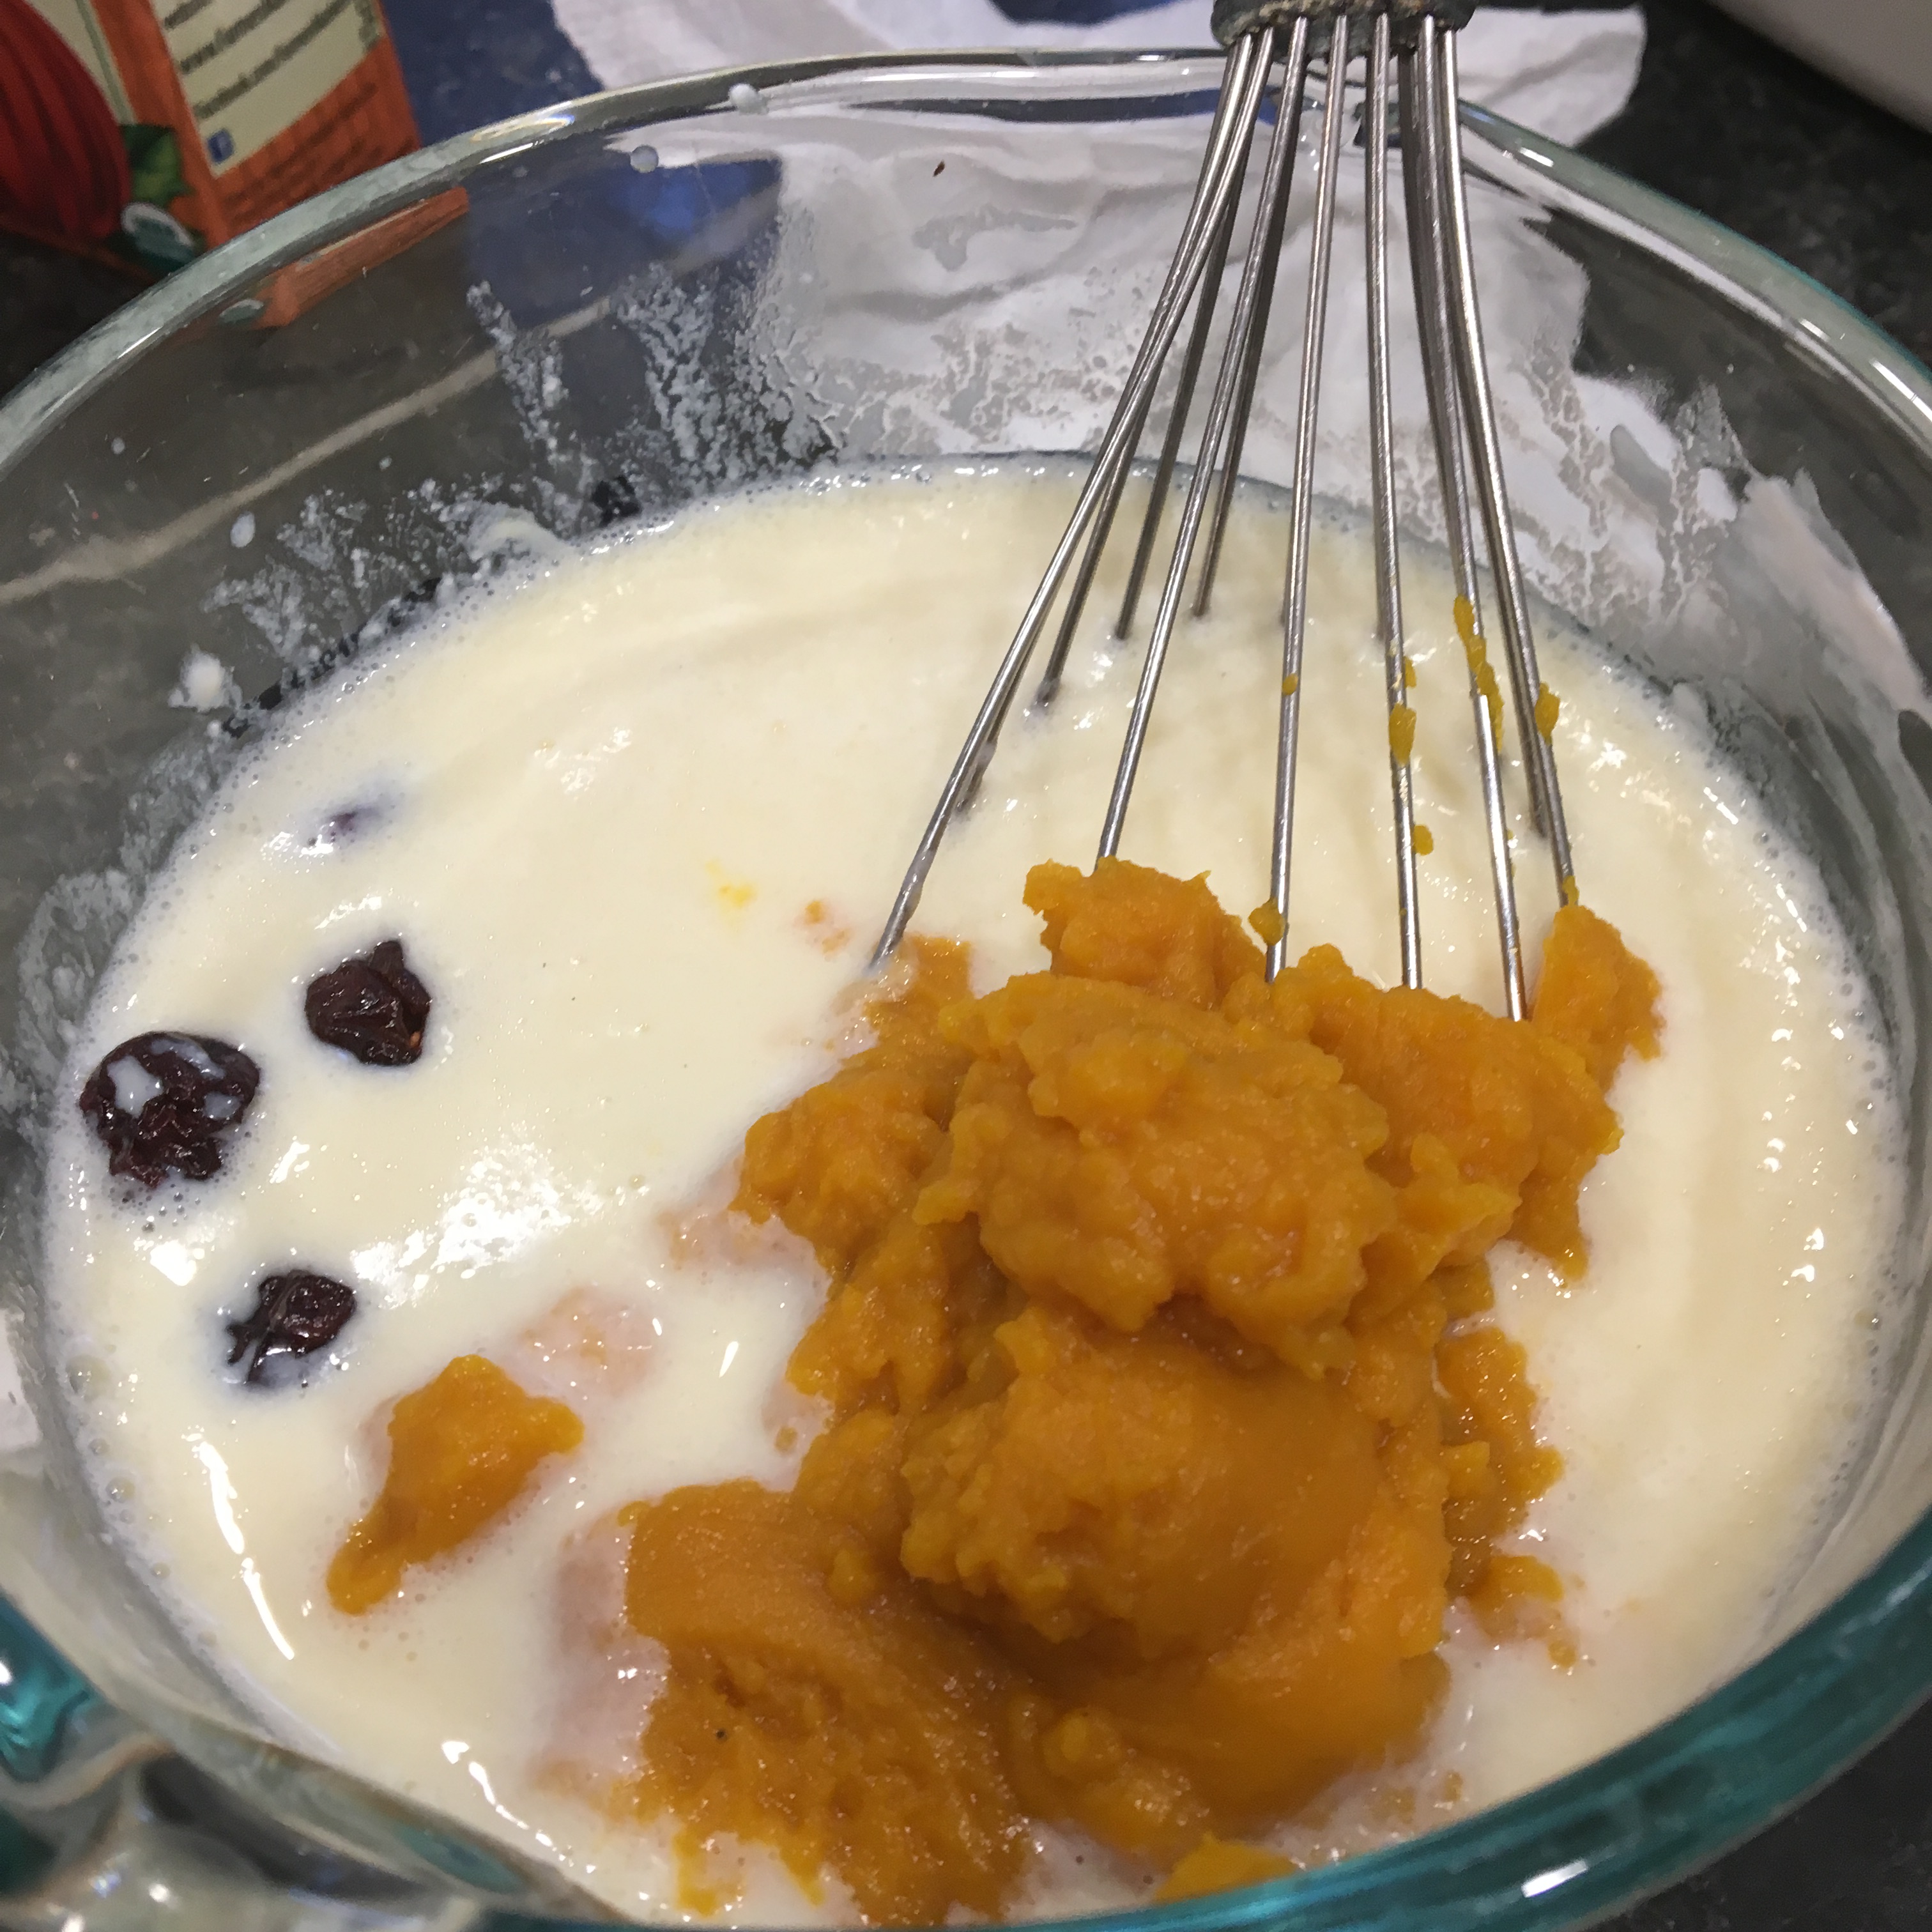
The wet ingredients

img_3800
The wet ingredients all mixed up

img_3802
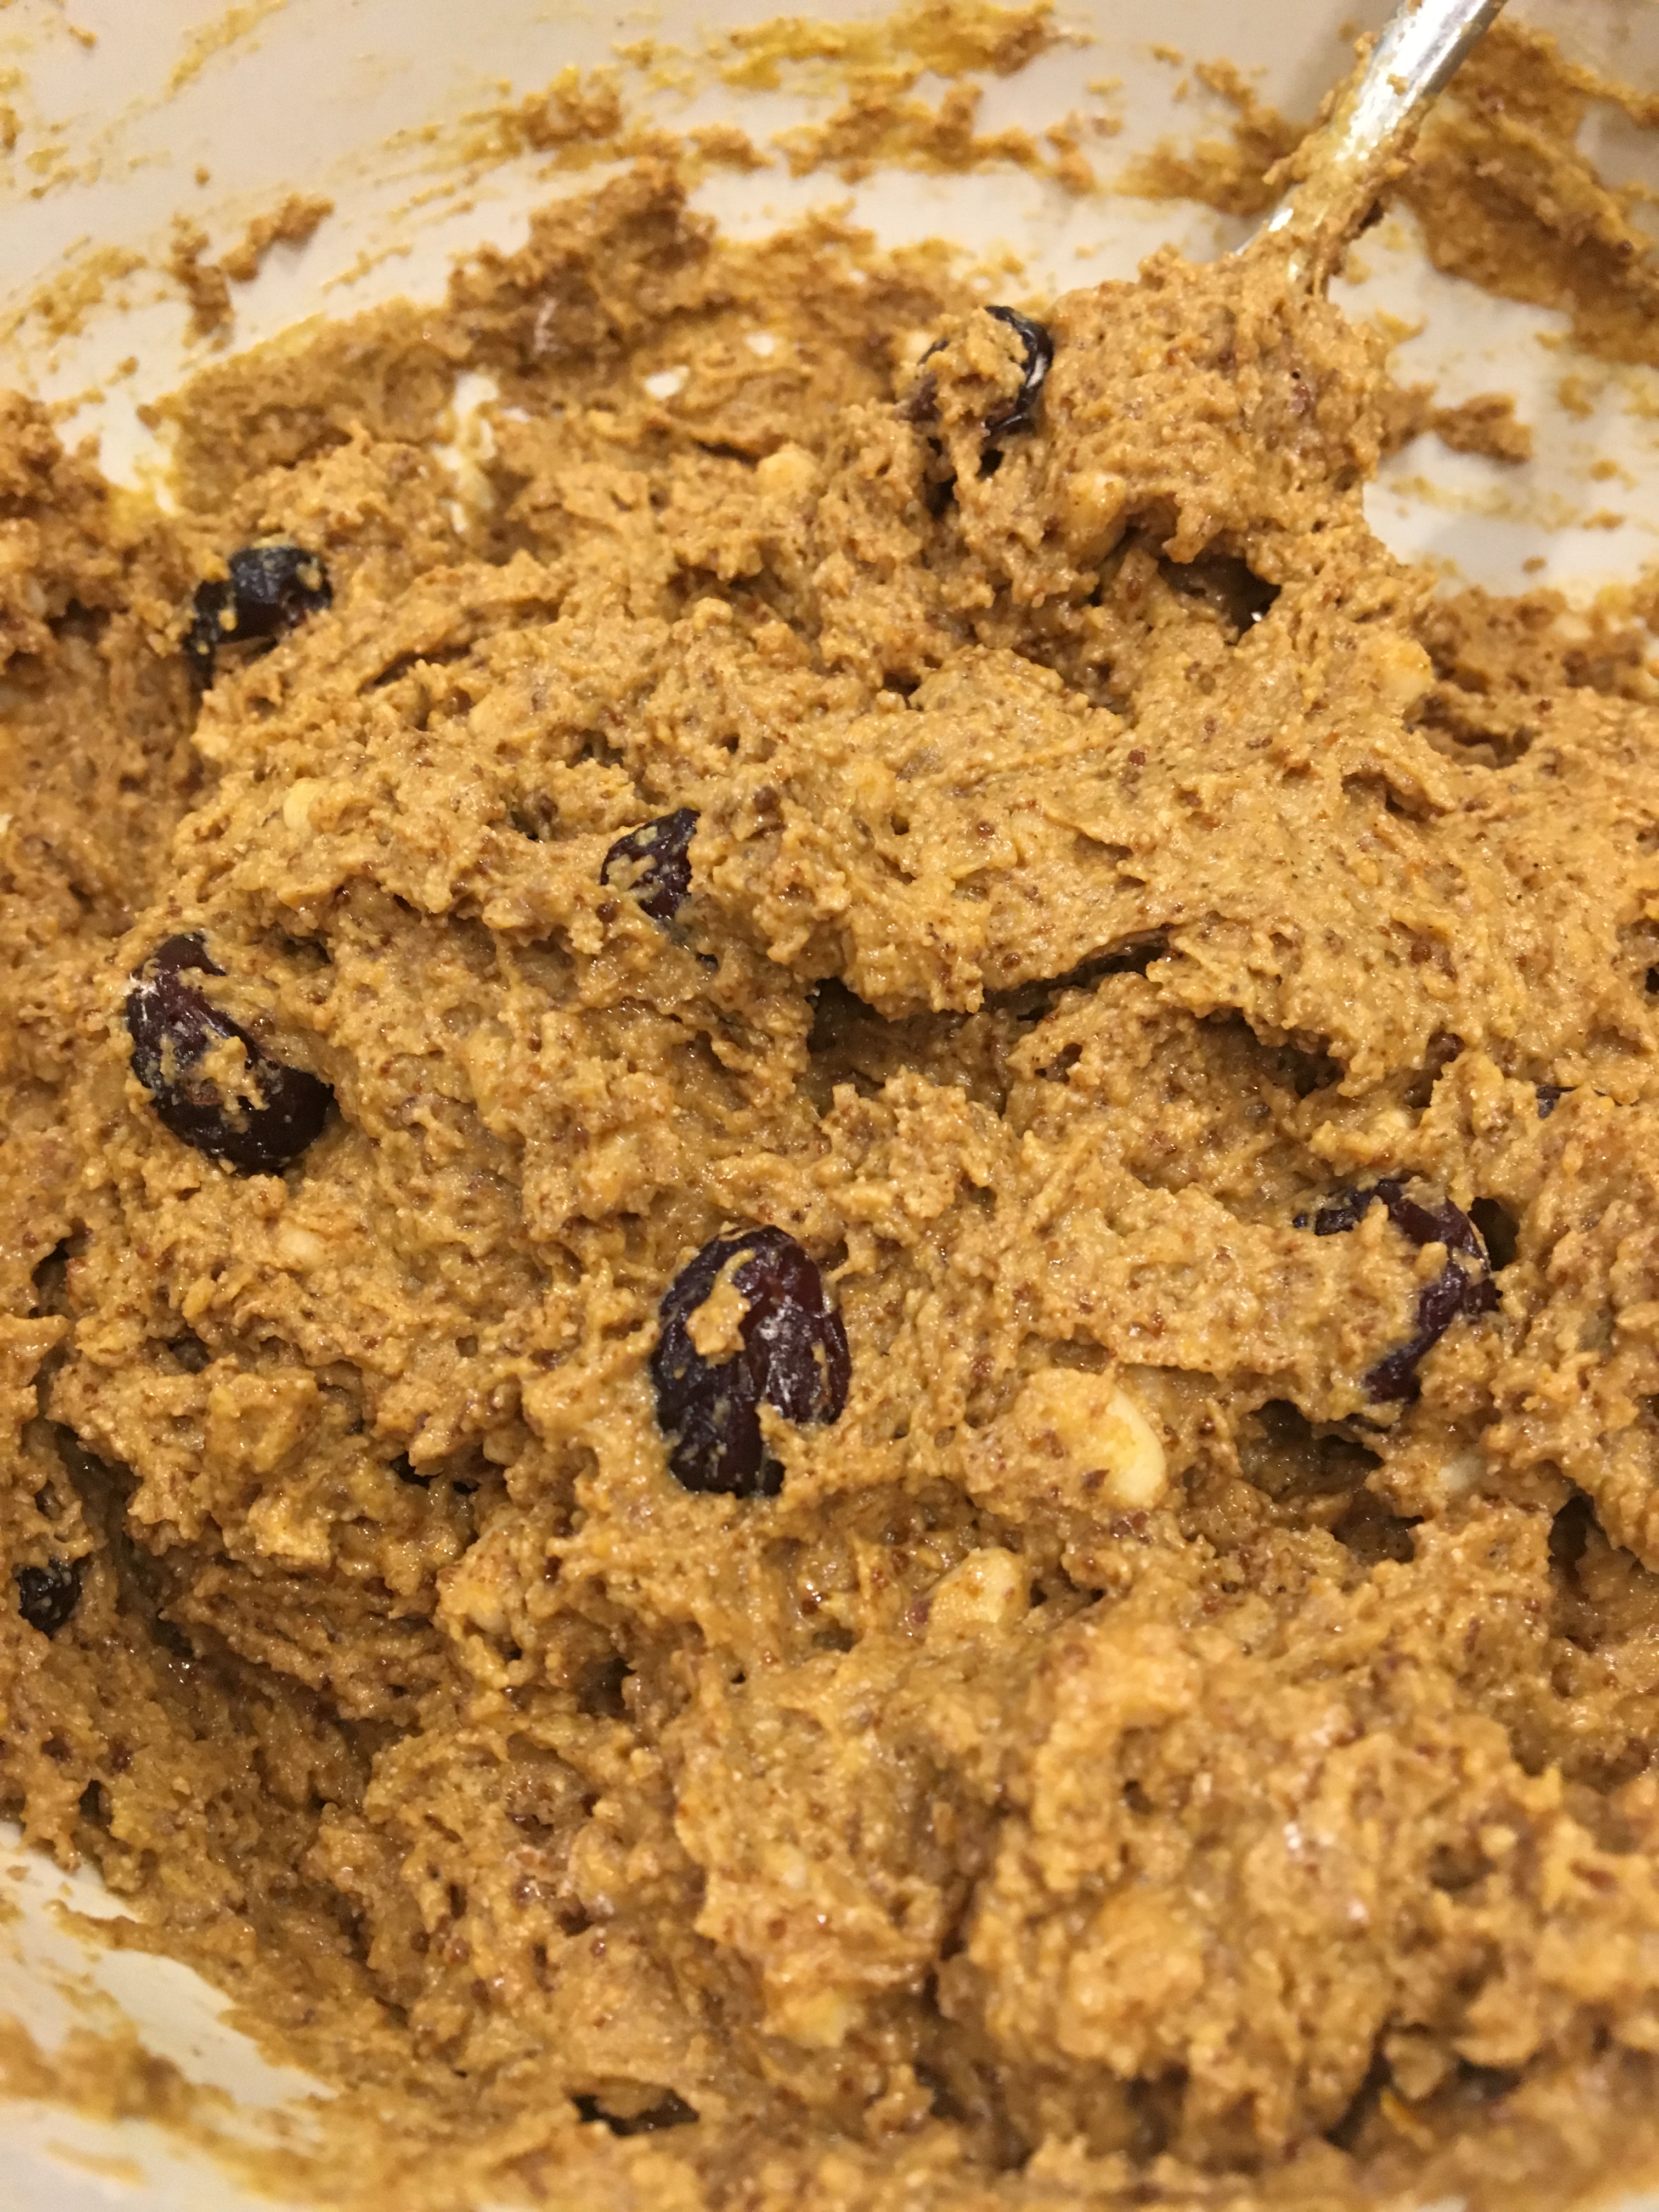
The wet and dry ingredients mixed together. Very thick batter.

img_3803
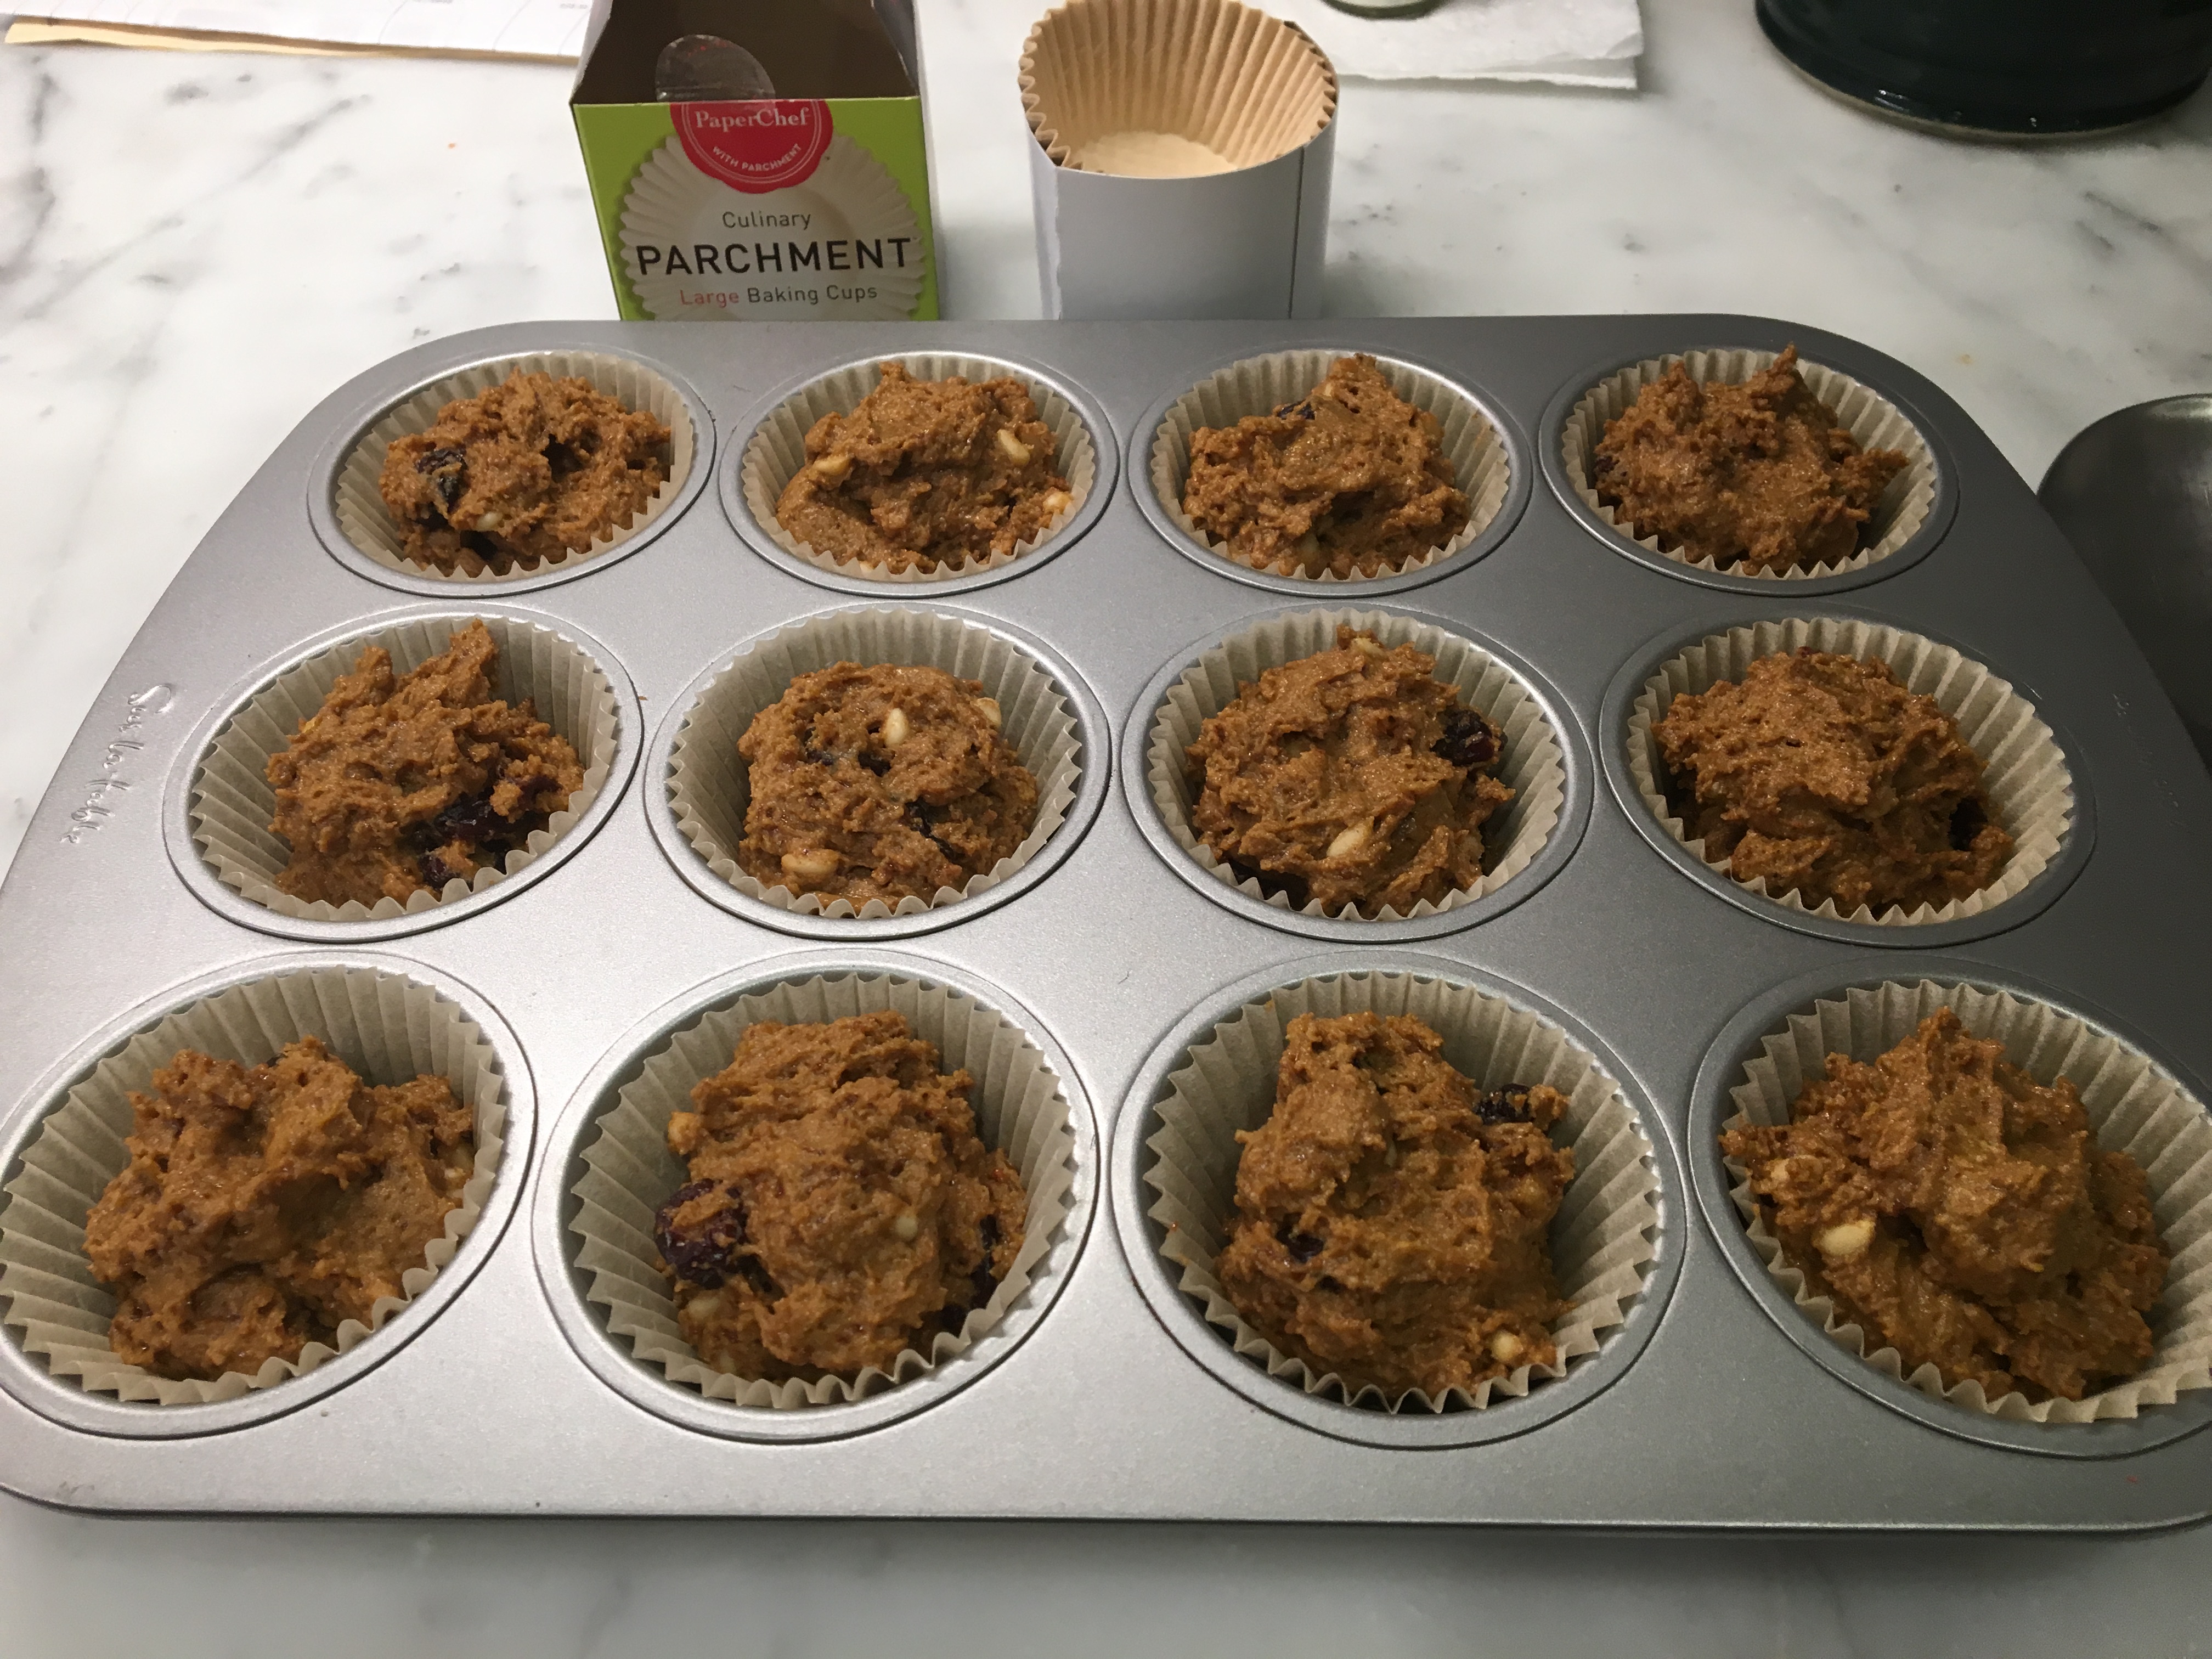
The muffins poured into the parchment cups, ready to bake.

img_3805
Close-up of the muffin batter before baking.

img_3806
The finished muffins.